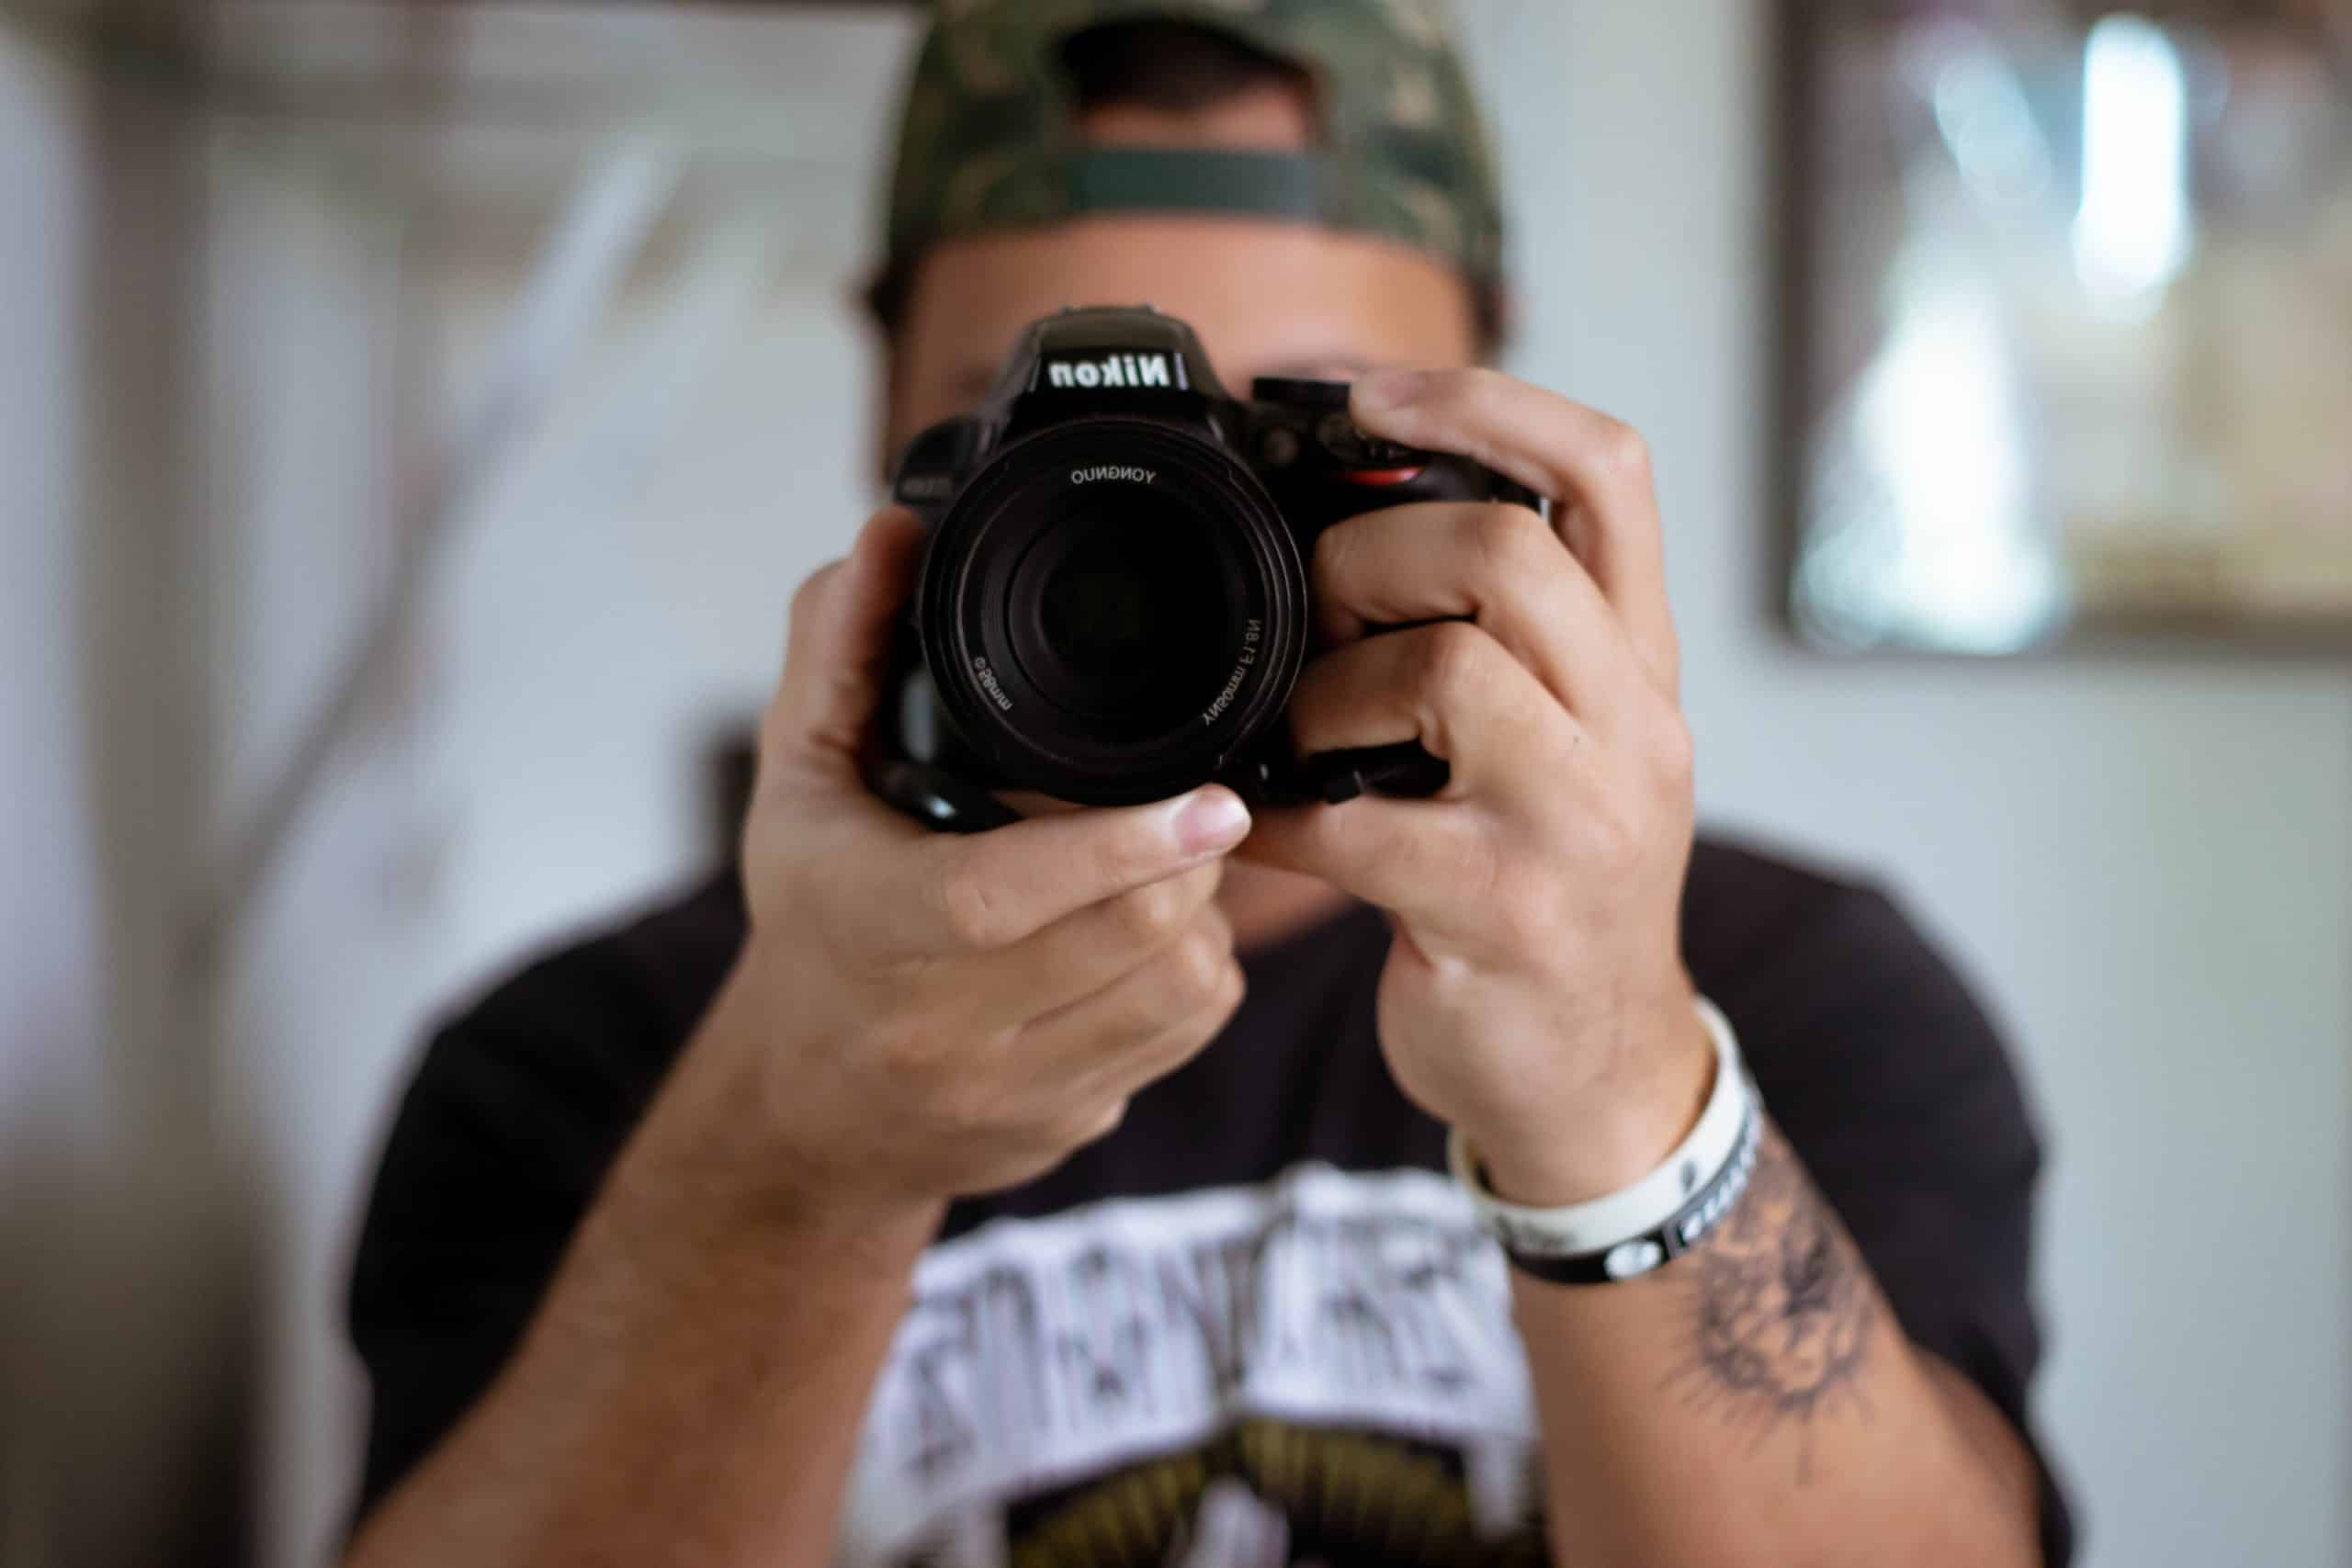
How to get sharp photos with your camera
Sharpness is vital in photography. It brings out details, making the image’s quality better. It also captures the essence of a scene, highlighting its fine lines and intricate patterns. To get sharp photos, some factors must be considered.
- A high-quality lens with excellent optics is needed to correctly reproduce details. The lens aperture also matters; a narrower aperture such as f/8 or f/11 is better for sharpness throughout the entire frame.
- Use the autofocus system accurately. Take advantage of both single-point and continuous autofocus modes to track moving subjects better.
- Proper camera stabilization techniques are vital to get sharp photos. Use a tripod or another stabilizing device to minimize blurriness due to hand movements during exposure. Also, use mirror lock-up or remote shutter release to reduce vibrations from the camera.
- Shoot in RAW format instead of JPEG to maximize sharpness. RAW files contain more data and let you adjust settings without affecting image quality.
By following these steps, you can take impeccably sharp photos that stand out. Capture details and unleash the full potential of your camera.
Understanding camera settings for sharp photos
Aperture: Change the aperture to control the depth of the field. This helps you focus on certain elements while blurring out others.
Shutter Speed: Choose the right shutter speed for sharp images. It controls how long the camera’s sensor is exposed to light.
ISO: The ISO setting changes light sensitivity. Adjust it for low light, but be careful not to add noise or grain.
Autofocus Modes: Different autofocus modes help you get sharper focus, whether on moving or stationary objects.
Image Stabilization: Cameras and lenses with image stabilization reduce blur due to hand movements.
Lens Selection: Use a quality lens and clean it properly for sharper photos.
Plus, use a tripod or other stabilizing equipment to further improve sharpness. Bracketing and focus stacking are advanced techniques to maximize sharpness.
Now, apply what you’ve learned! Get your camera and experiment with the settings. Capture beautiful, sharp images. Don’t miss the chance to boost your photography skills and create remarkable visuals.
Keep learning and refining your skills. Dare to be creative and you’ll be rewarded with sharp, eye-catching photos. Start unlocking the power of your camera now!
Using manual focus for precise sharpness
Here’s a 4-step guide to using manual focus for sharpness:
- Set your camera to manual focus mode. This lets you adjust the focus yourself.
- Look through the viewfinder or LCD screen to spot your subject. Decide where you want the sharpest focus.
- Use the focus ring on your lens until your subject is sharp. Take your time here – it makes a big difference.
- Double-check your settings before taking the shot. Make sure your exposure and focus are set correctly for the best results.
Remember, certain situations require manual focus more than others. You should also practice it regularly to become more accurate.
Let me tell you a story that shows how important manual focus is. Sarah was shooting portraits in a dimly lit studio. Autofocus wasn’t getting the sharpness she wanted, so she switched to manual focus. She adjusted the lens until the eyes were sharp. The images were so detailed and precise. Autofocus alone couldn’t have achieved this.
Proper camera holding techniques to minimize blur
Camera-holding techniques are key for sharp photos and no blur. Here’s a 6-step guide to help:
- Stand firm with feet shoulder-width apart and slightly bent knees.
- Hold the camera with two hands and a secure grip.
- Tuck elbows into the sides for a stable base.
- Take a deep breath and exhale slowly.
- Lean against a wall or use other stable objects nearby.
- Gently press the shutter, without jerking or too much force.
Other tips: correct posture, relaxed shoulders, and look through the viewfinder. Follow these to reduce motion blur.
Plus, use image stabilization features if available and tripod/higher ISO settings in low light.
Now, a story: Emily, a new photographer, was on her first wildlife photography expedition. She was excited to see majestic animals. But, she knew she needed steady hands and precise focus to capture them.
Emily practiced her camera-holding techniques and her skills and confidence grew. Eventually, she could showcase her stunning wildlife photos and inspire others.
Don’t expect to master camera holding overnight. It takes practice, patience, and knowledge of your camera. So grab your camera and capture moments with clarity!
Utilizing image stabilization features in your camera or lens
Janet knew the importance of image stabilization after her close call in the forest. She almost dropped her camera due to a gust of wind, but luckily the activated feature had compensated for her shaky hands and allowed her to snap a stunning shot.
To make the most of this feature, Janet makes sure to:
- Enable image stabilization – look for the option in camera or lens settings.
- Understand different types – sensor-shift or lens stabilization.
- Use appropriate shutter speeds – based on focal length and subject movement.
- Combine with other techniques – stable grip and posture.
- Consider tripod/monopod – extra stability in low-light and long exposure.
- Be aware of battery usage – image stabilization can be power-consuming.
It’s also worth noting that not all lenses and cameras have built-in image stabilization, so if you rely heavily on this feature, research and invest in the right equipment.
Techniques for achieving sharp focus on moving subjects
Capturing moving subjects can be tricky. But don’t worry – here are some tips to help you get sharp, clear shots!
- Set your camera to continuous autofocus mode – this keeps the focus on the subject as it moves.
- Use a fast shutter speed to avoid motion blur. Experiment to find the one that works best.
- Keep an eye out for your subject’s movements – anticipate and adjust your focus accordingly.
- Use burst or continuous shooting mode to increase your chances of a perfectly focused shot.
- Track autofocus can help if your camera has it.
Additionally, good lighting will help the clarity of your images.
Now that you know these techniques, go out and shoot moving subjects like a pro! Don’t be afraid to experiment and challenge yourself – with practice, you’ll get the hang of it!
Post-processing tips for enhancing sharpness
Post-processing is a key way to sharpen photos. Here are some tips for achieving that level of crispness and clarity:
- Sharpening Tools: Use sharpening tools like Adobe Photoshop or Lightroom. These can enhance edges and details.
- Noise Reduction: Noise can blur sharpness, so reduce noise to show the sharpness.
- Contrast Adjustment: Adjusting contrast adds depth and definition to make it look sharper.
- Localized Sharpening: To avoid over-sharpening, sharpen specific areas only.
- Clarity Enhancement: Increase clarity for micro-contrast, but don’t overdo it.
- Unsharp Mask Filter: Enhance perceived sharpness with the unsharp mask filter.
You can take your photography further by understanding post-processing techniques. Film photography uses dodging and burning for sharpness. Now, there are many digital tools.
To get stunning results, find a balance between sharpness and natural look. With practice, you’ll get great shots.
Conclusion: Practice and experiment to improve your photography skills
Practice and experimentation are crucial for improving your photography skills. To develop an eye for capturing sharp photos, regularly practice and try out new techniques. Mastering your camera takes time and effort.
To enhance your skills, take advantage of the shooting modes offered by your camera. Experiment with shutter speed, aperture, and ISO settings to understand their effect on sharpness. This will help you capture crisp pictures in different conditions.
Also, understand the importance of composition. Notice elements like lines, symmetry, and balance in your frame. Change angles and perspectives to make visually interesting compositions.
Don’t shy away from trying new genres of photography. Macro, street, and landscape photography can broaden your horizons and teach new techniques for sharper images.
Frequently Asked Questions
FAQs: How to Get Sharp Photos with Your Camera
1. Why are my photos coming out blurry?
Blurriness in photos can be caused by various factors, such as camera shake, subject movement, or incorrect focus. To ensure sharp photos, use a tripod or stabilize your camera, increase the shutter speed, and select a smaller aperture for greater depth of field. Additionally, learn to focus properly and use the appropriate autofocus settings for different situations.
2. Is it necessary to use manual focus for sharpness?
No, it is not always necessary to use manual focus for sharp photos. Most modern cameras have advanced autofocus systems that can deliver precise focus. However, in certain situations with challenging lighting or complex scenes, manually focusing can provide more control over the final result. Experiment with both autofocus and manual focus to find what works best for your photography.
3. How does aperture affect image sharpness?
The aperture plays a crucial role in determining image sharpness. A smaller aperture (higher f-number) increases the depth of field, resulting in more of the scene appearing in focus. Wide apertures (lower f-number) create a shallow depth of field, selectively focusing on a specific subject while blurring the background. To ensure sharpness, try using apertures in the medium range (around f/8 to f/11) for most situations.
4. Can post-processing software improve sharpness?
Yes, post-processing software can significantly improve the sharpness of photos. Programs like Adobe Photoshop or Lightroom offer tools like sharpening filters, clarity adjustments, and sharpening masks. However, it’s important to capture a sharp image in the camera as much as possible. Relying solely on post-processing to fix blur may lead to a loss of image quality.
5. Why is good lighting important for sharp photos?
Good lighting is fundamental for capturing sharp photos. Sufficient light allows the camera to use faster shutter speeds, reducing the risk of motion blur. It also provides better clarity, contrast, and overall image quality. When shooting indoors or in low-light conditions, consider using external lighting sources or increasing the camera’s ISO setting to maintain sharpness.
6. How can I minimize camera shake for sharper images?
To minimize camera shake, start by holding the camera properly using both hands and keeping your elbows close to your body. Use a tripod or a stable surface whenever possible. If handholding, ensure a fast enough shutter speed to counteract any movement. Image stabilization features in some cameras or lenses can also help in reducing camera shake. Finally, utilizing the camera’s self-timer or a remote shutter release can prevent accidental movement during the exposure.
Subject: How to get sharp photos with your camera
Company: Hollywood Connections Center
Network: MyHollywoodPage.com
The Hollywood network of arts and creative professionals.


