The best lighting for closeup shots
Capturing close-up shots is all about the lighting. It brings out the details and true essence of your subject. Here, we’ll explore the best lighting techniques for close-up shots.
Close-up photography focuses on the smallest details. To highlight the subject, the right lighting is essential. It adds depth and dimension.
When choosing lighting, direction is important. Varying angles can cast shadows or emphasize features. Softboxes or reflectors can even out the light.
Color temperature matters too. From warm to cool, it sets the mood.
In the past, photographers had to use natural light or cumbersome artificial setups. They positioned subjects near windows or used reflective surfaces to manipulate sunlight.
Importance of proper lighting in close-up shots
Lighting is a must for close-up shots. It emphasizes details and gives the subject a more pleasing look. Adequate lighting gives better visibility, contrasts, and textures, making the shot impactful and visually attractive.
When it comes to close-up photography, lighting takes on an even bigger role. The right balance of light can create amazing effects that show off the subject’s intricacies. Shadows and highlights add depth and dimension, making the shot captivating.
Different lighting styles can be used for various effects. Natural lighting provides a soft, warm look, while artificial lighting allows for more control. Photographers need to consider the source and placement of the light, as well as reflectors or diffusers for flattering results.
To excel in close-up photography, one must understand how lighting affects the subject. With practice and experimentation, photographers can use light to their advantage and make mesmerizing close-ups that will wow viewers.
The great Annie Leibovitz once said, “Light makes photography. Embrace light.” This highlights the importance of proper lighting in capturing extraordinary close-ups.
Factors to consider when choosing lighting for close-up shots
When it comes to close-up shots, lighting is key. It can drastically change the look and feel of the shot. Here are some things to keep in mind:
- Type: Natural, artificial, or a mix? Consider the atmosphere the shot should have.
- Intensity: High or low? It affects contrast and shadows.
- Direction: Side, back, or front? Different directions result in different effects.
- Color temperature: Warmer or cooler tones? They create different feels.
- Light modifiers: Diffusers or reflectors? Manipulate light quality.
- Consistency: All shots should match. This ensures a seamless blend.
Avoid direct light that causes glare. Test setups beforehand. To take things further:
- Use a softbox or umbrella for softer lighting.
- Try different angles.
- Incorporate natural light.
- Use colored gels.
- Mix lighting sources.
Choose lighting elements wisely to maximize the impact of your close-up shots.
Types of lighting equipment for close-up shots
Selecting the correct lighting gear is essential for capturing near shots and bringing out the best subtleties. Here are a few kinds of lighting hardware that can upgrade your close-up shots:
- Ring Light: This round light gives delicate and consistent enlightenment, diminishing shadows and featuring facial highlights in close-up representations.
- LED Panel Lights: These minimized lights offer flexible brilliance and shading temperature, permitting you to accomplish the ideal state of mind or impact for your close-ups.
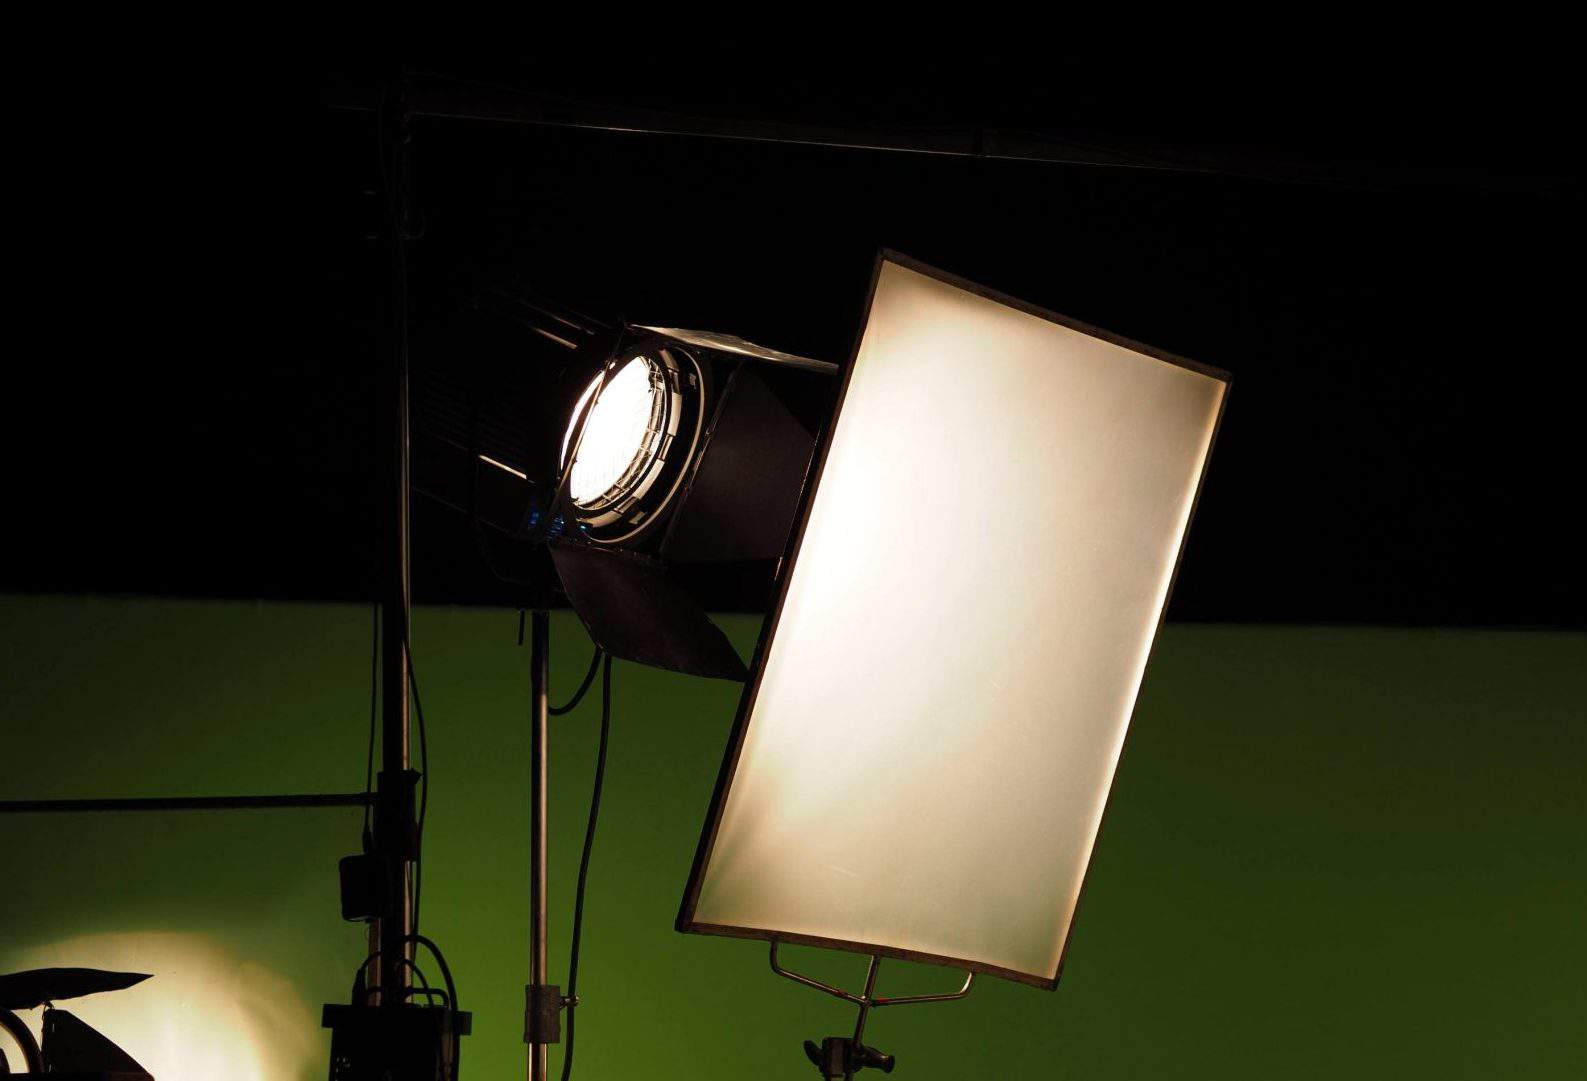
- Softboxes: These enormous, rectangular diffusers mellow the light and make delicate shadows, ideal for accomplishing a complimenting look in still life or item photography.
- Macro Lights: Particularly intended for smaller-scale photography, these little, centered lights convey exact enlightenment for catching complex subtleties up close.
For those hoping to take their close-up shots to the following level, there are a couple of extra subtleties to consider. Diffusion channels can be utilized with any sort of lighting hardware to further mellow the light and limit cruel shadows. Reflectors can likewise prove to be useful in re-directing light onto explicit regions or filling in dull spots. Lastly, utilizing shading gels with your lighting hardware can add an imaginative touch by presenting various tones or shades in your close-up shots.
To get the most out of these lighting gear choices, here are some proposals:
- Test with various points and separations to discover the most complimenting lighting arrangement for your subject. Move the lights around and watch how they cooperate with the subject’s highlights.
- Alter the power and heading of the light to make profundity and measurement in your close-ups. Play with shadows and features to feature explicit territories or make an all-inclusive air.
- Consider utilizing different light sources to adjust shadows and enlighten various edges of your subject. This can assist with making a very much adjusted and powerful look in your close-up shots.
- Don’t be hesitant to get imaginative with your lighting arrangements. Attempt to join embellishments, for example, mirrors or hued channels, to add interesting impacts and improve the air of your close-up shots.
By knowing the various kinds of lighting hardware accessible and actualizing these proposals, you can catch stunning close-up shots that bring out the best subtleties and stir feelings in your crowd. Recall, that dominating the specialty of close-up photography is a progressing cycle of experimentation and inventiveness.
Tips for achieving the best lighting for close-up shots
Get creative with lighting for close-ups! Use natural light when you can, such as near a window or outdoors during the golden hour. For artificial lighting, use a softbox or diffuser. And don’t forget to fill in any harsh shadows.
Try experimenting with different light sources, such as LED panels or ring lights. Adjust the white balance or use color gels for warm or cool tones. To truly stand out, use reflectors to bounce light onto specific areas. This enhances textures and highlights features. Make sure to position the reflector carefully to avoid any unwanted reflections.
Learn from classic films and their traditional methods – but adapt them with modern technology.
Recommended lighting techniques for different setups
Lighting Techniques for Close-Ups
For close-up shots, perfect lighting can make all the difference. Whether it be portraits, food, or products, finding the right lighting setup is key. Use a diffuser to soften harsh light and reduce shadows when photographing people or objects up close. This creates a more natural look with softer shadows that enhance the subject.
Consider using a reflector to bounce light back onto the subject. This works great in low-light conditions and adds more dimension to close-up images. Place the reflector opposite the main light source to fill in shadows and create a balanced composition.
For still life or product shots, adjustable studio lights or strobes are great for controlling the light. These sources let you customize your setup according to your needs. Try adding colored gels over lights for creative effects. Diffusion materials can also bring creativity to close-up shots. Silk fabrics, frosted glass panels, etc. all alter the quality of light for desired textures or atmospheres.
Anna Lee once experienced challenging lighting conditions during a fashion shoot on location. She quickly adapted by using artificial lighting setups and ended up with stunning close-up shots.
Mastering lighting techniques for close-up shots takes knowledge and experimentation. Understand the tools available and add a creative touch to elevate photography. Grab your camera and start capturing captivating close-ups with the best lighting techniques!
Conclusion
Finding the perfect balance of light and shadow is key to capturing breathtaking close-up shots. Natural light is ideal, as it provides a soft and flattering illumination. Positioning your subject near a window at the golden hour can be beneficial. Artificial lighting tools, such as ring lights or LED panels, can also offer adjustable lighting. Diffusers and reflectors can enhance the quality of your shots, so make sure to experiment with accessories.
National Geographic’s professionals suggest skillful composition techniques and the right lighting setup for close-ups.
Frequently Asked Questions
FAQ 1: What is the best lighting setup for close-up shots?
Answer: The best lighting setup for close-up shots is a combination of three-point lighting. Use a key light as the main source, a fill light to reduce shadows, and a backlight to separate the subject from the background.
FAQ 2: What type of light source works best for close-up shots?
Answer: Soft lighting sources like diffused LED panels or softboxes work best for close-up shots. They provide a gentle and flattering light that minimizes harsh shadows on the subject’s face.
FAQ 3: Should I use natural or artificial light for close-up shots?
Answer: Both natural and artificial light can work, but artificial light gives you more control over the lighting conditions. Natural light can be unpredictable and may require additional equipment to achieve the desired results.
FAQ 4: What is the ideal color temperature for close-up shots?
Answer: The ideal color temperature for close-up shots is typically around 5600K, which resembles daylight. However, you can adjust the color temperature based on the desired mood or the specific look you want to achieve in your shot.
FAQ 5: Can I use just one light source for close-up shots?
Answer: While it’s possible to use only one light source, it’s generally recommended to use at least three to achieve a well-balanced and professional look. One light source may result in harsh shadows and uneven illumination on the subject.
FAQ 6: How can I avoid glare or reflections on close-up shots?
Answer: To avoid glare or reflections, make sure the light sources are properly diffused. You can use diffusers, bounce cards, or reflectors to soften and control the light. Additionally, positioning the lights at appropriate angles can help minimize any unwanted reflections.
Subject: The best lighting for closeup shots
Company: Hollywood Connections Center
Network: MyHollywoodPage.com
The Hollywood network of arts and creative professionals.


