


How to become a muralist
Start a career as a muralist and create captivating artwork. It requires passion, creativity, and artistic skills. Here’s how to make it happen!
- Hone your artistic abilities. Experiment with painting techniques and different mediums. Keep refining your craft and exploring styles that interest you.
- Research mural opportunities in your area. Build a portfolio of your best works. Showcase it to potential clients or art commissions.
- Network with other artists. Attend art events and join online communities. Collaborate with creatives to gain new ideas and perspectives.
- Look for blank walls or public spaces that need artwork. Pitch your idea to property owners or authorities.
Let me tell you about Sarah. She painted murals on her bedroom wall with non-toxic paints. The passion was seen, and she got her first commissioned project. Now, her murals can be found across the city.
Perseverance, learning, and networking are key. Follow your passion and push your artistic boundaries. You can make a lasting impression with public art.
Exploring the art of mural painting
- Muralists should start by enhancing their drawing and painting skills. This includes practicing brush strokes, color mixing, and shading. Knowing different mediums like acrylics or spray paint is also important.
- Composition and design understanding is a must. Utilizing space and creating balanced proportions is key when working on large-scale projects. Creating an individual style will help stand out in the mural painting competition.
- Networking and relationship-building in the art world are needed for exposure and chances. Working with other artists or attending local art events could result in commissions or public art. Social media and online platforms are great for displaying artwork and finding potential clients.
Pro Tip: When mapping out a mural, think about the area and community it’s in to make sure the artwork speaks to the viewers.
Acquiring the necessary skills and knowledge
To enhance your journey in becoming a muralist, let’s dive into the section on acquiring the necessary skills and knowledge. Explore a range of mural painting techniques and styles, refine your basic drawing and painting skills through practice, and grasp the fundamentals of color theory and composition. These sub-sections are the key solutions to your artistic growth.
Studying various mural painting techniques and styles
Artists explore mural painting and discover various styles that have changed over time. From ancient cave paintings to modern street art, each style has its own visual language. Artists gain inspiration and understanding of the history and importance of mural art by studying these styles.
By researching brushwork, stenciling, and aerosol spraying, artists learn how to make their art on a bigger scale. They practice mixing colors, creating textures, and combining mediums.
Eduardo Kobra is an example of what comes from studying mural painting. He is a Brazilian artist known for his big murals with bright colors and realistic portraits. He has studied traditional brushwork and modern digital manipulation. This exploration has helped him be creative while staying true to his style.
Practicing basic drawing and painting skills
Let’s learn how to hone basic drawing and painting skills. Here’s a guide!
- Start with shapes: Draw circles, squares, and triangles. This will give you accuracy in drawing, and help with proportions.
- Observe details: Draw from real life or photos. This will help your eye and observation skills.
- Experiment with mediums: Try charcoal, watercolors, pencils, and acrylics. Discover what resonates with you!
- Check out tutorials: Watch online resources or join classes. Get insights into different approaches.
- Practice often: Set aside time each day or week. This will boost your confidence and skill.
Plus, visit galleries, check out famous artworks, and join online artist workshops and communities!
Now that we know how to practice basic drawing and painting skills, let’s discuss some interesting details.
These foundational skills not only improve technique but also help in developing your own artistic style. With practice, you can master shading, blending colors, and textures.
For an inspiring example, here’s the story of Emily. She was a young artist who wanted to paint. Although she had some natural talent, she knew practice was key. She spent hours a day practicing. Eventually, her artwork improved and received recognition. Her story shows the power of practicing basic drawing and painting skills.
Understanding color theory and composition
Color theory and composition are key for any artist or designer. Knowing how colors work together and building a visually attractive composition can strengthen your work. Studying color theory teaches you about color relationships, like complementary and analogous ones, and how to make use of them in your work.
One part of color theory that is often forgotten is the psychological results of various colors. Each color has its own specific emotional impact, and being aware of this can help you create compositions that bring out specific feelings or moods. For example, warm colors such as red and orange usually cause a sense of energy and thrill, while cool colors like blue and green have a soothing effect.
Another important element of visual design is composition. It includes organizing the different elements of your artwork in an aesthetically pleasing way and expressing your intended message correctly. Knowing composition principles, such as balance, contrast, and focal points, can help you craft artwork that captures the viewer’s attention and leads their eye through the whole piece.
Negative space, also known as white space, is another lesser-known part of composition. This refers to the empty areas surrounding the main subject or elements of your design. Intentionally leaving areas without any visuals can help emphasize important elements or add a sense of overall balance to your composition.
Gathering the essential materials and tools
To gather the essential materials and tools for becoming a muralist, equip yourself with brushes, paints, and other necessary supplies. Additionally, master the art of preparing the painting surface.
Brushes, paints, and other necessary supplies
Brushes: Essential for an artist’s work. Different types to choose from, like flat for broad strokes and round for details.
Paints: Acrylics, oils, watercolors… Each has unique properties. The choice depends on the desired effect and medium.
Palettes: Surface for mixing colors. Plastic or porcelain. Easy to clean or disposable.
Canvases or Paper: Personal preference. Canvas for heavy applications. Paper for absorbency.
Tools: Palette knives, masking tape, pencils/markers.
Interesting Fact: Brushes have been used since ancient times. The oldest known from Spain 15,000 years ago. Highlighting the importance of these tools throughout history.
Preparing the painting surface
- Start with a soft brush or cloth to remove dust and debris from the painting surface.
- This creates a clean base for your paint.
- Apply a thin layer of acrylic gesso using broad strokes or a roller.
- This makes for vibrant colors and an opaque surface.
- Once dry, sand lightly with fine-grit sandpaper to get rid of texture or imperfections.
- Do this with smooth strokes in one direction for an even finish.
- Think about a toned wash or underpainting before your artwork.
- This can add dimension and set the mood.
- Remember:
- Use the right brushes in each step.
- No excessive pressure while cleaning or sanding.
- Give each step time to dry.
- Vary primers for different effects.
- Look for past artists’ sketches for insight.
Planning and designing your mural
To plan and design your mural effectively, use the sub-sections ‘Researching and brainstorming ideas,’ ‘Creating a scaled-down sketch or mockup,’ and ‘Considering the location and surroundings’ as solutions. Each sub-section plays a crucial role in the overall process, helping you gather inspiration, visualize the final result, and ensure a harmonious integration with the chosen location and its surroundings.
Researching and brainstorming ideas
Gather inspiration from art galleries, books, magazines, and online platforms. Take a look at local murals to get a feel for what styles and themes resonate with the community. Speak with other artists, muralists or people with experience in public art. Collect images, colors, textures, and patterns that match your concept in a mood board or collage. Jot down keywords and sketch rough outlines to brainstorm ideas. Think about the message you want to convey and the purpose of the mural’s space.
Remember one thing when researching and brainstorming: invest time and don’t settle for mediocre ideas. Experiment and think outside the box. Take action! Connect with the community and other artists. Don’t pass up the opportunity to make a lasting impression with your artwork. Do your research and brainstorming and your mural will be a unique masterpiece. Now go ahead and turn your ideas into a visual representation!
Creating a scaled-down sketch or mockup
Measure the wall where you’ll create your mural.
Gather materials like paper, pencils, markers, rulers, and stencils.
Sketch a rough layout with shapes and lines.
Add details like color variations and textures.
Step back and evaluate the mockup.
Consider various viewpoints and get feedback from others.
Also consider weather, materials, and community impact.
Rachel Green, a renowned artist, always begins her mural projects with scaled-down sketches. This helps her save time and avoid mistakes. Her dedication has earned her recognition in the art community.
Considering the location and surroundings
Planning a mural? Consider the location! It’s key to its success. Think of the size, shape, and surface material of the wall or space. These factors will influence design elements.
Look around. Are there architectural features or natural elements to include or workaround? Understand why you’re making the mural. Is it to beautify or to convey a message? Visualize how it will interact with the surroundings. Visit the site at different times of day, to check lighting and obstructions. Adjust if needed.
Make sure your mural is impactful!
Preparing the painting surface
To ensure a smooth and professional mural creation, prepare the painting surface by cleaning and priming the wall or surface, and making any necessary repairs or adjustments. These sub-sections will provide you with the necessary solutions for achieving a flawless foundation for your mural.
Cleaning and priming the wall or surface
- Clear the area. Get rid of furniture, decorations, and anything in the way of the wall or surface you’ll paint.
- Clean with a mild detergent solution or TSP cleaner. Scrub away dirt, grease, and stains with a sponge or brush. Dry.
- Look for cracks, holes, or imperfections. Fill these with a patching compound, and smooth them with a putty knife. Let dry as per instructions.
- Gently sand the entire wall/surface with a fine-grit sandpaper. Wipe away dust.
- Apply primer. Choose one that works with your type of paint, and apply it evenly with a roller or brush. Wait for it to dry.
- Test adhesion. Stick the masking tape to the painted surface and peel it off quickly. If it lifts off, you need more priming.
- Proper cleaning and priming can make your painting experience better and give professional results. Research by the Paint Quality Institute shows that pre-priming walls can increase the paint job lifespan by up to 50%.
Making any necessary repairs or adjustments
Before starting a painting, repairs, and adjustments to the surface are essential for a smooth finish. Here are the steps to follow:
- Inspect for cracks, holes, and dents and fill them with suitable filler material.
- Loose or peeling paint chips should be gently removed using a scraper or sandpaper.
- Clean mildew or mold growth with a solution of bleach and water.
- Strip off existing paint if it’s in poor condition.
- Sand the surface to even out any rough patches.
- Finally, dust off any debris with a brush or vacuum cleaner.
Remember to work in a well-ventilated area and wear protective gear like goggles and masks. Doing this will protect your health. Don’t forget to do the necessary repairs – this will help create a solid foundation and long-lasting results. Get started and unleash your creativity!
Transferring the design to the wall
To ensure precise and accurate results when transferring a mural design to the wall, employ methods like using a grid or projection to guide your process. Additionally, taking careful measurements along with ensuring accuracy will be essential in achieving the desired outcome for your mural project.
Using grid or projection methods
- Grids: Divide the design into smaller sections. Then, reproduce the sections onto the wall using a grid system. This way, proportions stay the same, and the result is true to the original.
- Projection Methods: Use a projector to directly project the design onto the wall. No measuring or alignment is needed for complex designs. Set up the projector, project the image, and then trace it onto the surface. Now you have an accurate copy of the original.
Taking measurements and ensuring accuracy
For perfect outcomes, get precise measurements! Follow these steps:
- Gather tape, pencil, level, and masking tape.
- Measure wall dimensions, horizontally and vertically.
- Use a level for alignment.
- Mark measured points on the wall with pencil/masking tape.
- Double-check measurements.
- Transfer design with reference points.
- Also, consider any wall obstacles such as outlets or switches.
- Take photos of measurements for reference.
Accurate measurements are essential for great aesthetics & functionality. Home Design Lover magazine states precise measurements are key to professional-looking wall designs.
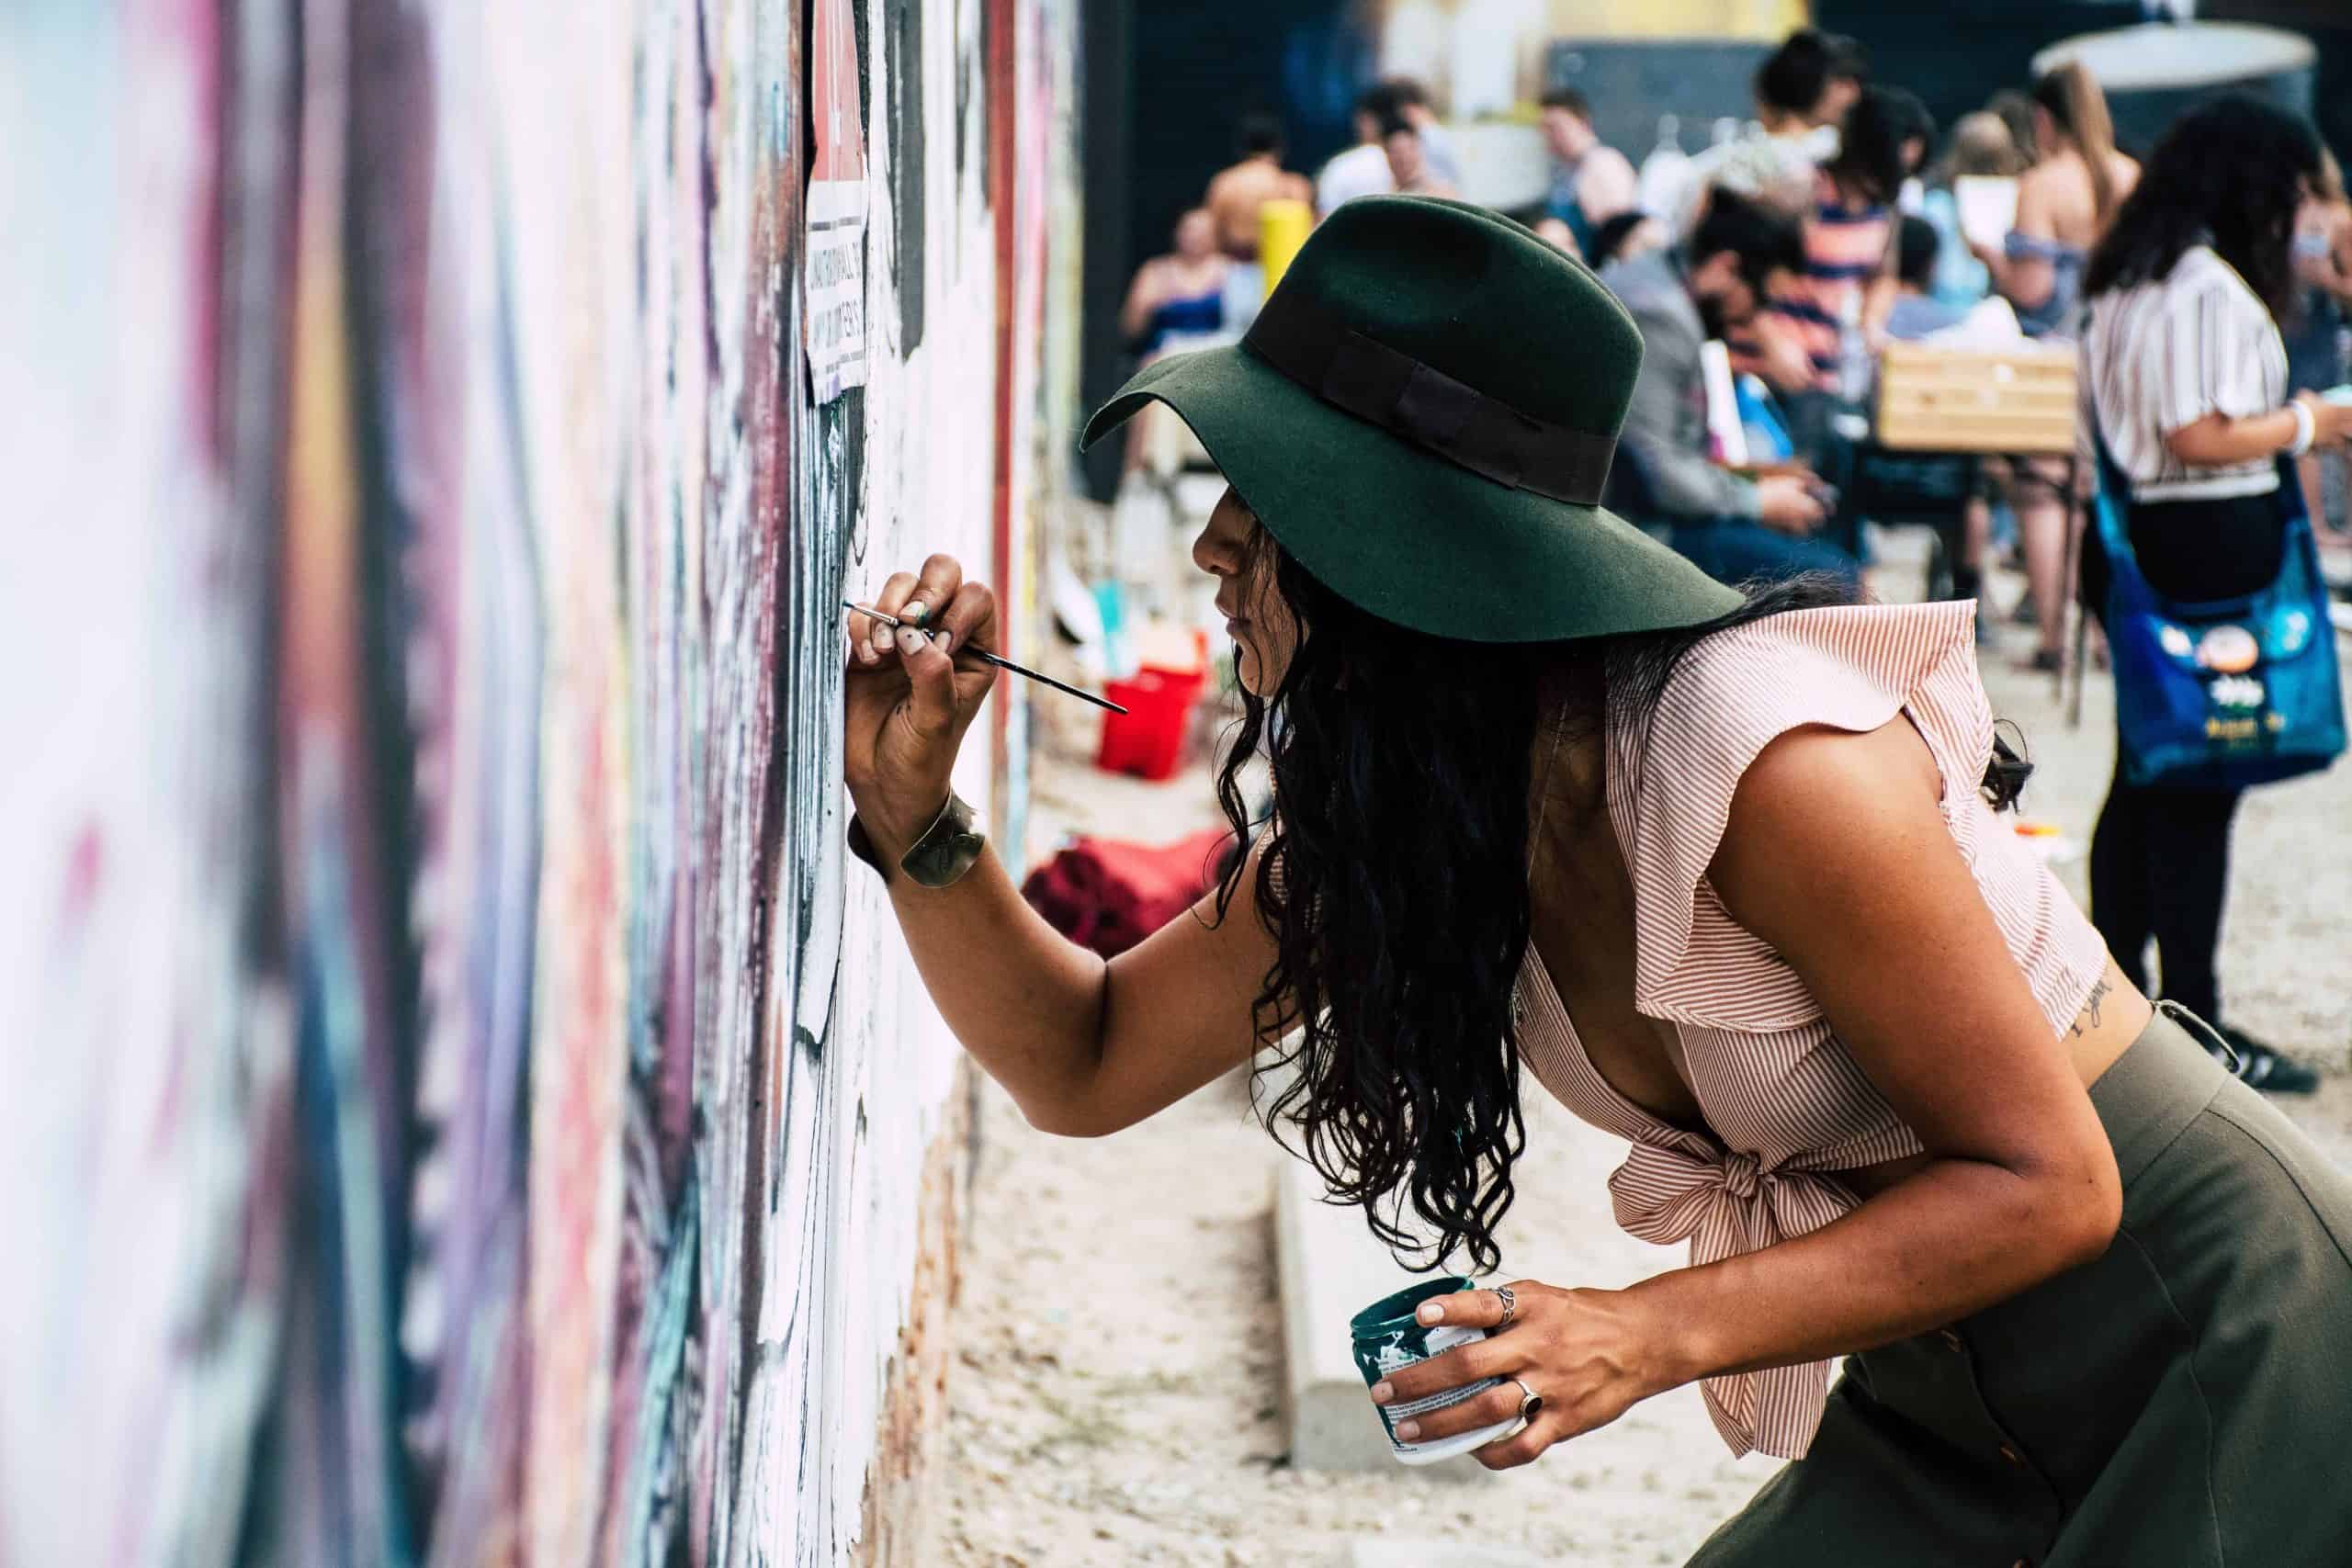
Painting the mural
To create the mural of your dreams, dive into the section of painting the mural. With a step-by-step approach, you’ll master the art of bringing your ideas to life. Start with the background and background details, then seamlessly add the main subject and focal points. Finally, perfect your masterpiece by working on the finer details and highlights.
Starting with the background and background details
Mural painting may seem easy, but picking the right background and details needs careful thought. Colors have to enhance the design and fit with the theme. The background is like a ‘canvas within a canvas’, adding depth and dimension. Details bring life and character, from intricate patterns to subtle textures. They often provide context for other mural elements.
Iconic murals have used backgrounds to tell stories – from Rivera’s political messages against industrial backdrops to Michelangelo’s heavenly scenes on church ceilings. Painting murals is more than just colors – it’s understanding the significance of backgrounds and their details. They create captivating stories that inspire emotion and spark imaginations.
Adding the main subject and focal points
The mural takes life with the addition of main subjects and focal points. Each brushstroke is placed precisely, captivating the viewer’s attention. The main subject is carefully crafted to be visually striking, drawing the eye towards it.
These focal points are strategically placed to highlight areas of importance. It’s impossible to look away! The interplay between light and shadow further enhances these focal points, adding depth and interest.
This pivotal stage of creation brings excitement and urgency. It’s an opportunity for artists to show their creativity and skill. Don’t miss out on this moment – come witness art at its most exhilarating! Be there as each stroke paints a world of wonder.
Working on the finer details and highlights
Creating a mural requires an eye for detail. Each brush stroke contributes to the composition, bringing life and depth. Analyzing light and shadows is essential for authenticity. Blending and crosshatching colors, and varying brush sizes, give texture and dimension. Remember, patience is the key to completing the finer elements.
Unique details add a special touch. Hidden symbols or messages make viewers curious. Artists can add personal touches that reflect their style or experiences. This invites a connection between the artist and the audience.
Pro Tip: Take breaks periodically when working on finer details. This gives a fresh view of the work, allowing for further refinement or adjustment.
Finishing touches and preservation
To perfect your mural and ensure its long-lasting beauty, master the art of finishing touches and preservation. Apply protective coatings or varnish, meticulously clean up any paint marks, and document the completed mural through photographs. These sub-sections are the key solutions for achieving a stunning and well-preserved mural.
Applying protective coatings or varnish
- Choose the correct coating or varnish for the material and desired finish.
- Different materials need varied protection.
- Prep the surface first. Clean, sand, and fill any gaps.
- Put multiple thin coats on. Don’t apply one thick coat.
- Give sufficient drying time between coats.
- Read the manufacturer’s instructions.
- Use brushing, spraying, or rolling depending on the item and product.
- Know that sometimes sanding between coats or buffing after is necessary.
- Always follow the manufacturer’s instructions for best results.
An artisan once spent many months carving a wooden sculpture. He tried a new varnish recommended by another artist. Unfortunately, this varnish ruined his work. So, from then on, he made sure to research all products before using them. He learned the importance of picking the right protective coating.
Cleaning up and removing any paint marks
Before removing any paint marks, ensure the painted surface is dry. Gather rags, mild soap, warm water, and a soft-bristle brush. Test cleaning solution in an inconspicuous area. Blot away wet paint with a cloth or paper towel. Clean paint marks using soapy water and circular motions. Rinse and pat dry. Follow the manufacturer’s guidelines for specific cleaning instructions.
To learn how ancient civilizations dealt with unwanted paint marks, the Egyptians used natural substances like vinegar and lemon juice with sand. During the Renaissance, artists used bread to lift paint marks off canvases. There’s a timeless need for effective methods to clean up and remove paint marks.
Documenting and photographing the completed mural
Steps to Capture and Preserve a Mural:
- Capture the mural’s detail with high-quality cameras or professional photographers!
- Select the right lighting to highlight its colors and textures.
- Get wide shots to show the overall composition.
- Focus on close-up photos to snap the intricate details and brushwork.
- Make a digital archive for future reference by organizing the pics.
- Document the process of creating the mural too, for added context!
- Include perspectives not yet covered.
- Interview the artist about their inspiration, techniques, and challenges.
- This adds valuable info for art lovers, researchers, and historians.
- To appreciate the mural, viewers must experience it directly.
- The colors, details, and expressions can’t be conveyed through words or photos.
- Visit the location or attend events with the artist.
- Witnessing the masterpiece connects with its emotions and meanings.
- Don’t miss out!
- Document and photograph every aspect.
- Preserve the mural for future generations.
- Let’s celebrate creativity by preserving this mural!
Promoting and showcasing your mural
To promote and showcase your mural effectively, utilize the following solutions: Sharing on social media platforms, collaborating with local communities or organizations, and participating in mural festivals or competitions. These strategies will enhance the visibility and reach of your artwork, allowing you to connect with a wider audience and establish yourself as a talented muralist.
Sharing on social media platforms
Show off your mural on visual platforms like Instagram, Pinterest, and Facebook. Hashtag relevant topics, like street art or your style, for more discoverability. Interact with other artists, mural lovers, and local communities by liking, commenting, and sharing posts.
Reach out to influencers who fit your vision and target audience. Share progress shots, sketches, and stories to capture the making of your mural. Create campaigns or challenges to encourage people to take photos or share their interpretations. Monitor your accounts for comments and messages.
Don’t miss out on any chances – start sharing today! Show the world your unique perspective and creativity!
Collaborating with local communities or organizations
Build relationships with relevant groups and individuals.
Jointly plan to make sure the mural reflects local values.
Source resources in the community.
Host events to engage people.
Promote via networks.
Nurture long-term partnerships.
Open up to different views, but keep communication lines open.
Share regular updates on progress!
Participating in mural festivals or competitions
Jane, a talented artist, was one of the finalists at a mural festival. Her vibrant and captivating mural earned her the first prize! This recognition opened up many doors for her, including commissioned mural projects.
Participating in mural festivals or competitions has many advantages. One is having your work seen by a big audience. Art enthusiasts, gallery owners, and potential buyers could be interested in buying or commissioning your murals.
Also, such events offer the opportunity to network and collaborate with other artists from different backgrounds and styles.
Moreover, it can help enhance your artistic portfolio. Winning awards or receiving positive feedback from viewers and judges can add credibility to your work and attract future clients or exhibition opportunities. Furthermore, these events often get media coverage, which can promote your murals to a wider public.
In conclusion, mural festivals or competitions are a great way to gain exposure, expand your artistic network, and open up new career opportunities.
Conclusion
Let’s take a look back at what we discovered while exploring the world of muralism. It’s clear that this art form takes a unique combination of creativity, skill, and commitment. By refining your artistic talent and mastering different painting techniques, you can turn dull walls into captivating works of art that leave a lasting impression.
Moreover, research and planning are vital for successful mural creation. Looking into the area, reflecting on the message or idea, and selecting materials carefully are all important steps. Involving others in the process also helps to amplify the impact and meaning of the mural.
Banksy famously said: “Art should comfort the disturbed and disturb the comfortable.” This insightful remark demonstrates the purpose and potential of murals – to communicate and provoke thought, blending into our community’s visual fabric.
Frequently Asked Questions
Q: What is a muralist?
A: A muralist is an artist who creates large-scale paintings or artwork on walls or other large surfaces.
Q: How do I become a muralist?
A: To become a muralist, you should develop your artistic skills through practice and education. Start by learning various painting techniques, studying art history, and experimenting with different mediums. It’s also helpful to gain experience by assisting established muralists or participating in community mural projects.
Q: What education is required to become a muralist?
A: While formal education is not always required, many muralists choose to pursue a degree or certification in fine arts or a related field. This can provide a solid foundation in art techniques, theory, and history. However, practical experience and a strong portfolio are often more important for success as a muralist.
Q: How do I find muralist job opportunities?
A: Look for muralist job opportunities by networking with other artists, joining art associations or organizations, and attending art exhibitions and events. You can also approach local businesses, art galleries, or community organizations that may be interested in commissioning murals. Online platforms and social media can also be valuable resources for finding muralist job postings.
Q: What materials and tools are commonly used by muralists?
A: Muralists typically use a variety of materials and tools, including acrylic or spray paint, brushes of different sizes, paint rollers, scaffolding or ladders for larger projects, and protective gear such as masks and gloves. The specific materials and tools depend on the artist’s preferred style and the surface they are working on.
Q: How much do muralists typically charge for their work?
A: The cost of hiring a muralist varies depending on factors such as the size and complexity of the mural, the artist’s experience and reputation, and the location of the project. Muralists often charge per square foot, and prices can range from a few hundred dollars to several thousand dollars.
Subject: How to become a muralist
Company: Hollywood Connections Center
Network: MyHollywoodPage.com
The Hollywood network of arts and creative professionals.

