


Introduction to still-life painting
Still-life painting is an enthralling art form. It lets creators make visually impressive compositions of motionless objects. This art is a way of self-expression and gives a private look into the artist’s world. The history of still-life painting dates back to ancient civilizations. Through the precise arrangement and close watching of everyday objects, artists can bring life into their works.
In still-life painting, the artist has the control to make usual things appear unique. By catching the spirit of items like fruits, vases, or common home items, artists can communicate feelings and narrate stories without people involved. This special ability to transform ordinary objects into art is what makes still-life painting different from other forms of art.
One well-known example of the power of still-life painting is Jan Davidszoon de Heem’s masterpiece “Still Life with Flowers and Oysters.” De Heem beautifully captures the fragile beauty and evanescence of life through a mix of bright flowers and luxurious oysters. Looking at this painting sends you back in time, where time is frozen and the beauty is immortal.
What is a still-life painting?
Still-life painting is a fascinating art. It showcases inanimate objects such as fruits, flowers, and everyday items. It encourages us to admire the beauty of ordinary objects. Through brushwork and arrangement, stories can be told, emotions stirred, or meanings conveyed. Artists bring their subjects to life with every stroke of the brush.
The genre dates back to Ancient Egypt and Rome. Offerings were depicted in tombs. During the Middle Ages and Renaissance, still-life paintings were mostly religious or allegorical. But in the 17th-century Dutch Golden Age, the genre was recognized as its own.
It offers lots of room for creativity. Artists can choose natural or man-made items. They can arrange them in different ways and use techniques to bring their vision to life. From delicate florals to vivid kitchen scenes, still-life paintings can take us to a world of awe and thought.
History of still-life painting
Still-life painting has a captivating history, showing the power of art. This art form began in ancient times – examples found in Egyptian tombs and Roman villas. In the Renaissance, still-life painting became a major genre. Artists like Pieter Aertsen and Clara Peeters changed the style with symbols. The Dutch Golden Age made still-life paintings even more popular. Jan Brueghel the Elder and Willem Claeszoon Heda created amazing paintings of fruits, flowers, and everyday items.
In the 17th century, collectors across Europe wanted these artworks. They showed an artist’s skill and also had messages. For example, a skull shows life’s transience.
In the 19th century, Jean-Baptiste-Siméon Chardin was a master of still-life painting in France. He focused on simple objects like kitchen utensils and fruits. These influenced later artists like Édouard Manet and Paul Cézanne.
Vincent van Gogh’s story is remarkable. Despite his troubles, he painted still lifes in Saint-Rémy-de-Provence asylum. His brushstrokes gave new life to this genre.
Still-life painting has come a long way. From simple objects to complex compositions with symbolism and emotion. It continues to captivate viewers and share profound messages about life.
Materials needed for still-life painting
Materials Needed for Still-Life Painting
When it comes to still-life painting, there are a few must-have supplies. These will let you bring your artwork to life with vibrant and realistic representations.
- Quality Paints: Get high-quality paints to capture the essence of your subject. Have a range of colors to mix and blend hues.
- Variety of Brushes: Different brushes serve different purposes. Have small detail brushes and large wash brushes.
- Canvas or Surface: Choose a canvas or surface that is right for you. Consider texture, size, and durability.
- Still-Life Objects: Select items that inspire you and fit together visually. Experiment with different compositions and arrangements.
Other helpful tools for still-life paintings include a palette knife, varnish, gesso, etc.
Vincent van Gogh once became frustrated with his results until he invested in better paintbrushes and pigments. This changed his artwork and made it more vibrant and captivating.
With these materials and a passion for art, you can create stunning still-life paintings that will last.
Setting up a still-life scene
To set up a still-life scene with the right ambiance and composition, you need to carefully select objects and arrange them strategically. Choosing objects for the still-life and arranging them appropriately are key steps in creating a captivating composition that will bring your still-life painting to life.
Choosing objects for the still-life
When selecting objects for a still-life scene, it’s important to consider their appearance, composition, and significance. Each object should add depth and meaning. Pick objects with unique textures, shapes, and colors to create visual interest. Also, think about the symbolism behind each object to evoke specific emotions or ideas in the viewer. Carefully selecting objects for your still-life can make a captivating and thought-provoking composition.
Think about contrasting elements like soft and hard textures, smooth and rough surfaces, or organic and man-made shapes. These juxtapositions can add visual tension and make the still-life more dynamic.
Pay attention to the composition of your scene. Arrange the objects to create balance and harmony within the frame. Experiment with different arrangements until you find pleasing and engaging results.
Consider the significance of each object you choose. Objects can have symbolic meanings or represent certain themes or ideas. For example, a flower may symbolize beauty or impermanence, while a skull may evoke thoughts of mortality. Incorporating meaningful objects can convey deeper messages to the audience.
Keep in mind the lighting conditions and background. The lighting should highlight the forms and textures of the objects while creating shadows and highlights. The background should complement the objects without distracting them.
Art professionals at the Tate Modern Museum in London suggest researching still-life paintings and their historical interpretations. This can provide valuable insights into the use and significance of objects in art.
Arranging the objects
- Choose items with various shapes, sizes, and textures.
- Find things with eye-catching colors and patterns.
- Determine the main object in your scene. Put it in the forefront or middle to grab attention.
- Arrange the other objects to create balance and depth. Check out the “rule of thirds” and “leading lines” for guidance.
- To make it creative, add unusual things and natural elements, like flowers and fruits.
- Try out diverse lighting to set the mood. Natural light, lamps, candles, diffusers, and reflectors are great options.
- By following these steps and adding your own touch, your still-life scene will be unique and capture the imagination.
Basic techniques for still-life painting
To enhance your still-life painting skills, master the basic techniques with a focus on composition, lighting, perspective, and color mixing. These essential elements will guide you in creating captivating and realistic still-life works. With a solid grasp of these foundations, you’ll be able to bring your artistic vision to life on canvas.
Composition
A well-crafted still-life painting can astound viewers. Choosing objects strategically is key when creating a captivating composition. Reflect on their relationships, placement, and size. Utilizing leading lines or shapes can add depth and guide the eye.
Lighting is an essential factor of still-life composition. It can cast shadows that add dimension. Test various light sources to find a unique perspective.
Incorporate special details to elevate your artwork. Symbolism, texture, pattern, and reflections can all offer intrigue.
I recall an artist meticulously arranging fruit on a table for his masterpiece. He devoted hours to adjusting each piece until he felt content. His meticulousness led to a tranquil and abundant composition.
Lighting
Lighting is key in still-life paintings. Natural light is best. But you can also use artificial light to make different moods. Try different angles and levels of light to bring your painting to life.
Look at how light reflects, casts shadows, and makes highlights on surfaces. Replicate this on the canvas for a realistic look.
Color temperature matters too. Natural daylight has a cool tone, whereas artificial lights like incandescent or fluorescent bulbs have a warmer tone. Use the right color temperature to make your painting look great.
Let me tell you a story. A famous artist had difficulty capturing light on glass bottles. She tried many lighting setups, and then found success! By placing a diffused light source above and behind the bottles, she was able to create beautiful reflections and shadows. This added depth and dimension to her paintings.
Perspective
To make still-life paintings more lifelike, artists use overlapping and foreshortening. Overlap puts an object in front of the other. Foreshortening makes faraway objects look small.
Light and shadows help make the painting more realistic. Artists use light to bring out certain areas while darkening others. This gives the painting a 3D feel.
Composition also plays a role. Different angles and viewpoints make the painting more interesting. A clever composition guides the viewer’s eye, giving it a sense of depth.
Color mixing
For still-life painting, color theory is key. Blend primary colors to create secondary and tertiary hues. Experiment with pigment ratios and intensities for the desired shade.
Complementary colors create contrast. Red & green, blue & orange – opposite on the wheel. Add white or black to change values and create depth.
Consider color temperature. Reds, oranges, and yellows are warm and energetic. Blues, greens, and purples are cool and tranquil. Understand how they interact for a harmonious composition.
Study the history of color mixing. Impressionists of the late 19th century revolutionized it. They used pure pigment dots instead of blended colors. Resulting in vibrant, shimmering paintings.
A step-by-step guide to creating a still-life painting
To create a still-life painting, master the art of sketching the composition, blocking in the shapes, adding details and highlights, and finalizing the painting. With this step-by-step guide, you’ll learn the secrets to capturing the essence of the subject and bringing it to life on canvas. Happy painting!
Sketching the composition
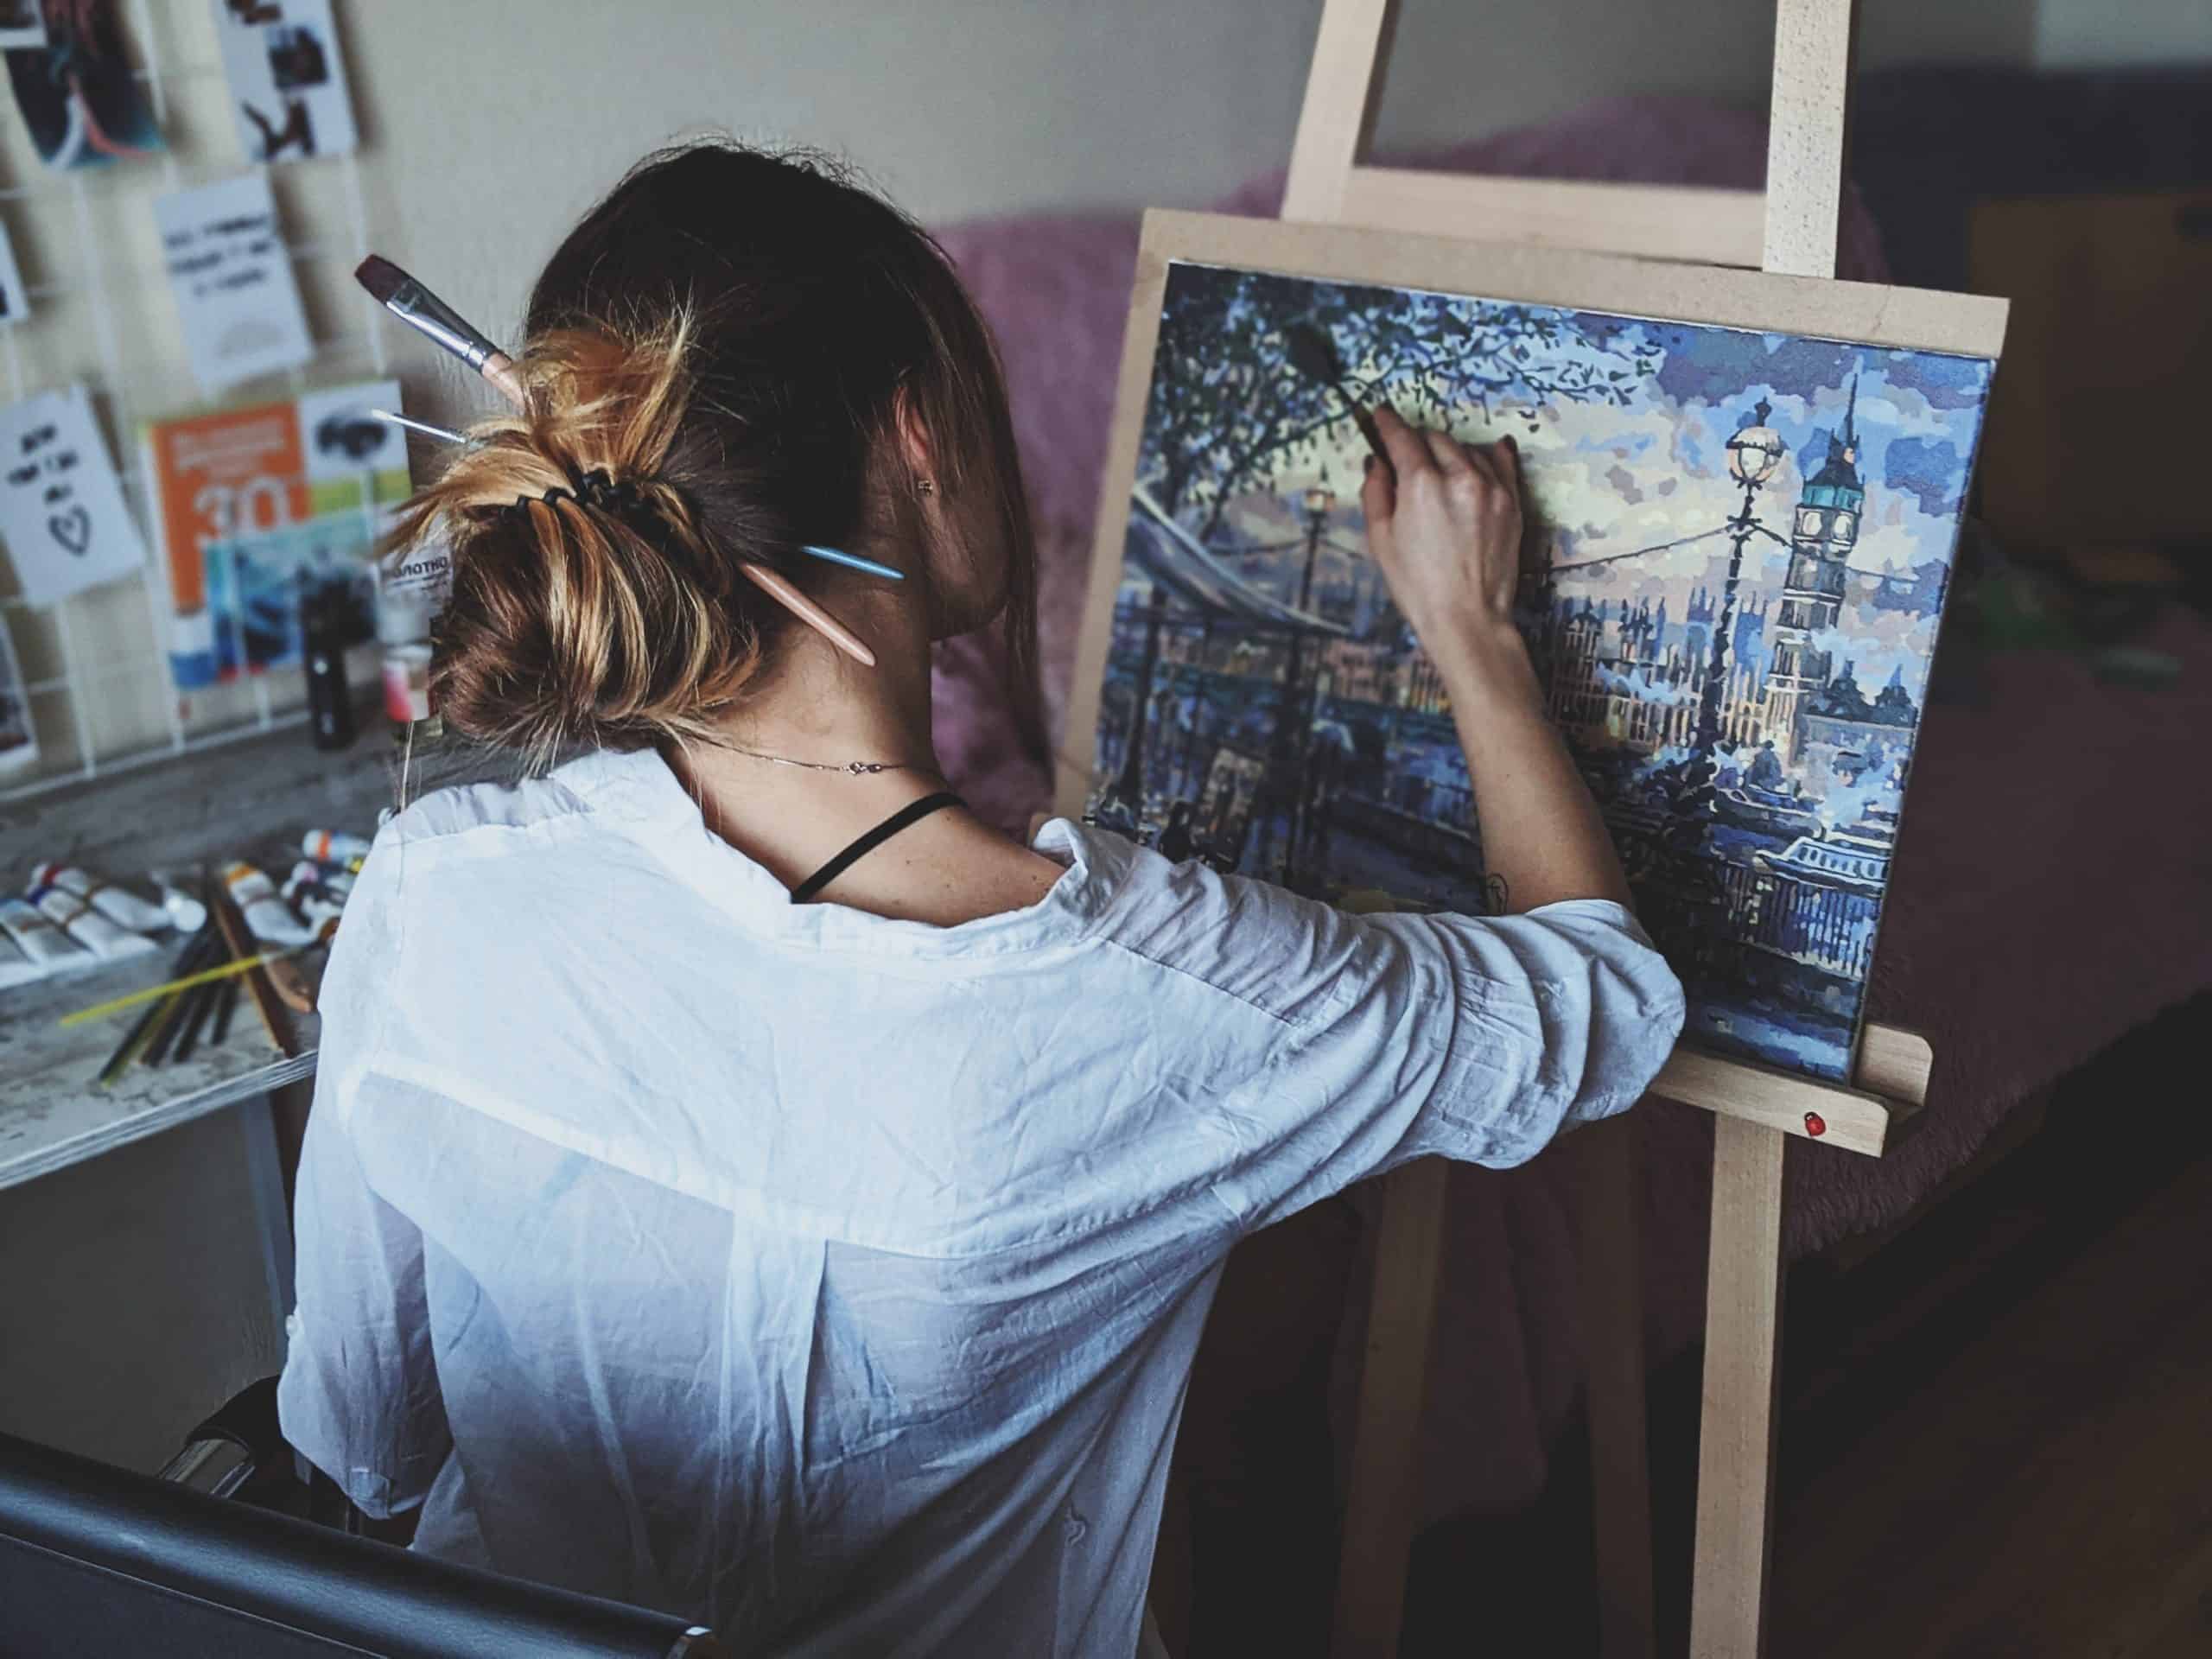
The artist dives into sketching the composition. Every pencil or brush stroke brings the subjects to life. They keenly observe and arrange elements in a visually pleasing way. Light, shadow, and texture all play a role.
Perspective is often overlooked. By understanding how objects relate to each other and their surroundings, artists can create a realistic depth. This adds intrigue to the final piece and lets viewers immerse themselves in its narrative.
A captivating tale: Vincent van Gogh carefully sketched his composition for “The Starry Night” before painting it. His masterpiece captures the starlit sky above a village landscape. His emotional connection with nature shone through. It’s an awe-inspiring painting that continues to mesmerize art lovers worldwide.
Blocking in the shapes
Study the still-life arrangement. Notice the objects and how they relate. Identify the main shapes, like cubes and cones. Lightly draw these shapes on the canvas. Don’t worry about perfection. Also, observe the negative spaces between objects. Check your work and make adjustments.
Blocking in the shapes gives you a good start for the painting. It sets up the composition and guides the paint, textures, and details. And it doesn’t tie you to rigid boundaries – feel free to adjust as needed.
Famous artist John Carlson’s book states that blocking in simple shapes quickly makes accurate proportions in any painting style or subject.
Adding details and highlights
For a captivating still life, highlights and details are key. They bring life and depth to your painting.
Observe your subject and spot the tiny, unique elements. Is there a speck of light? Shadows with intriguing shapes? Note these details as you start rendering them on your canvas.
When adding highlights, place them strategically to bring out certain areas. Consider the light source direction and intensity. Layer lighter shades of paint over the darker ones to give luminosity.
Texture is also important. Experiment with brush strokes and add mediums like impasto gel or modeling paste.
Pro Tip: Details and highlights should work together. Guide the viewer’s eye through your masterpiece.
Finalizing the painting
- Examine each element of your painting. Check textures, shadows, highlights, and proportions. Don’t rush the process as small changes can make a big impact.
- Evaluate the color scheme. Does it create balance? Increase or decrease saturation, brightness, or contrast to achieve visual harmony.
- Add final touches for life and depth. Give attention to intricate patterns, reflections, or light effects. Use precise brush strokes or techniques to highlight features.
- Sign your painting with pride. Choose a signature style that complements but doesn’t overpower it. Then, protect it with a varnish or sealant.
- Take breaks during the finalization process. Observe your work from different distances, for fresh perspectives.
- Leonardo da Vinci’s iconic Mona Lisa took years to perfect. This shows how important it is to invest time into finalizing a painting.
Tips and tricks for successful still-life painting
Still-life painting can be a rewarding challenge. Keep these tips in mind for success:
- Select objects with interesting shapes, textures, and colors.
- Consider the lighting to create depth.
- Capture details accurately.
- Use brush techniques for texture.
- Layer paint and experiment with mediums.
- Utilize color theory.
- Practice patience and observe carefully.
Did you know? Still-life painting became popular during the Renaissance period. Artists explored everyday objects with great skill and detail. This opened the door for future generations of artists.
Today, armed with insight into successful still-life painting techniques, artists are better equipped than ever to create captivating works of art!
Conclusion
The realm of still-life painting is full of meaning and purpose. The journey is more than creating a canvas – it’s an exploration of objects and their stories. As we reflect on its beauty, we can’t help but be captivated by the ability to immortalize everyday objects.
The colors blend, creating life in inanimate subjects. We witness the artist’s attention to detail and skill in capturing moments. Beyond this, still-life paintings encourage introspection and invite us to find solace in our surroundings.
I recall a story of the power of still-life art. In Paris, I saw a painting of a bowl of fruit in the sunlight. Each stroke perfectly captured the vibrant hues and shadows. It had an inexplicable magnetism beyond just looking at it.
We take away an appreciation for composition and the stories within these works of art. Every stroke and every object is an invitation to be mindful and discover new wonderment.
Frequently Asked Questions
FAQs: Introduction to Still-Life Painting
Q1: What is a still-life painting?
A still-life painting is a genre of art where the artist depicts inanimate objects such as fruits, flowers, utensils, or everyday objects arranged in a specific composition. It captures the beauty of objects by focusing on their shapes, colors, textures, and the play of light and shadow.
Q2: What is the significance of still-life painting?
Still-life painting allows artists to develop their skills in observation, proportion, and composition. It serves as a form of artistic expression where artists can explore various themes, moods, and symbolism through the arrangement of objects. It also provides an opportunity to study the interplay of light and shadows.
Q3: What materials are commonly used for still-life painting?
The materials most commonly used for still-life painting include canvas or wooden panels as a surface to paint on. Artists typically use oil paints, acrylics, or watercolors to create their works. Brushes of various sizes, palettes, and mediums such as linseed oil or turpentine are also utilized.
Q4: How can I improve my still-life painting skills?
To improve your still-life painting skills, it is important to practice regularly. Observe and study the objects you want to paint, paying attention to their shapes, colors, and textures. Experiment with different compositions and lighting setups to enhance your understanding of form and create depth in your paintings. Seeking feedback from other artists or joining art classes can also be beneficial.
Q5: Are there any famous still-life painters?
Yes, there have been many famous still-life painters throughout art history. Some notable examples include Jan Davidsz de Heem, who was known for his detailed still lifes; Paul Cézanne, whose still-life works played a significant role in the development of modern art; and Giorgio Morandi, who produced subtle and contemplative still-life paintings.
Q6: Can still-life painting be done in different styles?
Absolutely! Still-life painting can be approached in various styles, ranging from realistic and detailed to abstract and expressive. Artists can experiment with different techniques, brushwork, color palettes, and compositions to convey their unique vision and artistic style in still-life paintings.
Subject: Introduction to still-life painting
Company: Hollywood Connections Center
Network: MyHollywoodPage.com
The Hollywood network of arts and creative professionals.

