


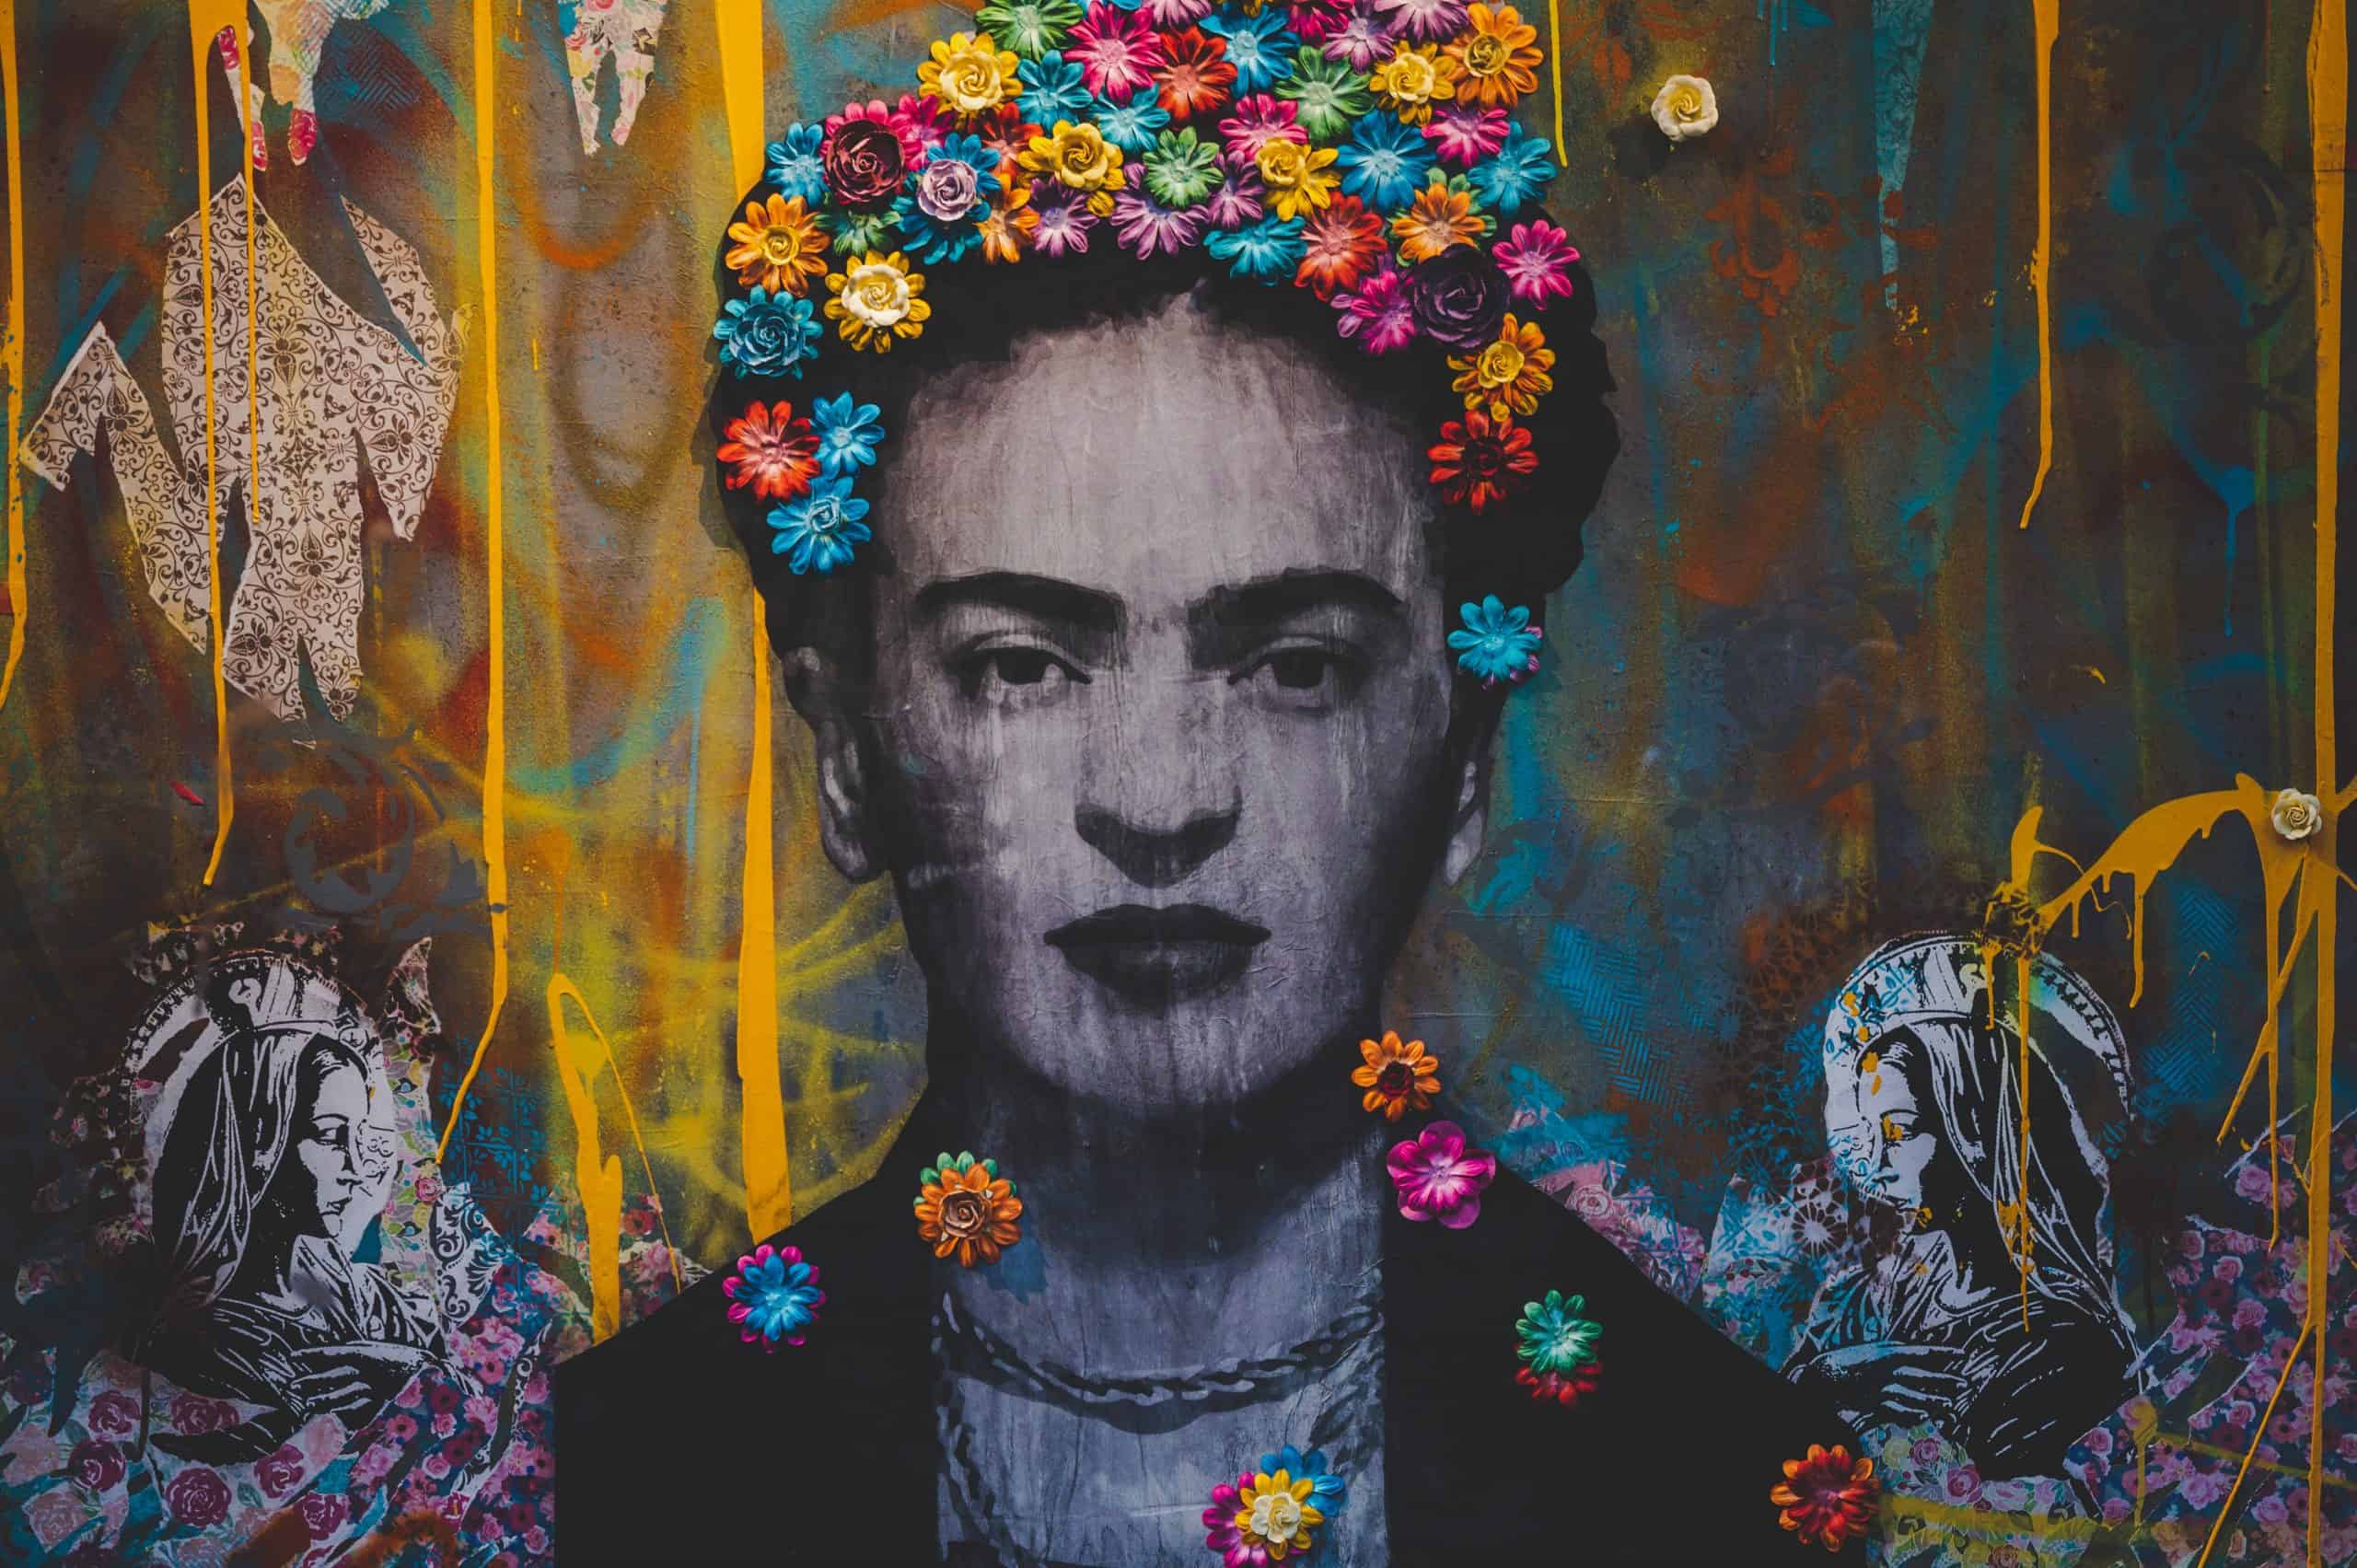
Tips for achieving photorealism in your art
For artists, photorealism is a goal to strive for. It is the ability to make artwork that looks like a photo. Whether you are a pro or just starting out, there are tips to help bring your art to life.
Attention to detail is key. Every brush or pencil stroke should be purposeful. Take time to study the subject closely and capture the nuances. This will create a depth and realism that is captivating.
Light and shadow also play an important role. Understand how light interacts with different surfaces. Notice how it creates highlights and shadows. This can give art a three-dimensional quality.
Make sure to choose the right materials. High-quality paints, pencils, brushes, and paper can make a difference. Find the ones that suit your artistic style and desired level of realism.
Practice is essential to master photorealism. Dedicate regular time to hone your skills. Push yourself by trying new techniques and complex subjects. The more you practice, the better you’ll become at capturing the essence of realism.
Take these tips into consideration. Embrace detail, master light and shadow, choose materials, and practice relentlessly. With time and dedication, your art will transform into lifelike masterpieces. Don’t let fear hold you back. Start exploring photorealism and unleash your full potential.
Understanding Photorealism
Photorealism is an art form that entails creating visual representations that closely resemble a high-res photograph. It takes a lot of skill and detail to bring this to life. Here’s how to master photorealism:
- Observe well: To do photorealism, you must observe your subject carefully – pay attention to the texture, the light, and the shadows.
- Use reference images: Reference images can be helpful while crafting your art. They provide insight into the subtleties of the subject and help stay accurate.
- Layer it up: Start with a sketch and gradually add more detail layer by layer. This method provides better control and enhances the realism.
- Get precision tools: Invest in fine-tipped brushes or pencils for precise application and capturing minute details.
- Blend away: Try blending techniques like smudging or feathering to merge colors and create smooth transitions, like a photograph.
- Patience and practice: Photorealism requires patience and practice. Keep honing your skills by trying out new subjects, mediums, and techniques.
Realize that photorealism isn’t just about duplicating an image accurately. It encourages viewers to ponder the difference between reality and illusion while displaying craftsmanship.
It all began in the late 1960s when photorealism started in America. This art movement tried to contradict regular art forms by accurately reproducing photos on canvas. The pioneers of photorealism faced criticism from people who thought their work was just copying photographs and not showing creativity.
But, the artists didn’t stop. They kept going and carved out a place for themselves in the art world. Now, photorealism keeps growing, with artists pushing limits and experimenting with new techniques to bring out the most realistic results.
Choosing the Right Reference Image
To achieve photorealism in your art, selecting the right reference image is crucial. With sub-sections on selecting a high-quality image and considering lighting and composition, we will explore the solutions to help you find the perfect reference image that will enhance the realism and quality of your artwork.
Selecting a High-Quality Image
Quality reigns in image selection! You must pick a top-notch image that conveys your message. Here are the key points:
- Resolution counts: Go for images with high resolution for clarity and sharpness.
- Composition is important: Look at the overall layout and balance of the image, to make sure it goes with your content.
- Colors talk: Pick images with lively, attention-grabbing colors that fit your message’s tone.
- Authenticity matters: Choose images that feel real and authentic, which your audience will connect with.
Moreover, pay attention to details that can improve your reference image. Check for lighting, perspective, and emotional subtleties that add meaning and depth.
So, don’t miss out on the opportunity to wow your audience with stunning visuals. Take action by examining potential images closely. With consideration and a keen eye, you can select a great image that resonates and leaves a lasting effect.
Considering Lighting and Composition
To make outstanding art, picking the best reference image is key. Here are five elements to keep in mind:
- Lighting is important for setting the ambiance. Pay attention to the direction, intensity, and quality of light.
- Composition includes balance, framing, and leading lines. Follow the rule of thirds too.
- Analyze the tonal range in the image. The contrast between light and dark areas adds depth.
- Try angles and perspectives for unique viewpoints.
- Don’t forget negative space – it affects the composition.
Also consider shadows, highlights, reflections, and textures.
Now is the time to act! Look in your collection or go out and take photos. Don’t settle for dull or poorly composed references – use them to fuel creativity!
Layering and Building the Foundation
To achieve photorealism in your art, layering and building the foundation by sketching a basic outline and blocking in shapes and colors is crucial. These techniques lay the groundwork for creating realistic and lifelike artwork. By mastering these steps, you can bring depth and accuracy to your final piece.
Sketching a Basic Outline
- Main ideas of the project:
- Identifying main ideas through brainstorming
- Arranging ideas in a logical order
- Adding subpoints to expand on main concepts
- Reviewing and revising the outline for effective communication
- Creating a flexible framework
- Benefits of creating an outline:
- Boosting productivity
- Improving quality
- Steps to craft a successful outline:
- Incorporate creativity
- Set oneself up for success
Research from Harvard University suggests that creating an outline can boost productivity and quality. By following the steps outlined above, individuals can create a flexible framework to effectively convey their project ideas.
Blocking in Shapes and Colors
Blocking in shapes and colors is key to making art. You do this by placing shapes and colors in strategic ways. It helps build the piece’s composition and structure.
Think about the artwork’s subject and mood. For example, if painting a peaceful landscape, use soft colors and natural shapes. If making an abstract with energy, go for vibrant colors and geometric shapes.
You can also create depth on a two-dimensional surface. Layer shapes and colors. Overlap them, use light or shadows, and vary intensity.
Start with a sketch or thumbnail of the composition. Use a limited color palette. Play with textures and brush strokes. Contrast tones or use complementary colors for balance or tension.
Adding Detail and Texture
To achieve photorealism in your art, add detail and texture by implementing techniques like working with blending and creating realistic textures. These sub-sections offer solutions for enhancing the authenticity of your artwork.
Working with Blending Techniques
Blending techniques are great for adding texture and detail to your work. They let you blend different elements together seamlessly. By using blending modes and techniques, you can make your design look even better.
Layer masking is a widely used technique. It lets you show or hide parts of an image selectively, giving you complete control. This way, you can combine multiple images or elements into one. It’s great for creating interesting visuals and mixing different textures.
Gradient mapping is another popular tool. It involves mapping one set of colors onto another. This adds depth and richness to photos and illustrations. Selecting the right colors for the gradient can give you unique, eye-catching effects that alter the mood of your design.
Don’t forget to experiment with blending modes too. They define how two layers interact, resulting in different effects. For example, Multiply mode shows darker colors in one layer through lighter colors in another, while Screen mode does the opposite. Exploring these options helps bring your design to life!
Creating Realistic Textures
Creating realistic textures is an art that all designers and artists must master. It adds detail and life-like depth to their creations, making them more visually appealing. There are various techniques and tools to help achieve this: brush strokes, layering colors, and texture overlays.
To start, look at real-life objects for inspiration. Study the texture of a tree bark or the pattern on a leaf to get ideas on how to incorporate similar elements into your work.
Reference images or photographs can also serve as a guide, helping to understand how different textures are formed and how to recreate them in your artwork.
Vary your brush strokes and brush settings. Use brushes with varying shapes, sizes, opacities, or blending modes to mimic natural elements like fur, wood grain, or fabric.
Layering colors also helps add depth and realism to textures. Building up layers of different hues and tones gives a more 3-dimensional appearance, especially when painting landscapes or still life subjects.
Texture overlays are pre-made textures that can be applied to the artwork digitally or manually. They give extra depth and interest to the piece.
Lighting and shadows also need to be considered when creating realistic textures. Observe where highlights fall and shadows form on real-life objects and replicate this effect in your artwork.
Other details to think about include the purpose of the texture within the artwork, its contribution to the overall composition, and experimenting with different materials and mediums. Unconventional techniques, such as using unconventional tools or mixing mediums, can also lead to exciting texture effects.
To further your ability to create realistic textures, try the following:
- Vary brush strokes: Stippling, cross-hatching, or scumbling add texture and variety.
- Use a palette knife: Its shape and flat edge can create interesting texture effects.
- Try dry brushing: Apply paint sparingly and lightly glide it over the surface.
- Utilize mixed media: Combine materials like collage elements, fabric, or textured papers.
- Explore alternative tools: Sponges, toothbrushes, or even credit cards can help achieve unique texture effects.
These suggestions provide artists with alternative approaches to creating textures. By experimenting with different techniques, you can discover new ways of adding detail and interest to your work. Additionally, mixed media allows for different textures to seamlessly be part of the artwork.
Creating realistic textures requires hard work, experimentation, and an eye for detail. With these tips, you can make your artwork come to life with captivating textures and engage viewers in a whole new way.
Achieving Realistic Lighting and Shadows
To achieve realistic lighting and shadows in your art, understanding light sources and adding highlights and shadows are key. By grasping the concept of light sources, you can create accurate renderings. Additionally, incorporating well-placed highlights and shadows adds depth and dimension to your artwork. These techniques will elevate your art to a more photorealistic level.
Understanding Light Sources
Light sources are essential for realistic lighting and shadows. They choose the strength, direction, and color of light in a scene, adding to its atmosphere. Understanding different types of light, like natural, artificial, and directional ones, helps designers control shadows to get the desired effect.
Designers must know the properties of each light source. Natural light changes all day, both outdoors and indoors. Moving sunlight adds depth to indoor places and outside settings. Artificial lights, such as lamps and candles, produce particular colors and cast shadows differently. Designers can use directional lights to copy sunlight or moonlight for a more natural look.
Different materials react to light in different ways. Transparent surfaces let light through easily, while diffusing surfaces spread light unevenly, creating soft shadows. Knowing these properties helps designers show how light affects objects.
In my design career, I worked on a film set. Understanding the details of light sources was important for great visuals. During a dramatic action sequence in a dark warehouse, we used strong artificial lights and smoke machines to increase the atmosphere. The combination of directional lighting and smoke revealed the texture of everything and made the shadows more intense.
Being able to work with light sources helps designers bring their work to life with lighting and shadows. By observing and trying out various lighting setups, designers can create visuals that touch people’s emotions and draw viewers to their virtual worlds with no loss of realism.
Adding Highlights and Shadows
Highlights and shadows can make a scene more realistic and give it depth. Here’s a guide to help you nail it:
- Find the light source. Figure out where the main source of light is coming from. This will decide how the highlights and shadows are cast.
- Make highlights. Use lighter colors or tones to show where the light hits directly. Put this on objects or surfaces that face the light source.
- Add mid-tones. Blend colors or adjust the opacity to go from the highlights to mid-tones smoothly. This will create a transition between light and dark.
- Introduce shadows. Darken areas that are blocked from direct light, like corners, crevices, or under objects. Try different levels of darkness for realistic effects.
- Refine details. Pay attention to small elements like reflections and gradients in the highlights and shadows. Think about secondary sources of light too.
It’s important to remember that highlights and shadows go beyond just adjusting brightness and contrast. Knowing how light works in reality can help you make amazing digital art.
To make the lighting and shadows even better, try using layer blending modes or softening edges.
Perfecting the Details
To perfect the details in your art and achieve photorealism, refine the edges fine-tune colors, and add depth and dimension. These sub-sections offer a solution to enhance the realism of your artwork, ensuring every element appears more lifelike and visually compelling.
Refining the Edges and Fine-Tuning Colors
When it comes to perfecting a project, one key aspect is refining the edges and fine-tuning the colors. This involves focusing on the borders and contours, to make sure they are sharp and precise. Then, adjusting and enhancing the colors to get the right shades and tones.
By refining the edges, our work looks professional. Whether it’s a graphic design, photograph, or web layout, crisp edges give clarity and refinement. Each line must be precisely defined to create quality artwork.
Fine-tuning colors is also necessary. Colors evoke emotions and set moods. So, selecting the right hues is key. Adjusting levels, brightness, contrast, and balance can make an image stand out. By calibrating colors, we bring out their vibrancy while staying true to the original.
In addition to refining edges and fine-tuning colors, texture is important. Adding texture can bring depth and interest. Paying attention to composition ensures elements are arranged well.
In ancient times, artists faced challenges refining edges and fine-tuning colors. They had no digital tools like Photoshop or Illustrator. So, they had to rely on their skills and patience to achieve precise lines and color palettes. They used techniques such as mixing pigments manually or extracting dyes from plants.
Today, digital tools make refining edges and fine-tuning colors more accessible and efficient. However, understanding the challenges of the past reminds us of the dedication needed to create exceptional work.
Adding Depth and Dimension
Adding depth and dimension is key for any creative task. It brings an immersive experience, captivating the audience and raising the quality of the work. Various techniques and elements can be used to give a sense of realism and intricacy.
Lighting can add depth and dimension. Placing lights in different spots creates shadows, which emphasize certain features. This technique is often used in photography and cinematography to create eye-catching images.
Manipulating perspective is another way to increase depth. Artists can use techniques like foreshortening or vanishing points to make objects appear closer or farther away. This gives a three-dimensional aspect plus a sense of scale and distance.
Texture is also a great tool to add depth and dimension. By using different textures in the artwork or design, a tactile experience is created. Textured brushstrokes on a painting or raised surfaces on a sculpture are just some examples.
Color theory is another way to enhance depth. By understanding how colors interact, artists can create visual illusions that make certain objects stand out. This manipulation of color adds sophistication to an artwork and makes it visually appealing.
Vincent Van Gogh was well-known for his ability to depict depth and dimension in his paintings. His famous work “Starry Night” is an example. He used swirling brushstrokes, vibrant colors, and different levels of intensity to convey movement and depth. This masterpiece continues to amaze people around the world.
Reviewing and Making Adjustments
To achieve photorealism in your art, reviewing and making adjustments is essential. Stepping back and assessing the artwork allows you to evaluate its realism. Making necessary corrections or enhancements ensures that the final result accurately reflects the subject.
Stepping Back and Assessing the Artwork
Detaching your artwork is key to the creative process. It gives a new view and helps make it better. Here’s a 5-step Guide to help you do that properly:
- Take a Break: Step away from your work and let your mind clear.
- Analyze Composition: Look at how elements are arranged. Do they fit together?
- Evaluate Color Palette: Check if the colors used convey the right message.
- Critique Technique: See if brushwork, texture, shading, or line quality helps the artwork.
- Seek Feedback: Ask trusted people for their opinions.
It’s an ongoing process. By regularly assessing and changing, you can improve your art.
Pro Tip: Ask specific questions when seeking feedback rather than general comments. This will help get meaningful answers.
Making Necessary Corrections or Enhancements
Enhancements or corrections to content involve refining and increasing quality, guaranteeing no mistakes occur. Refine textual components for clarity and relevance. Revamp visuals like pics, charts, or graphs for increased impact. Guarantee proper formatting and layout in the document. Rectify any grammar, spelling, or punctuation errors for a polished presentation. Fine-tune language to fit the target audience’s tastes and maintain engagement. Pay attention to detail for professionalism.
Pro Tip: Take breaks when reviewing to have a new outlook on the content.
Conclusion
For photorealism, pay attention to detail and understand light, texture, and perspective.
Incorporate these elements to create realistic art.
Lighting is important. Understand how light interacts with things to accurately depict shadows, highlights, and reflections. Observe real-life lighting and study photos.
Texture adds depth and realism. Capture details like roughness and smoothness. Experiment with brushes and tools.
Perspective is key. Objects appear smaller in the background and lines converge towards a vanishing point. This creates depth and immersion.
Reference images or still-life setups are useful. They provide information about the subject’s form, color, and details.
Patience and practice are important. Developing these skills takes time but will result in captivating artwork.
Frequently Asked Questions
1. How can I achieve photorealism in my art?
Photorealism can be achieved through careful observation and attention to detail. It is important to study the subject closely, paying attention to light, shadow, texture, and color. Using references such as photographs can also be helpful in capturing the realistic elements in your art.
2. What tools or mediums are best for creating photorealistic art?
While any medium can be used to create photorealistic art, some artists find success with mediums that allow for fine detail, such as graphite pencils, colored pencils, or oil paints. However, the choice of medium ultimately depends on your personal preference and comfort level.
3. How important is patience when striving for photorealism?
Patience is crucial when aiming for photorealism. Achieving the level of detail and accuracy required takes time and precision. It’s important to work slowly and methodically, building up layers and paying close attention to every small detail.
4. Are there specific techniques or exercises I can practice to improve my photorealistic skills?
Yes, there are several techniques and exercises that can help improve your photorealistic skills. One common exercise is to practice drawing or painting small, everyday objects in great detail. This helps train your eye to pick up on subtle nuances and intricacies.
5. How can I make my art appear three-dimensional to enhance its photorealism?
To give your art a three-dimensional appearance, it’s essential to understand how light and shadow work. Study the subject’s light source, and carefully depict the way it interacts with different surfaces, creating highlights, shadows, and reflections.
6. Can I add my own style to a photorealistic art piece?
Absolutely! Photorealism doesn’t mean your art has to be a carbon copy of a photograph. While accuracy is important, you can still incorporate your personal style and interpretation, whether it’s through color choices, brush strokes, or composition. Adding your unique touch can make your art stand out while maintaining a photorealistic quality.
Subject: Tips for achieving photorealism in your art
Company: Hollywood Connections Center
Network: MyHollywoodPage.com
The Hollywood network of arts and creative professionals.

