


Tips for better aerial photography
Aerial photography is an amazing art form that allows us to capture the world from a totally unique viewpoint. With tech improvements, taking stunning aerial shots is now easier than ever. Here, we’ll look at tips and methods to help you improve your aerial photography talents and take your pics to new heights.
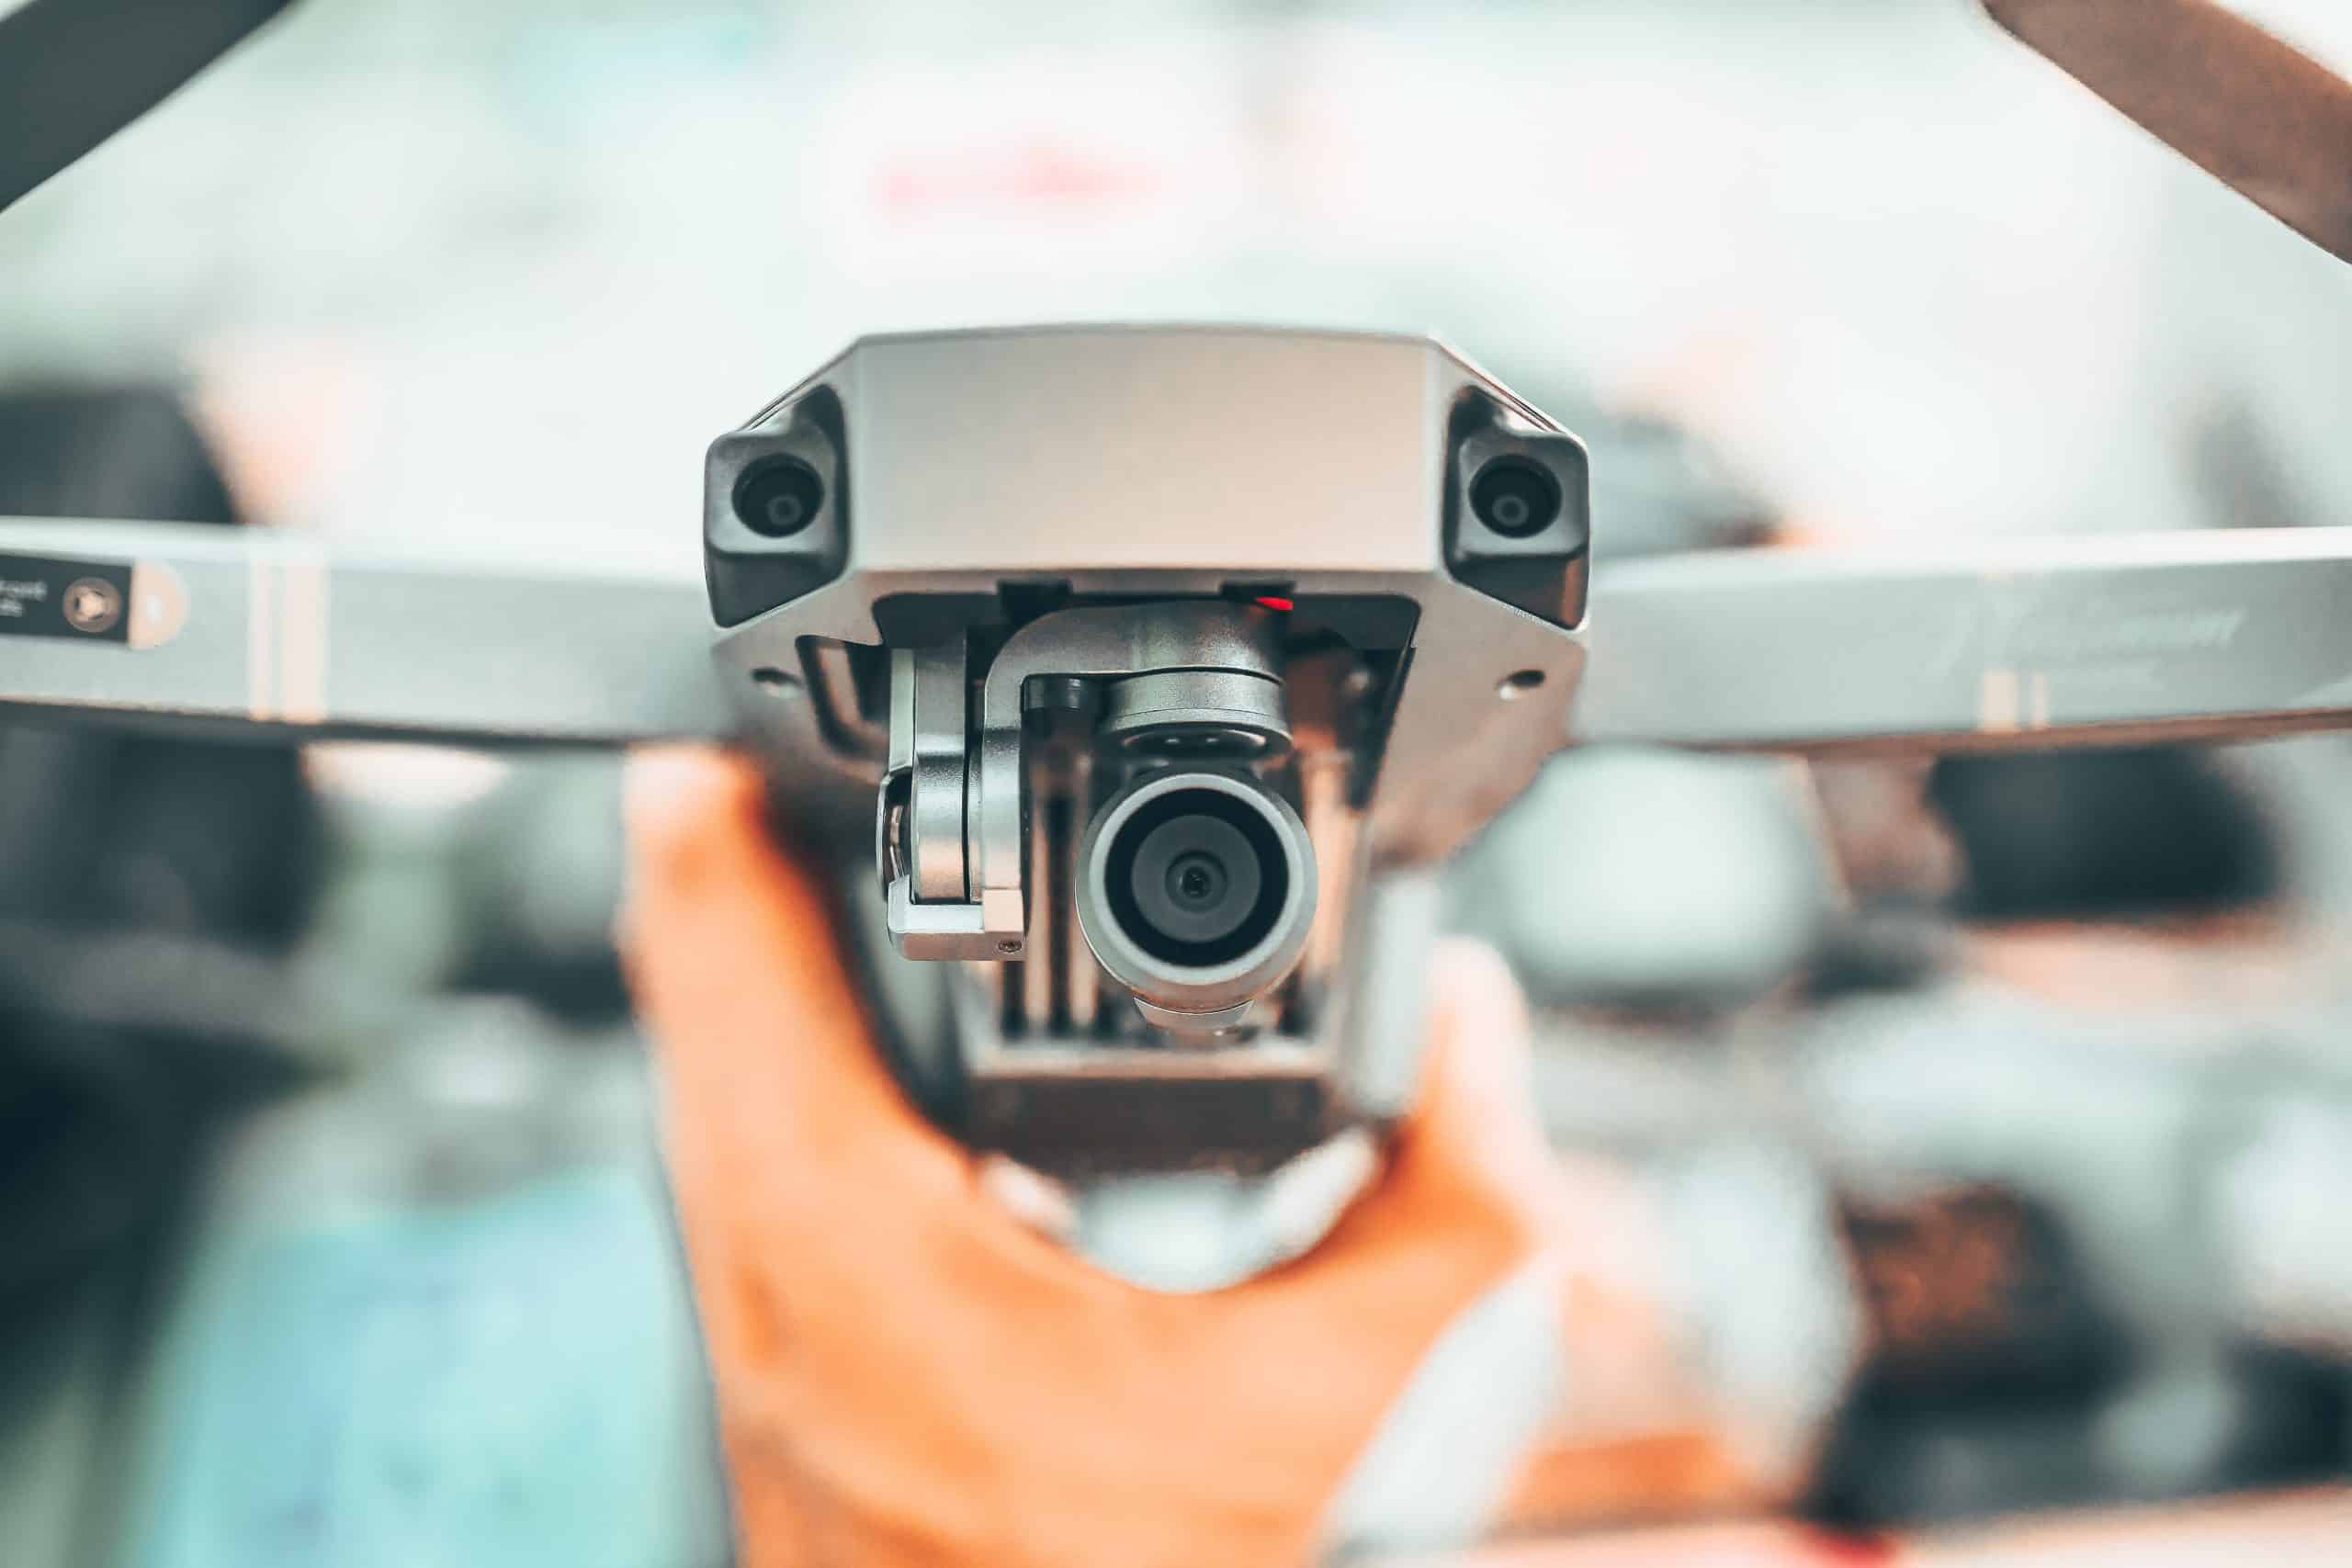
First, the most important element is selecting the right gear. Make sure you get a quality drone or chopper with a dependable camera system that fits your needs. Also, get familiar with the settings and controls of your equipment so you can take perfect shots without any issues.
Composition has a huge impact on creating beautiful aerial photos. Play around with different angles, viewpoints, and focal points to create depth and interest in your images. Look out for leading lines, symmetry, patterns, and textures that can make your photos look even better.
Lighting is another key part of aerial photography. The golden hours – sunrise and sunset – are ideal for capturing incredible landscapes and cityscapes. Make use of natural lighting to set the mood and atmosphere of your photos. Pay attention to the direction of light and shadows cast on your subject as they can completely change the look of the image.
Also, post-processing is an important part of aerial photography. While getting great shots is essential, editing can take your images to the next level. Use apps like Adobe Lightroom or Photoshop to adjust colors, and exposure, reduce noise, and refine other elements while preserving the original photo.
Did you know that aerial photography has been around for centuries? The initial aerial photograph was taken by French photographer Gaspard-Félix Tournachon (aka Nadar) in 1858 using a tethered balloon during his trip over Paris. This groundbreaking accomplishment opened up a new era in photography and helped make progress in aerial imaging technology.
Choosing the Right Equipment
Choosing the perfect gear for aerial photography is key. It’s important to pick the right camera, lens, and drone to get the highest-quality shots.
Lightweight, high-resolution cameras are ideal. Advanced stabilization features also help to keep shots steady when flying.
Lens selection depends on what you intend to capture. Wide-angle lenses are great for landscapes, while telephoto lenses are great for distant subjects.
When it comes to drones, look for models with obstacle avoidance and intelligent flight modes. This will improve safety and unlock creative possibilities.
John Smith is an example of someone who selected the right equipment. He used a mirrorless camera with a wide-angle lens attached to his drone and achieved spectacular results without compromising image quality or flight stability.
Understanding Composition Techniques
To perfect a composition, you need to think about the elements in the frame. Symmetrical balance gives harmony and steadiness. Asymmetrical balance provides visual tension and interest. Also, you can use natural or man-made structures to give context and show scale in aerial photos. During golden hour, warm light and long shadows enhance composition.
Furthermore, adding unique details like patterns and textures can improve aerial photography. For example, capturing repeating patterns in fields or cities adds depth. Showing different textures, like smooth water and bumpy mountains, makes captivating visuals.
Did you know? Captain James Sayer used aerial photography for mapping in World War I, according to the National Geographic Society.
Mastering Lighting
Photographers looking to take stunning aerial shots must understand the art of lighting. With an eye for detail and creativity, you can turn a regular pic into something special.
Lighting is key in aerial photography as it sets the tone, boosts texture, and highlights the main elements. Sunlight and shadows together can add depth and make the image stand out. It’s important to know how light interacts with objects and landscapes for amazing shots.
For the perfect lighting, you need to consider the time of day. The golden hour, shortly after sunrise or before sunset, gives a soft, warm light that looks mystical. Colors pop, shadows are softer, and the image looks amazing.
You can also try different angles and positions for the light source. Backlighting can create silhouettes, while front lighting shows the subject in detail. You can use LED lights and external flashes too for extra creative control.
Ansel Adams’ iconic photo “Moonrise Hernandez” is a great example of using lighting well in aerial photography. In 1941, Adams took a picture of the landscape in amazing moonlight with a contrast between dark foreground elements and illuminated background mountains. His skill with exposure and composition made this a timeless piece.
Mastering lighting is essential for any aerial photographer who wants to take exceptional photos. Use natural lighting, explore techniques, and be inspired by great works like Adams, and you can take captivating aerial images.
Controlling Camera Settings
When it comes to aerial shots, controlling camera settings is key. Aperture, shutter speed, and ISO can all be adjusted to get the desired effect. Experimenting with these settings will help you capture clear and detailed photos.
Aperture: A wide aperture, such as f/2.8, creates a blurred background with a focused subject. Conversely, a smaller aperture like f/11 or f/16 increases the depth of field.
Shutter speed: This setting affects how long the sensor is exposed to light. Faster shutter speeds freeze motion and slower ones create motion blur. It all depends on what you want to show in your picture.
ISO: Lower ISO settings are best for bright daylight – they produce less noise. For low-light situations, higher ISO values like 800 or 1600 are necessary, but they can introduce more noise.
Here’s an interesting story I heard from a professional photographer. He was trying to capture a sunset with his drone-mounted camera when he encountered wind. Despite the chaos, he adjusted the camera settings swiftly and maintained control.
Preparing for the Shoot
Gearing up for an aerial photography shoot? To guarantee success, stick to these six essential steps!
- Research the Location: Gather info about altitude limits, weather, and any obstacles that could affect getting quality shots.
- Check Your Equipment: Inspect cameras, lenses, filters, memory cards, batteries, and remote control devices.
- Plan Your Flight Route: Decide the best path for desired angles and compositions. Look at the direction of light, potential landmarks, and legal restrictions.
- Prepare Backup Equipment: Have extra batteries, memory cards, lenses, and accessories on hand in case of emergencies.
- Communicate with Your Team: Establish roles and responsibilities before and during the shoot.
- Check Weather Conditions: Monitor forecasts for the shoot date. Good weather increases the chances of stunning aerial photographs.
Also, stay aware of local privacy and flight regulations.
Did you know? National Geographic captures over 22% of its images from aircraft!
Shooting Techniques
To capture amazing images from the skies, aerial photography requires mastering shooting techniques. Here are 3 important things to remember:
1. Composition:
- Adhere to the rule of thirds: Place your subject off-center to create equilibrium and visual allure.
- Include leading lines: Incorporate natural or man-made features that direct the eye through the image.
- Vary perspectives and angles: Try various heights, tilts, and distances to add depth and dimension to your shots.
2. Lighting:
- Take advantage of the golden hour: Shoot during sunrise or sunset for soft, warm light that intensifies colors and textures.
- Avoid intense shadows: Utilize diffused lighting on cloudy days for even illumination.
- Use shadows artistically: Incorporate shadows to add contrast, depth, and drama to your aerial photographs.
3. Camera Settings:
- Opt for a fast shutter speed: Counteract distortion caused by the aircraft’s movement or wind.
- Set the right aperture: Choose a small aperture (higher f-stop) for focused details across the image.
- Be aware of vibrations: Employ image stabilization technology or mount your camera securely to minimize blurriness in flight.
While practicing these tactics, it’s important to remember that aerial photography has its own challenges and possibilities. Taking extraordinary landscapes or buzzing cityscapes from the sky offers a fresh viewpoint that is not accessible with conventional ground-level shots.
Pro Tip: Prior to embarking on an aerial photography session, keep an eye on the weather. Unfavorable weather can impact visibility, lighting, and overall safety.
Post-Processing Tips
Post-processing is an essential part of aerial photography. With a few tips and tricks, you can bring your photos to life! Utilize color correction tools to adjust the colors for accuracy and vibrancy. Sharpen the details and clarity with sharpening tools. And use spot-healing tools to remove any distractions.
To up your post-processing game, try histogram adjustments for tonal range control and gradient filters for exposure modifications. Practice and experiment with various post-processing methods to make your photos stand out. Embrace the power of post-processing to elevate your aerial photography.
Ready to get started? Begin experimenting with these post-processing tips today and unlock the full potential of your aerial shots. Create visuals that will leave viewers in awe. Let the fear of missing out drive you towards mastering this craft.
Safety Considerations
Safety is key when it comes to aerial photography. Make sure you, and everyone else, are safe. Pay attention to the weather, and aircraft limitations, and stay a safe distance from any obstacles.
Know local laws and regulations for aerial photography. This knowledge will help you avoid legal trouble, and create a safe experience.
Before each session, inspect your equipment. Look for any damage or malfunction. Calibrate and update the firmware for optimal performance.
If there are multiple pilots, communication is key. Set up protocols like radio frequencies or walkie-talkies to prevent collisions and coordinate flight paths.
Here’s an example of why you should be prepared. A pilot’s drone crashed due to a gust of wind. Even though there was minor equipment damage, no one was hurt because the pilot had the proper safety gear and insurance coverage.
Remember, safety always comes first. Be aware of risks, take precautions, and capture stunning photos. Nothing is more important than human life and well-being.
Conclusion
As our conversation on aerial photography tips draws to a close, it’s evident that taking amazing shots from above requires careful planning and action. Adhering to the guidelines we discussed, photographers can improve their capabilities and take excellent aerial images.
Choosing the right gear is essential for successful aerial photography. High-quality drones with enhanced camera features allow photographers to snap sharp, detailed images from extraordinary angles. It’s also worth investing in accessories such as stabilizers and filters to further up the quality of your shots.
Familiarizing yourself with airspace regulations is key for taking flight. Beforehand, ensure that you know local laws regarding drone usage and only fly in approved areas. This guarantees safety and legal compliance.
Composition techniques are an important factor that sets aerial photography apart. Just like traditional photography, elements such as leading lines, symmetry, and the rule of thirds are still important when taking shots from above. Thoughtful composition leads to captivating photographs.
Finally, post-processing is critical to refining aerial photographs. Utilizing editing software lets you adjust colors, contrast, and exposure levels to bring out the best in your photos. But, it’s crucial to be careful when editing to maintain a natural look without over-processing.
By utilizing these tips correctly, photographers can take their aerial photography to new heights. With practice and experimentation, stunning visual stories can be created through mesmerizing aerial imagery – giving us a fresh outlook on the world.
Frequently Asked Questions
1. What camera settings should I use for aerial photography?
It is recommended to use a fast shutter speed to reduce motion blur, typically around 1/1000th of a second or faster. Additionally, using a narrow aperture (higher f-number) can help increase the depth of field and ensure more of your aerial shots are in focus. Adjust your ISO settings as needed to achieve the desired exposure.
2. How do I stabilize my aerial shots to avoid blurriness?
To minimize blurriness in your aerial photographs, using a gimbal or stabilizer is highly recommended. These devices keep your camera steady and provide smoother footage, reducing the chances of blurry images due to vibrations or movements of the drone. Investing in a quality gimbal will significantly improve the overall quality of your aerial photography.
3. What are some composition tips for better aerial photography?
When composing your aerial shots, try to include various elements such as leading lines, symmetry, or unique patterns to add visual interest. Experiment with different angles and perspectives to capture captivating aerial views. Pay attention to the rule of thirds and balance the elements within the frame. Don’t forget to consider the lighting conditions and time of day to enhance the mood and atmosphere of your aerial photographs.
4. How can I capture sharp aerial images in low-light conditions?
Avoiding low-light conditions is generally recommended for aerial photography, as it can significantly impact image quality. However, if you need to shoot in such conditions, consider using a drone with a larger image sensor or high ISO capabilities. Adding additional lighting to your drone or post-processing methods such as noise reduction can also help salvage some quality in low-light aerial images.
5. What safety precautions should I take when practicing aerial photography?
Prioritize safety when practicing aerial photography. Always follow local regulations and guidelines for operating drones and ensure you are well-versed in flight controls. Plan your flights carefully, choose appropriate locations, and check for any potential hazards such as surrounding obstacles or weather conditions. Regularly inspect and maintain your drone to minimize the risk of accidents or equipment failure.
6. Are there any legal restrictions on aerial photography?
Yes, there are legal restrictions on aerial photography, and they may vary depending on your country or region. Familiarize yourself with the regulations and obtain any necessary permits or licenses required for commercial drone usage. Respect people’s privacy and avoid flying over restricted or sensitive areas such as airports, military installations, or private properties without proper authorization.
Subject: Tips for better aerial photography
Company: Hollywood Connections Center
Network: MyHollywoodPage.com
The Hollywood network of arts and creative professionals.

