Tips for lighting your model
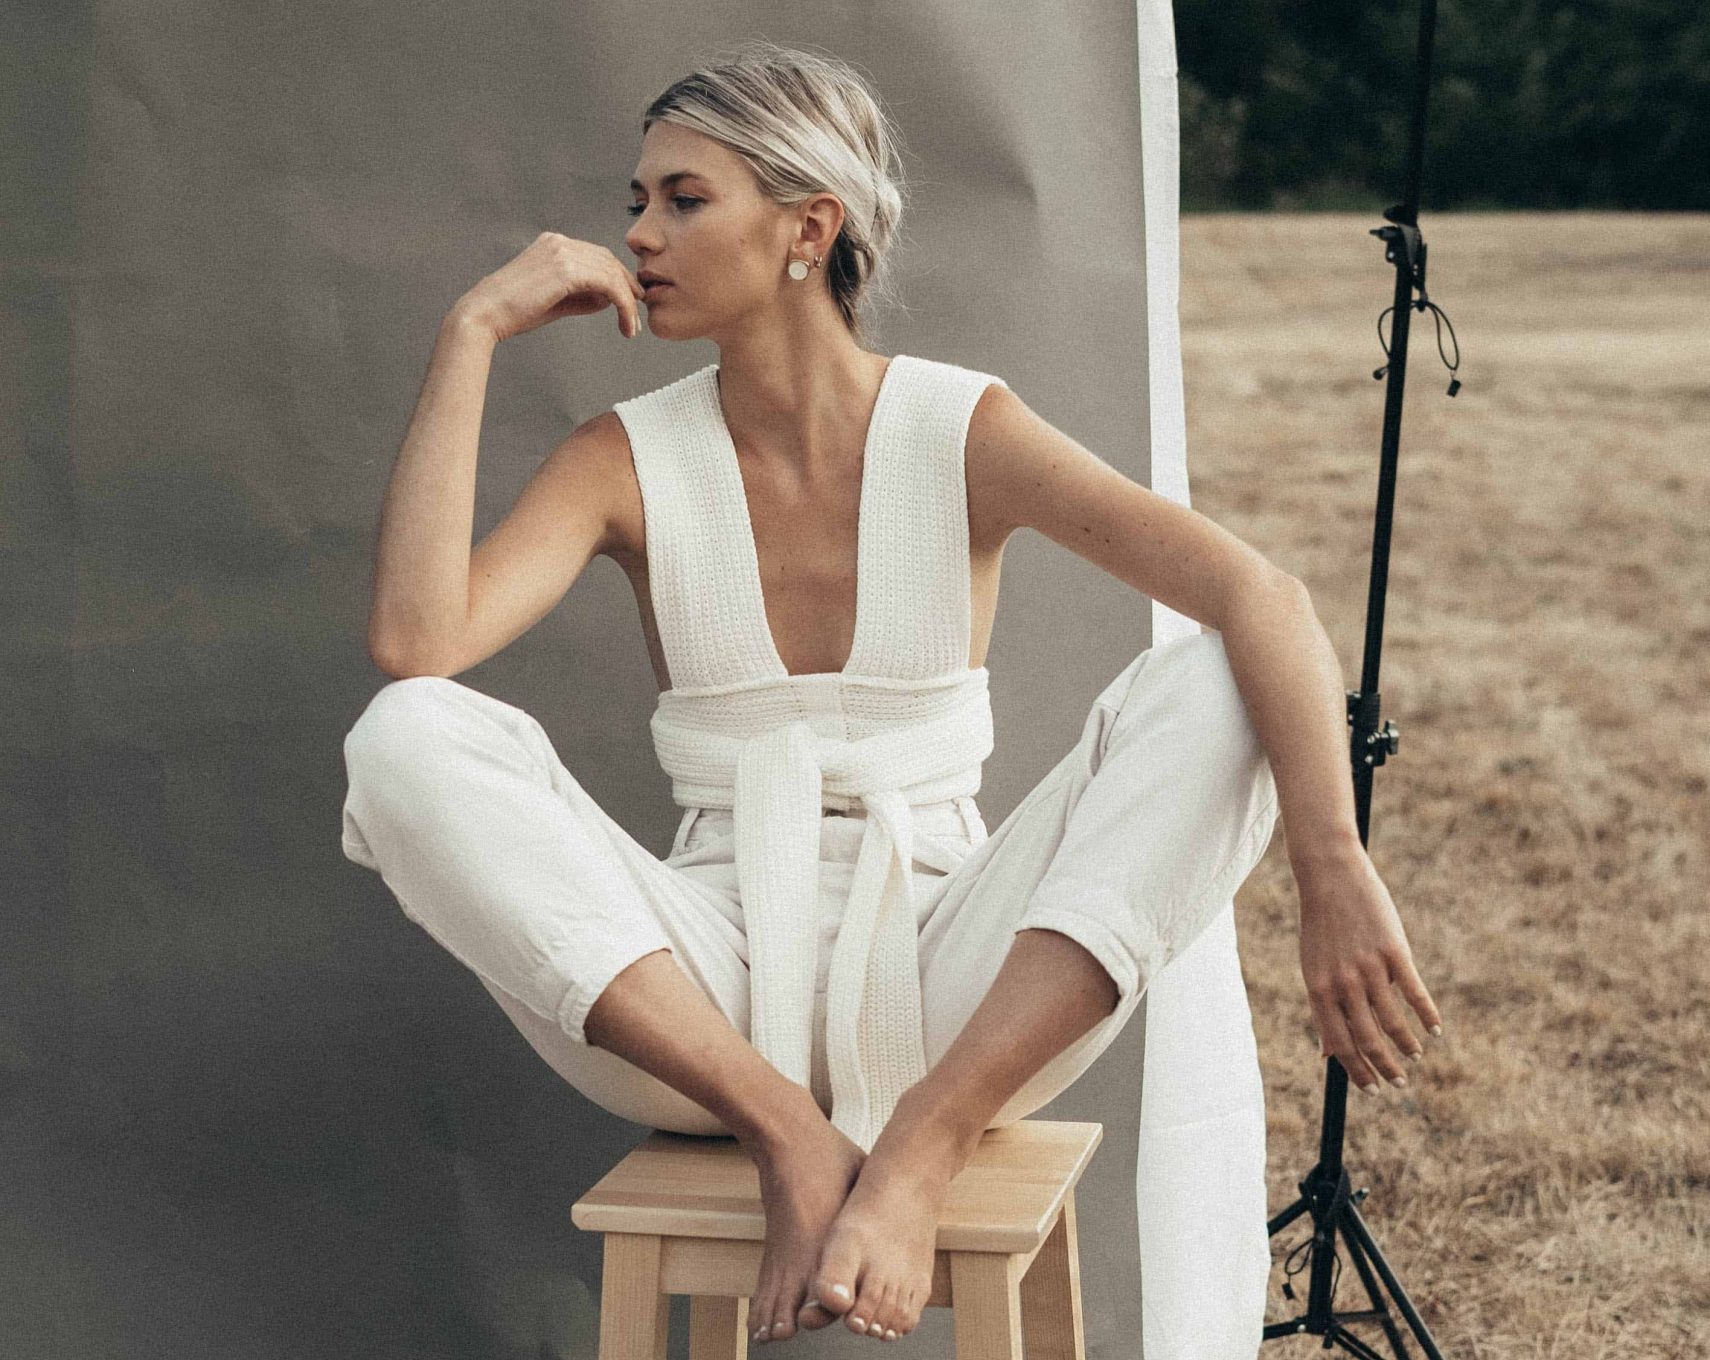
Lighting is key for any model photography. It can totally change the feeling of your pics. To get awesome results, it’s important to learn how to light your model correctly! Here are some expert tips and tricks to help you out.
Think about the mood, setting, and features you want to focus on. Pros often use natural light for a gentle and flattering look on the face. You can do this by putting the model near a window or shooting during golden hour when the sun is soft and gentle.
You can also use artificial light to control and shape the lighting in your images. A common trick is to use a key light at a 45-degree angle from the face to create depth. Fill lights can be used to cut down shadows and emphasize certain areas.
Experimenting with different types of modifiers is also important. Softboxes blur harsh light and make shadows softer. Reflectors bounce light back onto the subject and fill in shadows.
Also, think about color temperature. Different sources of light have different temperatures that cause different color casts. Consider if you want warm or cool tones and modify your lighting.
Now you know the tips, it’s time to practice! Grab your camera, find some subjects, and start trying different lighting techniques. Don’t be afraid – use this chance to take better pictures and wow your viewers!
Mastering lighting takes time and practice. Keep tweaking your methods and learning new ones. Soon you’ll be a pro at lighting your model! Let your creativity come through in your pics. Enjoy!
Importance of Proper Lighting in Model Photography
Lighting is an essential part of model photography. It can make or break a photo, so it’s important to understand its significance.
Lighting helps bring out the model’s features, like their bone structure and facial expressions. Strategically placed lights can create flattering shadows to emphasize certain angles and curves.
Lighting also sets the mood of the shot. It can evoke different emotions and add to the story of the photograph. This is especially important in fashion editorials or conceptual shoots.
Furthermore, lighting can affect the color representation. Different light temperatures can alter how colors look in a photograph. Utilizing the right light sources will prevent color distortion and capture the true colors of the outfit or theme.
Natural sunlight is great because it creates soft, flattering illumination. When shooting indoors or at night, artificial lights such as strobes or flash can produce similar results.
Pro Tip: Experimentation is key when finding your signature lighting style. Don’t be afraid to try new techniques to find what works best for you and your models.
Basic Lighting Equipment Needed
When it comes to lighting your model, the correct equipment is a must. Here are three basic lighting tools for pro-looking results:
- Main light: This illuminates your subject. Place it at a 45-degree angle from the camera. Slightly above eye level to create shadows.
- Fill light: To fill in any shadows created by the main light. Place it on the opposite side, with a lower intensity.
- Backlight: This adds depth and dimension to your model. Put it behind and slightly above the subject.
Plus, for extra enhancement:
- Diffusers soften harsh shadows and reduce glare.
- Reflectors bounce light back onto your subject, filling in shadows.
- Try colored gels over your lights for mood or dramatic effects.
Pro Tip: Test different configurations and angles to find what works best for your model and desired outcome.
Understanding the Three-Point Lighting Technique
Three-point lighting is a popular technique for photographing and filming models. It uses three lights to create depth and dimension in the final image or footage.
The key light is set at a 45-degree angle, slightly above eye level. This light is the brightest and helps define the subject’s features.
The fill light is placed on the opposite side of the model from the key light. It fills in any shadows created by the key light. Its intensity should be lower than the key light to make a balanced effect.
The backlight, or hair/rim light, is placed behind and slightly above the model. This light creates a glow around the edges and adds depth.
Extra lights can also be used for further enhancement. For example, a background light can be used to light scenery behind the model or a kicker light can be used to highlight hair or clothing details.
This technique needs practice to be mastered. By experimenting with different angles, intensities, and positions of each light source, you can create unique effects.
It was developed in Hollywood in the early 20th century and has since revolutionized cinematography. It is still widely used in media production today, making it a must-have skill for photographers and filmmakers.
Positioning the Lights for Best Results
Positioning your lights correctly is key to great lighting results. Here’s how to do it:
- Main Light: Put it slightly off-center from the model. This will create depth.
- Fill Light: Place on the opposite side of the main light. This will reduce shadows.
- Backlight: Place behind the subject, slightly angled towards them. This will create a beautiful outline.
- Adjust Angles: Experiment with different angles to achieve desired effects.
Remember to consider size and distance in relation to the model, and other elements that could affect lighting conditions. Follow these tips for perfect positioning and stunning images that emphasize the beauty of your model.
Adjusting the Intensity and Angle of the Lights
For amazing results, adjust the intensity and angle of your lights! Experiments with different levels of light to find the perfect balance. Dimming the lights yields a softer, more flattering effect. Increase the intensity to add drama. Adjusting the angle of the lights can highlight certain features. Utilize multiple light sources for a professional look – this will reduce harsh shadows and evenly illuminate your model. Pay attention to color temperature and white balance, too! Start creating captivating visuals that will capture your audience. Perfect lighting awaits – seize control today!
Diffusing and Softening the Light
Diffusing and softening the light is key for a captivating model photoshoot. By using tools like diffusers and softboxes, the harshness of the light can be reduced. This creates a more natural and flattering look.
One popular option for diffusing light is a diffuser panel. This translucent material scatters the light evenly, eliminating shadows or highlights. Another method is bouncing the light off a reflector or wall. Experimenting with different angles and distances will help you find the perfect balance.
Softening the light is essential. Softboxes are often used for this. They are large, square, or rectangular boxes containing a diffuser in front of the light source. The diffuser spreads the light, creating a gentle and flattering illumination on the model’s features.
To add an artistic touch, consider using colored gels. These sheets can be placed over lights to create different moods or effects. For instance, a warm-toned gel can give photos a cozy feel, while a cool-toned gel can add an edgy vibe.
I once had a photo shoot with a dark-skinned model. To enhance her beauty, I decided to diffuse the natural sunlight by placing her near a white fabric curtain. The sunlight passing through the sheer material highlighted her features perfectly. The end result was magical.
Mastering diffusing and softening takes practice. Invest in quality equipment and try new methods to find what works best. With time and dedication, you’ll be able to capture striking images.
Using Props and Accessories to Enhance the Lighting
When it comes to lighting a model, props and accessories can step up the overall effect. They create visual interest and make the composition more dynamic.
Props and accessories can be used in diverse ways. For example, reflective surfaces like mirrors or metal can bounce light onto the subject, making it brighter and more vibrant. Diffusers or gels can soften or change the light’s color. This adds depth and mood.
Props and accessories can be used as compositional elements too. A lamp or candle can provide extra light and make interesting shadows and highlights. Objects like curtains or blinds can alter the incoming light.
To make full use of these tips, you need to know how they work and why they’re effective. Reflective surfaces point light at your subject, evening out the light and reducing harsh shadows. Diffusers scatter the light, softening contrasts and creating a soft glow. Colored gels set the ambiance and mood.
Using props as compositional elements adds visual appeal and influence how the light interacts with your model. Positioning objects near the light source can control shadows and highlight certain areas.
Experimenting with Different Lighting Setups
- Use natural light as your main source. Place your model next to a window or open door. This will make beautiful shots with soft shadows.
- Add artificial lighting to create effects or draw attention to certain areas. For example, a softbox at a 45-degree angle can add depth.
- Remember the color temperature. Different lights may create warm or cool tones. Make sure they match.
- Don’t be afraid to get creative. Colored gels or reflective surfaces can add an artistic touch.
- Practice to get the look you want. With practice and detail, you’ll have a signature style.
Tips for Creating Shadows and Highlights
Captivating your images with shadows and highlights is an essential element of photographing models. To master this art, take note of these tips:
- Use a directional light source to emphasize the contours of your model’s face or body.
- Experiment with different light angles for varying shadow patterns.
- Place a reflector opposite the light source to fill in the shadows.
- Capitalize on natural light sources like the sun.
- Add some creativity with colored gels.
- Try multiple light sources.
However, be aware not to overpower the shadows too much as it can be too dramatic and take away from the subject. The key to success lies in experimenting and practicing to achieve the desired effect!
Conclusion
It’s key to summarise the points we discussed on lighting a model. If you follow the tips in this article, your model will be great and stand out.
- Firstly, you need to understand lighting. By employing different lighting techniques – like bouncing light or diffusers – you can better shape the shadows and highlights. This will show off the contours of your model.
- You can also make a big difference by adjusting the angle and position of the lights. This will draw attention to certain parts, or create interesting shadows that give depth to your model.
- Colored gels or filters also add to the creativity of your lighting setup. Different colors can give your model a special look and evoke feelings.
- Also, consider props and scenery when lighting. By adding the right elements, you can further enhance the aesthetics of your model.
- Unconventional methods can surprisingly yield great results. So don’t be afraid to think outside the box when lighting your model!
Frequently Asked Questions
Q: How can I achieve natural lighting for my model?
A: To achieve natural lighting, it’s best to shoot outdoors during the golden hour, which is the hour after sunrise or before sunset. This soft, warm light creates a flattering and natural look.
Q: What are some lighting tips for indoor photoshoots?
A: When shooting indoors, try positioning your model near a large window to utilize natural light. If that’s not possible, consider using multiple light sources to avoid harsh shadows. Softboxes and diffusers can help create a more even and natural lighting effect.
Q: How can I create dramatic lighting for a more artistic look?
A: To create dramatic lighting, you can use a single light source, such as a spotlight, to cast strong shadows and add depth to your photos. Experiment with different angles and positions to achieve the desired effect.
Q: Are there any tips for controlling harsh shadows?
A: Harsh shadows can be controlled by using reflectors or bounce cards to redirect light onto the shadows. Additionally, diffusing the light source or using a larger light modifier can help soften harsh shadows.
Q: What are the best lighting setups for different types of beauty shots?
A: For beauty shots, a popular lighting setup is the three-point lighting technique. This involves using a key light to illuminate the model’s face, a fill light to reduce shadows, and a hair light to add dimension. Experiment with variations of this setup to enhance specific features.
Q: How can I add creative effects to my model’s lighting?
A: To add creative effects, you can use colored gels or filters in front of the light source. This can create unique and visually appealing lighting patterns and color casts that add a touch of artistry to your images.
Subject: Tips for lighting your model
Company: Hollywood Connections Center
Network: MyHollywoodPage.com
The Hollywood network of arts and creative professionals.


