


How to edit Low-Angle shots in post-processing
Low-angle shots are popular in photography nowadays. This article will help you edit them in post-processing. Specific techniques and tools can help you make your low-angle shots captivating.
Correct angles and straight lines to make the composition balanced. Adjust exposure levels to enhance lighting and shadows, adding depth and drama. Color grading is also important – experiment with different hues to evoke emotions.
Finally, don’t be afraid to crop your images differently. Unconventional cropping can emphasize unique perspectives and add impact. Breaking the rules can lead to extraordinary results.
Understanding Low-Angle Shots
Low-angle shots can add drama to your images! They offer a unique perspective that makes stories come alive and creates a feeling of grandeur. For photographers wanting to level up, it’s crucial to know the intricacies of low-angle shots.
- Powerful: Low-angle shots make subjects seem larger than life, demonstrating power and dominance. Skyscrapers, mountains, and more can be heightened with drama by shooting from below.
- Dramatic: Position your camera beneath your subject to create tension and intrigue. Low-angle shots can also show vulnerability for intimate moments, inviting viewers to empathize.
- Unique Perspectives: Experimenting with low-angle shots lets photographers break free from traditional composition rules. It surprises and engages audiences in unexpected ways.
- Depth: These shots add depth to images, like leading lines or framing devices. They guide the viewer’s gaze and invite exploration.
Here are some key considerations for mastering low-angle shots:
- Get Low: Physically lower yourself or your camera to get the desired effect. Crouching, kneeling, or lying down will create unique images.
- Lens: Use a wide-angle lens to capture a broader view and emphasize the foreground. Try different focal lengths to find the best fit for your composition.
- Composition: Pay attention to the placement of your subject in relation to the surrounding elements. Use the rule of thirds to create a pleasing composition.
- Lighting: Low-angle shots depend on the angle and direction of light. Observe how it interacts with your subject and experiment with different lighting conditions.
- Editing: Adjust contrast, exposure, and colors to bring out the drama and impact in post-processing.
With these techniques, photographers can use low-angle shots to create visuals that leave an impression. Grab your camera and get creative!
Benefits of Editing Low-Angle Shots
Editing low-angle shots can boost the visual impact of your snaps. Tiny changes to these unique perspectives can create amazing photographs that grab attention and stir emotions. Here are the advantages of editing low-angle shots:
- Boost Depth: Post-processing can bring out the foreground in low-angle shots, creating a feel of depth.
- Dramatic Composition: Through editing, you can emphasize the leading lines and converging angles, making the composition more lively.
- Highlight Unique Details: Editing amplifies textures and delicate details found at lower angles, adding interest and mystery.
- Create Mood: You can enhance mood and atmosphere by adjusting colors and tones to give your low-angle shots greater impact.
- Perspective Transformation: Editing allows for perspective correction and distortion control, guaranteeing straight lines remain straight and eliminating unwanted visual effects.
Furthermore, post-processing low-angle shots can reveal neglected details. With these newly discovered nuances, you can make eye-catching photographs that reach your audience emotionally.
For instance, Sarah went into a dense forest during golden hour to take atmospheric low-angle shots. Initially, she was disappointed with the outcome. However, post-processing turned her photos into stunning works of art. Sarah highlighted the lush greenery and misty atmosphere, emphasizing unseen details that improved the overall impact. These edits truly captured the mysterious beauty of the forest and left viewers in awe of her creative vision.
Choosing the Right Editing Software
Picking the correct editing software is essential for boosting your low-angle shots in post-production. Choose software with features like perspective correction, color grading, and retouching tools. These will help you adjust any distortions from shooting low and display the best of your photos.
Adobe Photoshop or Lightroom are professional editing programs with a lot of editing functions. With them, you can tweak perspective, modify colors, and remove elements. Plus, they have presets that speed up your workflow but still give great results.
Specialized software for architectural or real estate photography is also an option. It will make details in low-angle shots better, like straightening vertical lines or removing distortion. Also, you can simulate lighting and add artificial elements to make images stand out.
No matter what software you choose, use it correctly. Watch tutorials or take courses to learn its capabilities. Practice on test images before applying edits to your work so that you are skilled in using the features.
By choosing the right software for your low-angle shots and investing in learning it, you will be able to improve your photography. Don’t miss out – start looking into editing software options now!
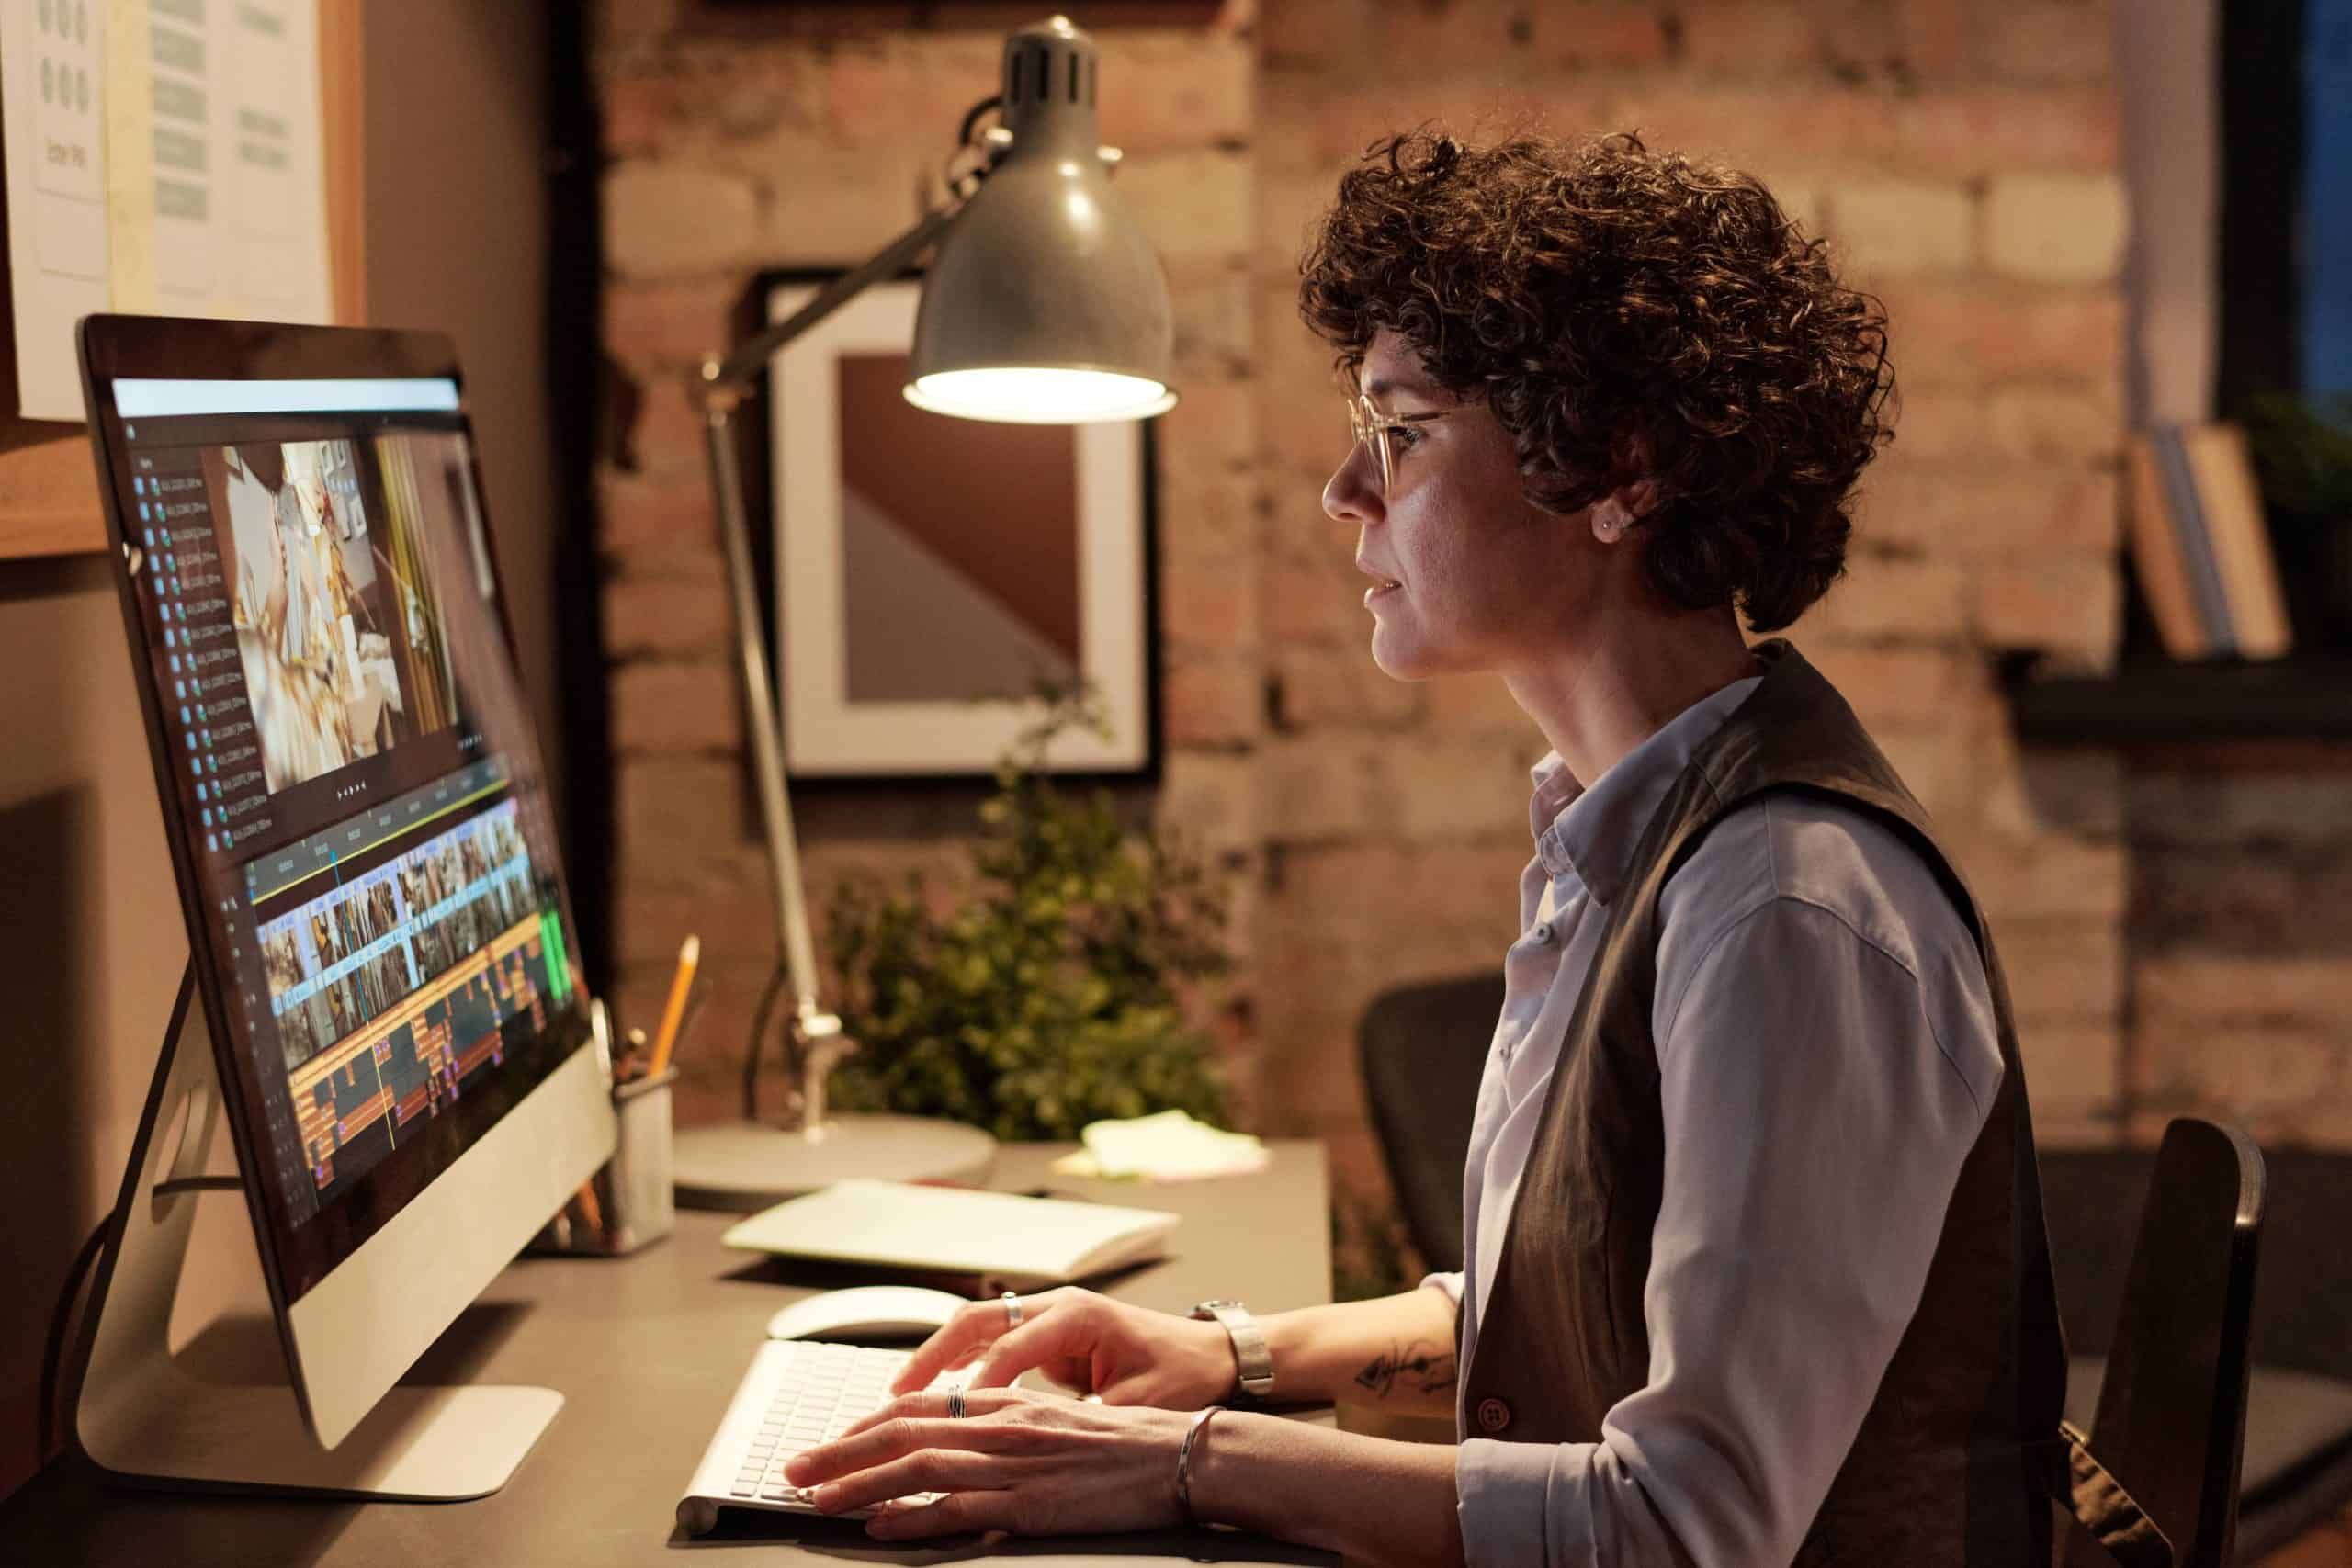
Importing Low-Angle Shots into the Editing Software
To import your low-angle shots and make the most of your editing software, do the following:
- Open your chosen software.
- Create a new project or open an existing one.
- Click ‘Import’ or use the shortcut.
- Find the folder with your shots.
- Select them and click ‘Import’.
- Organize them in the desired sequence.
When dealing with low-angle shots, consider lighting and perspective correction. Adjusting colors can evoke emotions and add visual appeal. Utilize pre-set filters to mimic cinematic styles. Adjust composition elements to draw attention to key subjects. Lastly, use effects like lens flares and bokeh overlays for a creative touch. Experiment and find a style that resonates with your vision.
Adjusting Exposure and Contrast
Achieving the perfect look for low-angle shots requires editing exposure and contrast. Follow this 5-step guide to get it right:
- Inspect the Histogram. This will show the distribution of tones from shadows to highlights. Look for gaps or spikes.
- Adjust the Exposure. Use software sliders to control brightness. Increase for underexposed areas and decrease for overexposed ones.
- Enhance Contrast. Use tools like Contrast or Curves to adjust contrast. Higher settings make subjects pop, while lower ones create softer looks.
- Recover Shadow Details. Adjust the shadow sliders carefully to bring out important details. Avoid overdoing it to avoid noise.
- Restore Highlights. If highlights appear blown out, use highlight adjustment sliders to recover lost information.
Pro Tip: Keep the final look in mind while tweaking. Balance dramatic enhancements with a natural appearance.
Enhancing Colors and Saturation
Colors and saturation are essential for adding life to low-angle shots. By amping up colors, you can make your images eye-catching. It’s all about finding the right mix between realism and vibrancy.
A way to enhance colors is with adjustment layers in photo editing software. Select the “Hue/Saturation” adjustment layer to fine-tune the saturation of your image. Don’t overdo it as it could lead to an unnatural look. Boost the colors subtly for a more natural appearance.
You can also work with individual color channels. Use the “Levels” or “Curves” adjustment layer to target specific color ranges, such as blues or reds. This lets you bring out certain hues while keeping color harmony.
Moreover, try color grading to give your low-angle shots a unique atmosphere. Apply presets or adjust the color temperature, tint, and split toning.
Remember, too much color manipulation can take away from the authenticity of your images. Balance enhancing colors and preserving the original essence of your shot. Let your creativity guide you to a pleasing result.
Studies show that vibrant colors can evoke a strong emotional response in viewers [source]. With skillful color and saturation enhancement, you can craft powerful visual stories that leave a lasting impression.
Correcting Lens Distortions
No more fretting! Low-angle shots can cause lens distortions, but there are ways to fix them. Here are some steps:
- Import the image to your editing software.
- Find out the type of distortion: barrel or pincushion?
- Use the right tool/filter in your software.
- Adjust the settings to reverse the distortion. Try different options to get the desired result.
- Apply the correction and see if it looks good.
Correcting lens distortions can improve the quality of your low-angle shots.
Pro Tip: Get a high-quality lens before shooting low-angle shots. This will reduce the need for post-processing.
Removing Unwanted Elements
For great low-angle shots, remove any unwanted elements! This can draw attention to the main subject and make the composition look neat. To do this, here’s what to do:
- Spot distractions: Carefully scrutinize the photo and recognize any objects that take away from the focus. Examples are street signs, rubbish, and people walking. It’s important to be aware of what needs to be gone before continuing.
- Utilize cloning/healing tools: Depending on your software, use cloning or healing tools to delete the unwanted elements. These tools let you sample an uncluttered part of the image and replace the distraction with nearby pixels. Make sure it looks natural.
- Refine and polish: When you’ve removed the elements, review your edits and refine them. Adjusting the brightness, contrast, or color tones can help with integrating your edits into the photo. Pay attention to details like shadows and reflections.
By following these steps, you can easily get rid of unwanted elements in low-angle shots and make a cleaner, more attractive composition. It’s important to always edit ethically and respectfully. Ensure that your editing does not change the truthfulness or context of the original photo. Ansel Adams said, “There are no rules for good photographs; there are only good photographs.”
Applying Creative Filters and Effects
When editing low-angle shots, creative filters and effects can give them a totally new look. Color grading can adjust the colors to evoke a certain atmosphere. Textures can give the shot an artistic feel. Lens flares can add drama to the image. And bokeh effects can add depth and dimension. Try out these creative techniques for stunning results!
Cropping and Composition
Cropping and composition are musts for post-processing low-angle shots. Enhance the visual appeal of your photos by precisely adjusting the frame. Make a focused, balanced image by removing any unneeded elements.
To start, analyze the composition of your low-angle shot. Spot anything that takes away from the subject. Crop out any pointless objects or empty spaces that don’t contribute to the aesthetic or story.
Check out the rule of thirds. Divide the image into nine equal parts with two horizontal and two vertical lines. Place key elements on these lines or at their intersections to make the image more attractive and balanced.
Leading lines are helpful too. These are imaginary lines in the picture that guide the eye to the subject. Incorporate leading lines to create depth and draw attention.
Be careful not to overdo it when cropping. Find a good balance between context and a clean, focused composition.
To perfect cropping and composition for low-angle shots, practice, practice, practice! Experiment with different crops and compositions to find what works best.
Use these techniques to turn your ordinary low-angle shots into fascinating images that leave a lasting impression.
Ansel Adams said it best: “A good photograph is knowing where to stand” – meaning framing and composition play a huge role in capturing a stunning shot.
Saving and Exporting the Edited Low-Angle Shots
Saving and exporting low-angle shots is vital. Here are 6 steps to get it right:
- Create a folder on your computer just for the edited low-angle shots. This helps you find them quickly.
- Pick a file format that suits your needs. JPEG for online sharing, TIFF or RAW for high-quality printing.
- Check the size and resolution of the image. Resizing or cropping may be necessary.
- Include metadata like copyright, keywords, and descriptions.
- Decide on compression settings. Smaller file sizes or higher quality output?
- Export using the correct settings. Select a color space and apply sharpening and noise reduction.
It’s essential to save and export last, to capture all the changes made. Don’t forget to back up your edited low-angle shots too! A professional photographer once made a mistake with compression settings and lost image quality. But with backups, they were able to fix it before delivering it to the client.
So, keep your work safe and beautiful by following these steps and taking precautions.
Conclusion
Editing low-angle shots requires attention to detail and a creative touch. Fix up perspective distortion by using lens correction and straightening vertical lines. Manipulate shadows and highlights to enhance depth and texture. Color grading is also significant in shaping the mood and atmosphere. Try different palettes, and adjust white balance, saturation, and contrast. Remove distractions or unwanted objects with clone stamps or healing brush tools. It takes technical proficiency and artistic vision to create stunning visuals.
Moreover, there’s a true history of low-angle photography. This technique became popular during the German Expressionist movement in early 20th-century cinema. Filmmakers like F.W. Murnau used it to depict power dynamics and add an unsettling atmosphere. This heritage still inspires photographers today.
Frequently Asked Questions
FAQs: How to Edit Low-Angle Shots in Post-Processing
Q1: What is a low-angle shot in photography?
A low-angle shot is a technique where the camera is positioned below the subject, creating a viewpoint that looks up at the subject. It adds a sense of power, dominance, and drama to the image.
Q2: Why would I want to edit low-angle shots in post-processing?
Editing low-angle shots in post-processing allows you to enhance the overall mood, correct any exposure or color issues, and make necessary adjustments to bring out the desired visual impact. It helps in refining the composition and highlighting the subject.
Q3: What post-processing techniques work well for low-angle shots?
Some effective post-processing techniques for low-angle shots include adjusting the perspective to fix any distortion, enhancing contrast to emphasize the subject, adjusting saturation and colors for a more vibrant look, and using vignettes to add further depth and focus to the shot.
Q4: Which software should I use for editing low-angle shots?
There are several software options available for editing low-angle shots. Adobe Photoshop and Lightroom are popular choices among professionals and enthusiasts. Other alternatives include Capture One, GIMP, and Affinity Photo.
Q5: Are there any specific challenges to consider when editing low-angle shots?
When editing low-angle shots, factors like lens distortion, lighting conditions, and potential perspective issues need to be considered. It may require more meticulous adjustment of perspective and correcting distortion to ensure the image looks visually pleasing.
Q6: Can I apply filters or effects to enhance low-angle shots in post-processing?
Absolutely! You can experiment with various filters or effects to enhance the mood and impact of low-angle shots. However, it’s important to use them judiciously and maintain the overall aesthetics of the image.
Subject: How to edit Low-Angle shots in post-processing
Company: Hollywood Connections Center
Network: MyHollywoodPage.com
The Hollywood network of arts and creative professionals.

