


How to set up a music studio
Are you an aspiring musician or producer? Setting up a music studio can be exciting! Here, harmonies, melodies, and rhythms come to life! This article will help you create your own studio.
First, find the essential tools: a computer, audio interface, microphone, headphones, and studio monitors. These are the basics you need. Then, think about the layout and acoustics. Place things so the workflow is good and sounds stay out.
Soundproofing is very important. Put insulation in walls and ceilings. Seal gaps in doors and windows. Use bass traps to reduce low-frequency noise.
Unique features can also enhance your experience. Try digital audio workstations (DAWs). Experiment with different microphones and their placement.
Pro Tip: Invest in good cables and connectors. This will reduce interference and keep signals clear.
Creating a music studio is not just about equipment. It’s about creating an environment that inspires creativity and brings musical ideas to life. With the right setup, you can turn any space into a magical music studio. Get your gear ready and let the music begin!
Setting up the Physical Space
To set up the physical space for your music studio, begin by carefully choosing the location. Then, focus on acoustic treatment to optimize sound quality. Finally, consider furniture and equipment placement to enhance workflow and functionality.
Choosing the location
Selecting the perfect spot for your physical place is essential. Here are a few points to take into account:
- Ease of Access: Make sure your area is easy to find for your intended audience, no matter if it’s a store or an office.
- Foot Traffic: Check the amount of foot traffic in the region and if it fits your business needs.
- Competition: Study the competition in the area to gauge if there is room for your company and if you can be different.
- Amenities: Look around for nearby features such as parking, restaurants, and public transportation that can help both you and your customers/employees.
- Cost: Finally, evaluate the cost of the location and see if it fits your budget while taking care of all other conditions.
Also, think about other unique details. For example, check if the community goes with your brand image or principles. Furthermore, examine potential future growth strategies in the region that could influence your business.
An experience of mine shows the importance of picking a good spot. A buddy of mine began a bakery on a peaceful street with not much foot traffic. Even though their pastries were delicious, they had difficulty drawing in customers. Eventually, they moved to a more hectic area and witnessed their sales increase exponentially.
Keep in mind, that choosing the right locale can make a huge difference in ensuring the success of your physical place. So make sure to study thoroughly and take into account all factors before deciding.
Acoustic treatment
For acoustics, put absorption panels on the walls and ceiling. These will absorb sound waves and stop them from reflecting. Use diffusers to spread sound evenly in the room and avoid dead spots.
Bass traps are used to control low-frequency resonance. Place them in corners or near build-up for a balanced sound.
No two rooms are the same; their size, shape, and materials affect sound. Try out different acoustic treatments to find the best setup for your space.
Pro tip: Get expert advice from an acoustic specialist or audio engineer. Their help will ensure you get the best sound in your room, according to your budget.
Furniture and equipment placement
When setting up an office, it’s essential to think carefully about the placement of furniture and equipment. This should help workflow and create a productive environment.
Workstations should be placed well. This encourages collaboration and gives people comfy, ergonomic workspaces. Plus, desks near natural light can boost mood and energy!
Furniture should be arranged strategically. This optimizes space and looks great. Designate areas for different purposes, like meeting rooms or relaxation spaces.
Equipment location is key. It should be easy to find, and electrical outlets should be placed carefully. This minimizes search time and reduces tripping risks.
To help productivity, add welcoming elements. Plants look great and improve air quality. Also, provide seating areas or breakout spaces for breaks and informal chats.
Essential Equipment and Gear
To ensure you set up a music studio with all the essential equipment and gear, let’s dive into the sub-sections: Instruments and microphones, Recording equipment, and Mixing and mastering tools. Each of these components plays a crucial role in creating a well-rounded and professional music production environment.
Instruments and microphones
Quality instruments create superior sound! Whether a guitar, piano, or drums, investing in top-notch instruments gives a vibrant and genuine sound that charms the audience.
Different microphones are used for different objectives – condenser mics are perfect for vocals, dynamic mics are best for live performances, and ribbon mics add warmth to recordings.
The right positioning of microphones will make a huge difference in capturing the desired sound. Experimenting with placement techniques will help attain the finest results.
Musicians depend on their instruments to communicate emotions through melodies, while microphones precisely capture their voices, allowing them to convey their feelings completely.
From analog tape machines to digital audio workstations (DAWs), recording technology has made leaps and bounds. Instruments and microphones ensure smooth integration with these systems for efficient recording and editing.
Moreover, keeping instruments in good condition and frequently cleaning microphones is essential for prolonging their life and maintaining ideal audio quality.
Recording equipment
Recording Equipment can give you clear sound and a professional sound. Here are three must-haves to record:
- A good-quality microphone. This is key to getting a clear and exact sound. Pick a microphone that will work for you – a condenser microphone for studio vocals or a dynamic microphone for live performances.
- An audio interface. It links your microphone/instrument to your computer. Look for an interface with high-quality preamps and low latency for the best results.
- Studio headphones. Listen to recordings and make decisions during mixing, these are essential. Get headphones that offer a flat frequency response and isolation.
You can also look into other recording equipment that suits your needs, like pop filters, digital recorders, MIDI keyboards, and monitor speakers.
The Shure SM58 dynamic microphone is used by many famous musicians and performers. It’s popular because of its dependability and durability. (Source: Shure.com).
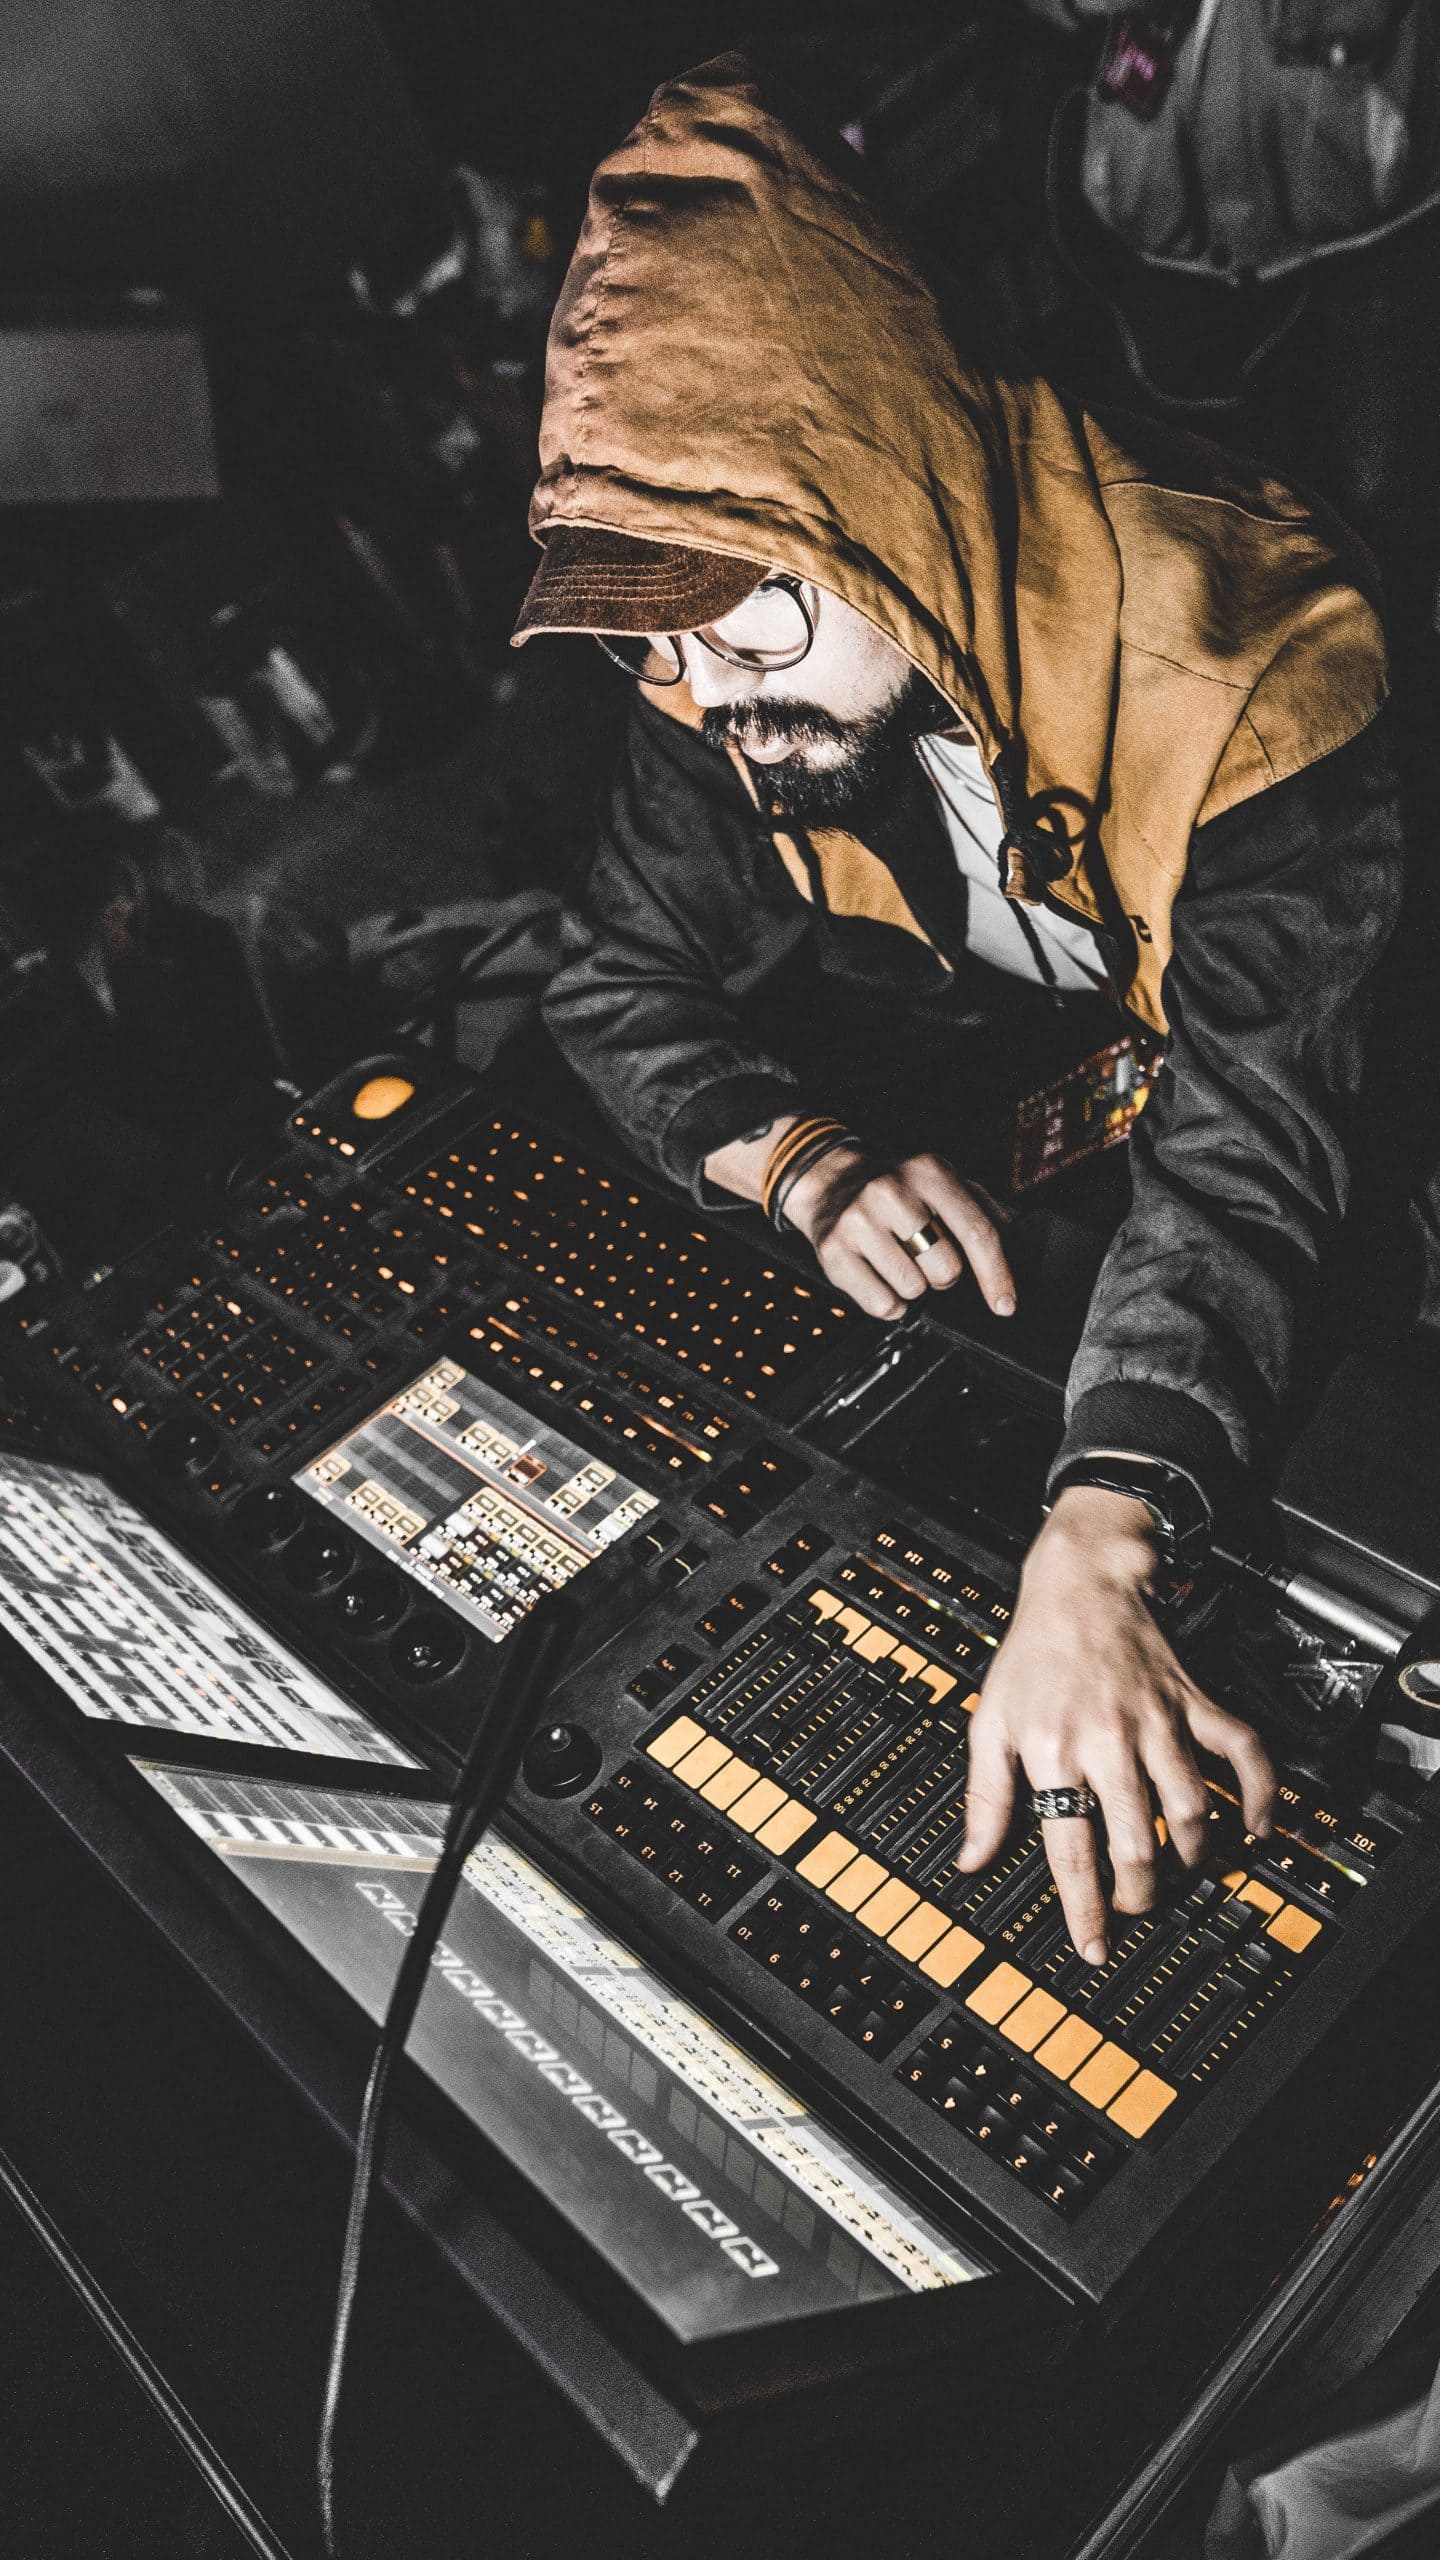
Mixing and mastering tools
Mixing and mastering art need the right tools for professional results. These tools include hardware and software to shape, balance, and perfect sound recordings. DAWs (digital audio workstations) are essential for recording, editing, and arranging audio tracks. They have plugins and effects for manipulating individual elements. Signal processors modify or enhance audio signals in real time. Equalizers, compressors, reverb units, and delay units are all part of the toolkit. Reference monitors, for accurate monitoring, are also vital. Some pros use analog outboard gear and hardware units like preamps and equalizers. According to a 2020 Sound On Sound survey, iZotope Ozone was the most popular plug-in among music producers. New technologies keep emerging – understanding the tools available helps engineers unlock their creative potential and deliver sonic excellence.
Software and Digital Setup
To set up your music studio with a smooth software and digital setup, you’ll need to focus on three key elements: choosing a Digital Audio Workstation (DAW), exploring various plugins and virtual instruments, and acquiring MIDI controllers and interfaces. Let’s delve into these sub-sections and discover how they can enhance your music production process.
Choosing a Digital Audio Workstation (DAW)
Choosing a Digital Audio Workstation (DAW) is a must for any musician or producer. It serves as the base of your music production process – from recording to editing, mixing, and mastering. With so many options out there, selecting the ideal DAW for your needs can be complex.
Each DAW offers its own features, design, and workflow. This impacts your creativity and efficiency when producing music. Whether you like a traditional analog interface or a modern one, there’s a DAW to fit your preference.
Think about the kind of music you’re working on when picking a DAW. Some are perfect for electronic music, others for recording live instruments. Make sure your DAW is compatible with any third-party plugins or virtual instruments you plan on using.
You can also try out different DAW trial versions to get a feel of the interface and workflow. This way, you can make an informed decision based on your direct experience.
Pro Tip: Take advantage of online tutorials and forums for each DAW. They are great sources of tips and tricks from experienced users, helping you master your chosen software quickly and effectively.
Plugins and virtual instruments
Plugins, with their wide range, offer musicians endless possibilities. From emulating instruments to audio processing algorithms, virtual instruments provide versatility. Artists can use these to add depth and character to their compositions. Plus, they integrate seamlessly with music production software, allowing creators to explore new sonic landscapes with ease.
Plugins and virtual instruments also provide convenience by eliminating the need for physical gear. Musicians no longer need to buy expensive synthesizers or drum machines. This cost-effective solution allows artists from any background to access quality sounds without breaking the bank. Plus, it promotes sustainability by reducing manufacturing-related carbon footprints.
The power of plugins is evident in the history of electronic music production. Before digital technology, musicians relied heavily on hardware instruments. This limited their creative freedom due to space constraints and high costs. Plugins changed this by opening up a world of possibilities for artists worldwide. Now, producers have a vast array of virtual instruments to choose from, suitable for any genre.
MIDI controllers and interfaces
MIDI controllers let musicians play virtual instruments with a keyboard or similar physical input devices. They capture a performance in real time and turn it into MIDI data that can be recorded and manipulated in a DAW. So, musicians can create expressive performances easily and quickly.
These controllers come in many forms, e.g. drum pads, fader boxes, and guitar-like interfaces. Drum pads give a tactile interface for programming beats and rhythms. Fader boxes give control over volume and automation. Guitar-like interfaces allow guitarists to connect their instruments directly to a DAW.
Choose a controller that fits your workflow and musical style. Consider factors like the number of keys/pads, sensitivity, integration with DAW, and features like programmable buttons/modulation wheels. Understand mapping capabilities to maximize productivity when using software instruments. Many controllers allow customizing assignments of knobs, sliders, or buttons.
Explore different software packages for MIDI control to expand possibilities. For example, applications providing advanced mapping, scripting for customizing controller behaviors, and visualizing MIDI data.
MIDI controllers and interfaces can enhance the music production experience. They provide the means to express musical ideas with physical instrument control, opening new realms of creativity in the digital world. Embrace the power of MIDI controllers and unleash your artistic potential.
Soundproofing and Noise Control
To achieve optimal soundproofing and noise control in your music studio, turn your attention to insulation and soundproofing materials, proper cable management, and noise reduction techniques. These sub-sections offer effective solutions to minimize unwanted noise and create an ideal sonic environment for your music production.
Insulation and soundproofing materials
Fiberglass: Absorbs sound waves, reducing noise pollution.
Acoustic foam panels: Lightweight, absorb and diffuse sound, for noise control.
Mass-loaded vinyl: Dense material blocks sound transmission. Used in wall construction or flooring to reduce room-to-room transfer.
Soundproof curtains: Multiple layers of dense fabric block external noise. Ideal for bedrooms, home theaters, or recording studios.
Green glue: Applied between layers of drywall or plywood. Converts sound energy into heat, minimizing noise transmission.
Resilient channels: Metal strips between the surface material and framing. Decouple two, reducing airborne and impact noises.
Double-glazed windows: Two panes of glass with an air gap in between. Reduces outside noise infiltration for a quieter indoor environment.
Create a peaceful oasis! Incorporate these solutions to enjoy tranquility. Escape excessive noise. Take action!
Proper cable management
When it comes to cable management, there are key factors to consider.
- Tie cables together with cable ties or Velcro straps.
- Route them along walls or under desks with clips or adhesive hooks.
- Label each cable too, to save time and frustration when searching for connections.
Mark, a freelance audio engineer, learned the importance of proper cable management the hard way. At a live concert venue, he kicked an unsecured power cord mid-song, disrupting the performance and damaging some equipment.
So always remember: investing extra time in properly managing your cables enhances safety and increases the tidiness of your workspace.
Noise reduction techniques
Sara, a professional living in a busy city, managed to create an oasis of calm in her apartment. She used noise-reduction techniques to reduce outside disturbances. These included:
- Insulating walls and ceilings.
- Sealing gaps and cracks.
- Using soundproof curtains.
- Installing acoustic panels.
- Opting for double-pane windows.
In addition, white noise machines or fans are great for masking unwanted sounds with a steady background hum. Also, rearranging furniture and using carpeting or area rugs can block or redirect sound waves. This way, Sara can now peacefully work from home without the constant interruptions of honking horns or blaring sirens!
Recording Techniques and Best Practices
To achieve optimal recording quality in your music studio, learn the essential recording techniques and best practices. Master mic placement and technique, understand the impact of room acoustics and ambiance, and discover valuable tips for capturing clean recordings. Each sub-section will provide the necessary tools and insights to enhance your recording sessions.
Mic placement and technique
Position your mic from a distance that suits the sound you want. Try various distances for clarity or ambiance. Aim for the right mic positioning to cut down on interference and get the best audio. Think of the polar pattern when placing it. Cardioid focuses on front sounds while suppressing side and rear noises.
Close-mic placement is great for instruments, while ambient-mic placement is best for ensemble recordings. Stereo miking techniques like X-Y or ORTF give immersive and real sounds.
Adapt mic placements and techniques to different recording scenarios. Each instrument, vocalist, or environment may need different adjustments to get great results. Professional engineers often try unconventional mic setups to create captivating sounds that add depth to recordings.
The Glyn Johns Technique is one example. Developed by engineer Glyn Johns for bands such as The Rolling Stones and The Who, this method uses three mics around a drum kit for a balanced mix.
Mastering mic placement and technique is essential. Experiment with different methods to unleash creative possibilities.
Room acoustics and ambiance
Positioning of equipment is key. Microphones, speakers, and instruments should be carefully placed to benefit from the room’s acoustics. Soundproofing can also help. It stops external noises from interrupting the recording. Reflection control stops too much reverb or echo. Bass management helps balance frequencies, eliminating boomy or muddy sounds. Ambient sound treatment can add absorption panels, diffusers, or acoustic baffles for better reverberation. Mixing and mastering should also consider acoustics, for an optimal end product.
Speaker placement and monitoring environment should be optimized, for accurate audio representation.
These techniques could improve recordings, and create a professional output. To stand out, don’t neglect room acoustics and ambiance! Invest in acoustic treatments, experiment with microphone placements, or consult experts. Embrace these techniques to elevate sound quality and leave a lasting impression.
Tips for capturing a clean recording
Ready to capture some clean sound? Follow these 5 steps for top-notch audio quality:
- Choose the right spot: Find a place that’s quiet and has minimal background noise. Soundproofing works wonders.
- Invest in quality gear: Get a high-quality mic and headphones. Plus, get a pop filter to reduce plosives.
- Nail the technique: Put the mic at the right distance for a perfect sound. Experiment to find the sweet spot.
- Monitor levels: Check input levels so your audio isn’t distorted. Balance it so it’s strong and clear.
- Control the environment: Turn off fans, air con, and other distractions.
Don’t forget the details! Don’t touch the mic and move around less during sessions. Implement these tips and create amazing audio. Enjoy the journey and have fun recording!
Mixing and Mastering
To achieve professional-quality audio in your music studio, master the art of mixing and mastering. Balancing levels and panning, EQ, compression, and effects, and finalizing the mix with mastering are the key techniques you need. Each sub-section plays a crucial role in perfecting your sound and ensuring a polished final product.
Balancing levels and panning
Achieving a great mix is essential for audio production. Balancing levels and panning plays a big role. Adjust the volume of each instrument to make sure they blend together perfectly. Use panning to create a sense of space by spreading out sounds across the stereo field.
Start by setting your levels appropriately. Start with the most important element, like the lead vocal or melody, and build up from there. Change the volume of each track till they all fit together. Also, use automation to adjust the volume while the song plays.
Panning adds depth and width to your mix. Place instruments differently to give the listener an immersive experience. For instance, put guitars slightly left and right for a wide stereo image. Keep bass and kick drum centered for a strong base.
To enhance your balancing and panning skills:
- Compare your mix to other professionally mixed songs. See how they’ve panned and balanced levels to learn industry standards.
- Check that your mix sounds great in mono. This highlights any phase cancellation problems from extreme panning.
- Try frequency masking: When several elements occupy similar frequencies, they can clash and ruin your mix. Use EQ to separate them in the frequency spectrum.
- Keep it natural: Although experimenting is good, don’t create a soundstage that takes away from the music.
Try these tips to create a well-crafted mix with balanced levels and exciting panning effects. Remember, practice and trial and error are the best ways to develop your mixing and mastering skills. Have fun exploring and trust your ears to guide you towards making powerful and immersive musical experiences.
EQ, compression, and effects
Mixing and mastering are arts, with three key elements to get professional-quality sound: EQ, compression, and effects.
EQ is equalization. It’s used to balance out frequencies in a mix. Tweaking different frequency ranges, such as bass, mid-range, and treble, can make audio clearer.
Compression helps control the dynamic range of a track. It reduces the volume of loud parts and amplifies quieter sections, bringing cohesion to the mix.
Effects, such as reverb, delay, chorus, and distortion, give depth, space, and character to your tracks.
However, be careful not to overdo it. Subtle adjustments are usually better than drastic changes. Remember, less is more.
Tip: When using EQ, compression, and effects, rely on your ears instead of metering or presets. Experiment to find the ideal balance for your mix.
Finalizing the mix by mastering
Before mastering, get your mix balanced and clear. Sort out any issues like too much EQ, distortion, or unsorted dynamics.
EQ can refine the frequencies of your tracks. Enhance sound by removing unwanted freqs and boosting desired ones. But, watch out for over-processing.
Compression and limiting can control dynamics. This helps with loudness while keeping it transparent.
Stereo imaging will create a spacious soundstage. Keep between elements in balance for a wide but centered sound.
Try specialized plugins like multi-band compression, harmonic enhancement, and stereo enhancement tools. They can add depth, warmth, and professionalism.
For extra finesse: Quality control is key in mastering. Test on different speakers/headphones to make sure it translates well.
Fun fact: Rick Rubin says the key to successful mastering is preserving the mix’s emotion while optimizing it for wider use.
Troubleshooting and Common Issues
To troubleshoot and solve common issues in setting up a music studio with sub-sections on dealing with technical difficulties, preventing audio glitches and latency, and troubleshooting common recording problems.
Dealing with technical difficulties
- Identify the problem.
- What is the issue? Note any error messages or atypical behavior of your system or device.
- Perform basic troubleshooting.
- Restart your device.
- Check cables and connections.
- Update software or drivers.
- Seek online resources.
- Look for help on forums, knowledge bases, and official support websites. These could have solutions to common technical problems.
- Contact technical support.
- These professionals can provide help and solutions for your specific situation.
- Document your experience.
- Write down what you learned from the experience. This will be a reference for similar issues in the future.
- Remain calm and patient.
- Rushing may lead to further complications. Maintain a positive mindset to navigate technical challenges.
I experienced a technical difficulty once. My laptop crashed before an important presentation. By using these steps, I was able to fix it in time. It taught me the value of remaining composed and seeking help when necessary.
Technical difficulties are normal in the digital world. Equip yourself with knowledge and the right approach to overcome them successfully. Next time you have a technical glitch, use it as an opportunity to expand your troubleshooting skills and find a solution.
Preventing audio glitches and latency
Audio glitches and latency can be annoying when trying to enjoy or make music. These issues can disrupt sound flow, causing distortion or delays. To prevent this, you’ll need to pay attention to detail. Here’s a guide to help:
- Get a high-quality audio interface. Invest in one, so data transfer is quick and exact.
- Optimize your computer’s performance. Shut down any unnecessary programs and processes. This will free up computing power, reducing the chances of issues.
- Adjust buffer size settings. This determines how much audio data the CPU processes at once. Smaller buffer size reduces latency, but can also cause glitches. A larger buffer size minimizes glitches but increases latency. Find the balance that works best.
By following these steps, audio glitches and latency can be reduced. Maintenance of equipment like cables and connectors, and keeping software up to date, are also important. Check connections for damage or wear, as faulty connections can cause noise or delay.
Pro Tip: Use direct monitoring whenever possible. This lets you hear your input signal without passing through the computer first, avoiding any software-related issues that could cause glitches or latency.
Troubleshooting common recording problems
Don’t worry if you experience recording difficulties! Here’s a guide to help you discover the causes and solve them:
- Check your mic connection. Make sure it’s connected securely to the recording device.
- Adjust settings. Check if the correct mic is selected in the software. Make changes if needed.
- Test the microphone. See if it works on another device or computer. The issue may be with your current setup.
- Update drivers. Get the latest drivers from the manufacturer’s website or using driver update software.
- Cut background noise. Use a pop filter or adjust your environment, such as closing windows or reducing fan speed.
- Ask for help. If nothing works, reach out to tech support or an expert for assistance.
Remember, every situation is different. Adapt the steps based on your specific recording circumstances.
Don’t let recording issues stop you from creating! Take action now to fix them and start creating without hesitation.
Conclusion
This article explored the process of setting up a music studio. We looked at equipment, space, and acoustics. We also talked about budgeting and seeking professional advice.
To wrap up, creating a music studio needs careful planning and attention. You can have a great space with creativity and productivity by following these steps. Keep trying different arrangements until you find what works best.
Finally, I want to share a personal story. A friend of mine, an aspiring musician, had difficulty recording in a makeshift setup. He was frustrated with technical issues and sound quality. But when he invested in a great studio, his recordings improved and productivity increased! This story shows the power of a well-designed music studio.
Frequently Asked Questions
FAQ 1: What equipment do I need to set up a music studio?
To set up a music studio, you will need essential equipment such as a computer or laptop, audio interface, studio monitors, microphones, headphones, MIDI keyboard, and cables.
FAQ 2: What software should I use in my music studio?
There are various software options available for music production. Popular ones include Pro Tools, Logic Pro, Ableton Live, FL Studio, and Cubase. Choose a software that suits your needs and preferences.
FAQ 3: How should I arrange the layout of my music studio?
The layout of your music studio should prioritize comfort and functionality. Place your equipment in a way that allows easy access and minimizes cable clutter. Consider proper acoustic treatment and positioning of speakers for optimal sound quality.
FAQ 4: How can I improve the sound quality in my music studio?
To improve sound quality, invest in acoustic treatment materials like bass traps, diffusers, and acoustic panels. Properly position your studio monitors at ear level and away from walls. Use quality cables and ensure your room is free from excessive background noise.
FAQ 5: How do I connect all the equipment in my music studio?
Ensure you have the necessary cables and connectors for each piece of equipment. Connect your audio interface to your computer using USB or Thunderbolt cables. Use XLR cables to connect microphones and studio monitors. MIDI devices can be connected via USB or MIDI cables.
FAQ 6: Can I set up a music studio in a small space?
Absolutely! You can set up a music studio in a small space by optimizing the layout and using compact equipment. Consider using headphones for monitoring instead of studio monitors and utilize portable or foldable equipment options.
Subject: How to set up a music studio
Company: Hollywood Connections Center
Network: MyHollywoodPage.com
The Hollywood network of arts and creative professionals.

