


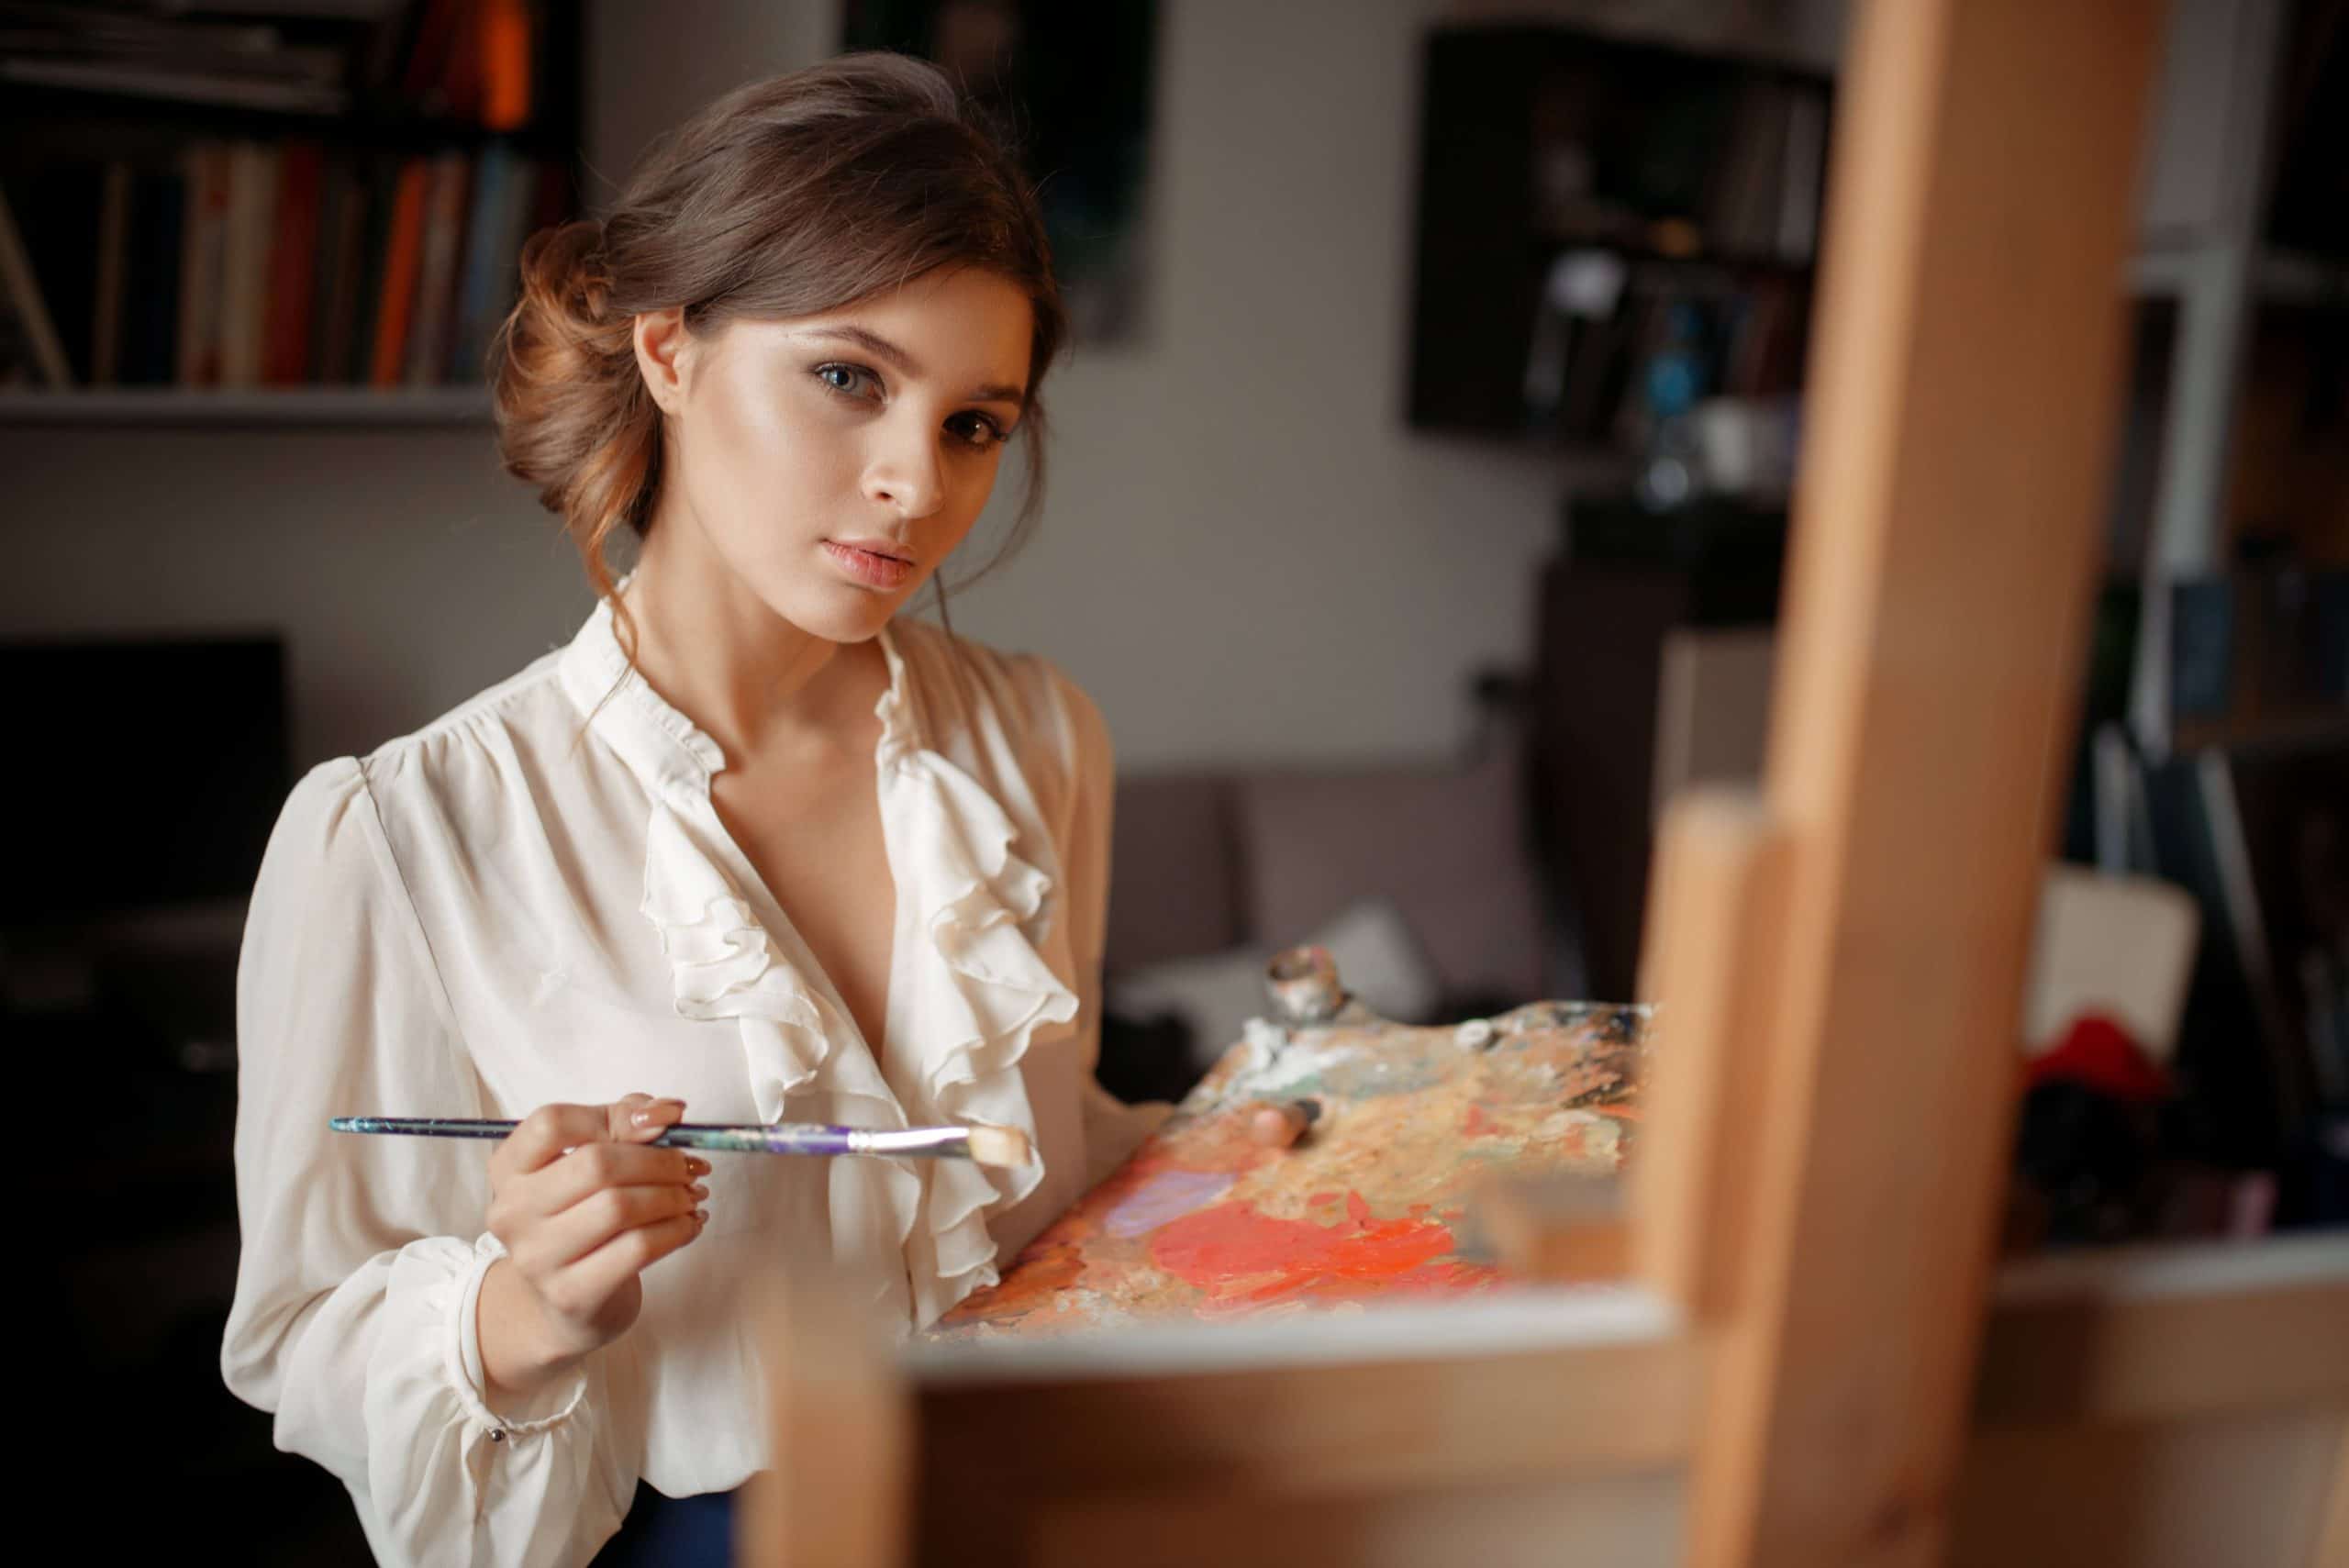
Tips for painting studio lighting
Studio lighting is key for painting. It sets the stage, enhances colors, and creates the atmosphere. Manipulating studio lighting can improve your painting. Here are some useful techniques and tips!
The angle of light matters. Experiment with it to highlight parts, or add depth. You can also adjust the intensity to bring out details or create shadows.
The color temperature of lights affects how colors appear on the canvas. Pick a light source that fits your vision and truly represents the colors.
Diffusers and reflectors can enhance your setup. Diffusers spread light evenly, reducing glare and providing even illumination. Reflectors redirect light onto certain areas, allowing you to emphasize elements.
Aperture settings on your camera also matter. An open aperture lets in more light, while a closed one reduces it.
By understanding these tips and practicing them, you can elevate the visual impact of your artwork. Experimenting with different lighting techniques offers unique creative opportunities. Practice and you’ll develop your own unique style and create breathtaking masterpieces.
Importance of Studio Lighting in Painting
Studio lighting is a must in painting. It boosts the overall look and feel of the artwork. It gives depth, highlights details, and shows true colors. Adequate lighting is the key to accurate color representation.
The right lighting can make a huge difference. You can use natural or artificial light like LEDs and fluorescents. Each type has its own qualities which affect colors and textures. Knowing these qualities helps you get the desired effect.
Also, the proper placement of lights can affect the visibility of different parts in a painting. With strategic positioning, you can bring out the highlights and shadows, adding depth and dimension.
Historically, Rembrandt and Vermeer are famous for their mastery of studio lighting techniques. They used controlled lighting to emphasize elements, making them look realistic.
Choosing the Right Lighting Equipment
Choosing the right lighting equipment is a must when painting in a studio. It can affect the quality and outcome of your artwork. Here are some tips for selecting the ideal setup:
- Opt for natural light when possible. Natural light provides balanced, true colors. Place your studio near windows or get skylights to increase the natural light.
- If natural light is not an option, artificial lights are great. LED lights are popular in studios. They give off a bright, soft light that mimics daylight. Plus, they are energy efficient.
- Get adjustable lighting fixtures with dimming capabilities. This lets you change the intensity of light. Test different angles and positions to find the best lighting arrangement.
- Avoid harsh shadows. Shadows can distort details and make it difficult to capture depth. Soften shadows by using diffusers or bouncing lights off white walls or ceilings.
- Quality lighting may seem expensive at first. But it is a good long-term investment. Higher-quality lights give better color accuracy, better durability, and more control over brightness levels.
By choosing the right lighting equipment, you can make your paintings look vibrant and real. Whether using natural light or artificial light, remember that proper lighting improves your artistic process and the final presentation of your artwork.
Setting Up Your Studio Lighting
To create beautiful lighting in your studio, follow these tips from experts:
- Place your main light at a 45-degree angle for a more dimensional look.
- Use diffusers to soften the light and reduce shadows.
- Add fill lights on either side to minimize shadows.
- Try reflectors to bounce light onto the subject, filling in any shadows.
- Experiment with bulbs to find the right color temperature.
- Set up adjustable stands and mounts to direct the light where needed.
Aim for proper lighting ratios. Highlight features while keeping a balanced composition.
Also consider room size, natural light sources, and the type of art you’re working on. Adjust your setup for the best results.
Vincent Van Gogh faced difficulties in setting up his studio lighting. He overcame this by attaching mirrors to reflect sunlight onto his canvas. This led to a captivating play of light and shadow that changed his paintings forever.
Take inspiration from this story and use your creativity to create masterpieces with stunning lighting!
Recommended Studio Lighting Techniques
Studio lighting is important for paintings. To get the best results, it’s good to use the right techniques. One of these is called “Rembrandt lighting.” This means placing a single light source at a 45-degree angle from the subject and leaving the face in shadow. This adds depth.
Softbox lighting is another technique. Softboxes are light modifiers that make soft light. This reduces harsh shadows and gives an even light across the subject.
Multiple light sources can also be used. Set up additional lights at different angles around the subject. This helps spread the light and bring out details.
Backlighting is another option. Place a light source behind the subject. This creates a halo-like glow and draws attention to elements of the painting.
Let me tell you an example of an artist. William was struggling with his still-life paintings. He researched studio lighting techniques and used multiple lights from different angles. This improved his work. Shadows were eliminated, and he could capture subtle textures. His paintings had more depth and realism.
Troubleshooting Common Lighting Issues
Lighting issues? Don’t worry! Adjust the angles and distances of your lights. Use diffusers to soften harsh lighting and reduce glare. Daylight bulbs or LED lights can give you better color rendering. Calibrate your monitor to match the lighting in your studio. Each studio setup is different, so experiment to find the best solutions for you. Don’t be discouraged! Persevere and you’ll conquer any obstacles in your artistic journey. Shed light on those common lighting issues and let your artwork shine!
Maintaining and Upgrading Your Studio Lighting Setup
- Clean and dust lighting fixtures regularly to avoid any damage or poor performance.
- Upgrade to adjustable lighting solutions for more control of light intensity and direction.
- Invest in accessories like diffusers or reflectors to improve the look of your compositions.
- Pay attention to power cables and connectors, as faulty wiring can be dangerous.
- Keep up with lighting technology by attending workshops and seminars.
- Take action now to see improvement in your artistry – illuminate your artistry with brilliance!
Conclusion
Painting studio lighting is key for making realistic and captivating artworks. Artists can achieve the best lighting with these tips!
- Natural light is great for showing off color accuracy. Window blinds or curtains can help control the amount.
- Artificial lights can spice up the studio. LED or fluorescent bulbs can be a good choice. Placing and pointing lights right is key to minimizing shadows.
- Color temperature matters. Choose warm or cool lighting to get the desired effect.
- Invest in reliable lighting fixtures and bulbs. Regular maintenance is necessary for a smooth workflow.
Pro Tip: Experimenting with lighting can help find new styles to take the artwork to the next level.
Frequently Asked Questions
Q: What is studio lighting in painting?
A: Studio lighting in painting refers to the use of artificial light sources to create a well-lit environment in an artist’s studio, ensuring accurate color representation and proper visibility while working on a painting.
Q: Why is proper lighting important in a painting studio?
A: Proper lighting is important in a painting studio as it helps artists accurately perceive colors, values, shadows, and highlights. It also reduces eye strain and allows for better concentration and focus during the creative process.
Q: What are some tips for setting up studio lighting for painting?
A: Some tips for setting up studio lighting for painting include: using full-spectrum bulbs, positioning lights at a 45-degree angle to the canvas, avoiding glare and shadows, having adjustable lighting options, and experimenting with different lighting setups to find the most suitable one.
Q: What type of lighting is best for a painting studio?
A: The type of lighting that is best for a painting studio is full-spectrum lighting. Full-spectrum bulbs mimic natural daylight, providing a balanced range of wavelengths that enhance color accuracy and visibility while reducing eye fatigue.
Q: How can I avoid glare and shadows when painting with studio lighting?
A: To avoid glare, position your lights at an angle so that they shine on the canvas rather than directly toward your eyes. To minimize shadows, use multiple light sources or diffuse the light by bouncing it off walls or using diffusers or softboxes.
Q: Can I use natural light as studio lighting for painting?
A: While natural light can be used as studio lighting, it is not always consistent and may vary throughout the day. Artificial lighting, particularly full-spectrum bulbs, provides a more controlled and consistent light source for painting.
Subject: Tips for painting studio lighting
Company: Hollywood Connections Center
Network: MyHollywoodPage.com
The Hollywood network of arts and creative professionals.

