


Tips for shooting your indie film
Filmmaking is an art of creativity, dedication, and vision. Shooting an indie film can be a difficult yet rewarding experience. Here are some tips to assist you in bringing your story to life.
Planning and organization are essential for indie films. Before production, it’s important to comprehend the story, characters, and concept of your film. This will help you make decisions throughout.
Budgeting is a paramount factor for indie filmmakers. As you don’t have much money, it’s vital to prioritize costs and select wisely when it comes to equipment, locations, and cast members.
Building a talented and committed team can significantly affect the quality of your film. Find people who share your enthusiasm and work together smoothly. Collaboration is important for producing a smooth and consistent final product.
Let’s explore Richard Linklater’s 1991 classic, “Slacker”, shot on a shoestring budget in Austin, Texas. Despite the odds, this movie received critical acclaim for its original narrative structure and was celebrated as a major milestone in independent cinema.
Pre-production Tips
Pre-production Tips
In the early stages of your indie film project, it is crucial to plan meticulously and make all necessary preparations. Here are some key tips to consider:
| 1. Develop a solid script | Ensure your screenplay is engaging and well-structured, with compelling characters and a coherent storyline. |
| 2. Assemble a talented team | Collaborate with experienced professionals who share your vision and can help bring it to life. |
| 3. Secure adequate funding | Identify potential sources of financing and create a realistic budget that covers all necessary expenses. |
| 4. Scout appropriate locations | Visit various potential filming locations to find the ones that best match your artistic vision. |
| 5. Obtain necessary permits | Research and acquire the required permits and licenses for filming at your chosen locations. |
Additionally, it is important to prioritize effective communication and maintain a positive working environment throughout the pre-production phase of your film. By focusing on these details, you can increase the chances of a successful indie film production.
Inspiring Story:
Consider the case of a passionate indie filmmaker who faced numerous challenges during pre-production. With meticulous planning, dedication, and a supportive team, they overcame financial constraints and obtained the necessary permits, ultimately bringing their vision to the screen. Through perseverance and careful organization, they successfully completed their indie film project, leaving a lasting impact on audiences worldwide.
Don’t worry if your vision for your indie film is blurry, it could just be the tears of laughter from your audience.
Develop a clear vision for your film
For creating a successful and impactful project, developing a clear vision is vital. To guide and motivate your team to get the desired results, you should define your objectives and visualize the final outcome.
-
- Step 1: Brainstorm and Research
Dive deep into the subject of your film. Get inspiration from various sources. Explore thoroughly, watch related films, read related books/articles, and converse with experienced people. This will help you understand the main elements and themes that should be included in your film.
-
- Step 2: Define Your Message
Figure out the message or story you would like to express through your film. Elaborately articulate the fundamental concept or theme that will strike the audience. A powerful message will lay the groundwork and direction for the entire creative procedure.
-
- Step 3: Visualize Your Film
Create a visual representation of how you want your film to look. You can do this by storyboarding, drawing key scenes, or collecting images that convey the ambiance you would like to show. Visualizing your film will help you communicate your ideas effectively to the others engaged in production.
-
- Step 4: Collaborate with Your Team
Discuss your vision with other members of your production team, such as cinematographer, production designer, and costume designer. Encourage open discussions and brainstorming sessions to get varied perspectives and ideas. Collaboration will enhance the overall creativity and quality of your film.
-
- Step 5: Refine Your Vision
Continuously refine your vision throughout the pre-production process. Accept feedback and make required modifications along the way. Remain loyal to your unique concept, while being adjustable to new ideas or obstacles that may arise.
By forming a clear vision, your film will have a solid foundation to build on. By following these steps and collaborating with your team, you can bring your creative ideas to life on the screen. Plus, it is vital to guarantee that the vision for your film is in accordance with the intended viewers and industry standards. Examining triumphant films in comparable genres and distinguishing regular elements can help direct your decision-making process.
In the world of filmmaking, multiple prominent directors and producers have put emphasis on the significance of forming a clear vision for their films. Alfred Hitchcock, renowned as the “Master of Suspense,” planned every scene in his films, imagining every aspect before going to set. This level of preparation let him create some of cinema’s most renowned moments and sustain consistency throughout his body of work.
By taking the time to build a clear vision for your film, you can raise its general quality and touch with audiences at a deeper level. A well-defined vision sets up a successful collaboration and verifies that all aspects of production collaborate to form a unified and powerful cinematic experience.
Create a budget and plan your financing
Creating a budget & finance plan is key for pre-production success. Here’s a guide to help you:
- Assess resources like equipment, locations, & skilled personnel. Use this to know what else you need to fund.
- Set a realistic budget. Consider fixed & variable costs and be thorough.
- Explore financing options like grants, investors, crowdfunding platforms, & sponsorships. Develop a strategy to approach each one.
- Create a financial timeline. Allocate funds according to the production schedule.
- Keep transparent records of expenses & income. This helps monitor progress, control spending, & hold stakeholders accountable.
Communicate with team members regularly too. Every project is different, so consider factors like scope, genre, location demands, & special effects needs.
#ExampleStory# shows why careful financing planning is important. A director secured funding but didn’t make a detailed budget or finance plan. Unexpected costs caused them to run out of funds midway through the shooting. The project had to be put on hold until they got more money.
Assemble your cast and crew
Assembling your cast and crew is a key step in pre-production. It’s about bringing together talented people to make your vision a reality. Here’s a guide to help:
- Identify roles. Make a list of what you need: actors, director, cinematographer, etc.
- Casting and auditions. Start with lead roles. Advertise and do thorough screenings. Consider talent, chemistry, and theme understanding.
- Networking and referrals. Ask your network or trusted colleagues. Word-of-mouth is a great tool for finding talent.
Provide clear guidelines and expectations for everyone involved. Communication is the key to making sure everyone is on the same page.
When assembling your cast and crew, consider more than just talent. Get people passionate about your project and share your vision. A good team can elevate the creative process and add their own perspectives.
A great example is a small independent film. The director decided to assemble a diverse cast and crew based on recommendations. Despite resources, their enthusiasm led to critical acclaim and opened future opportunities.
Assembling your cast and crew isn’t just finding professionals. It’s building a team dedicated to bringing your creative vision to life with passion and camaraderie.
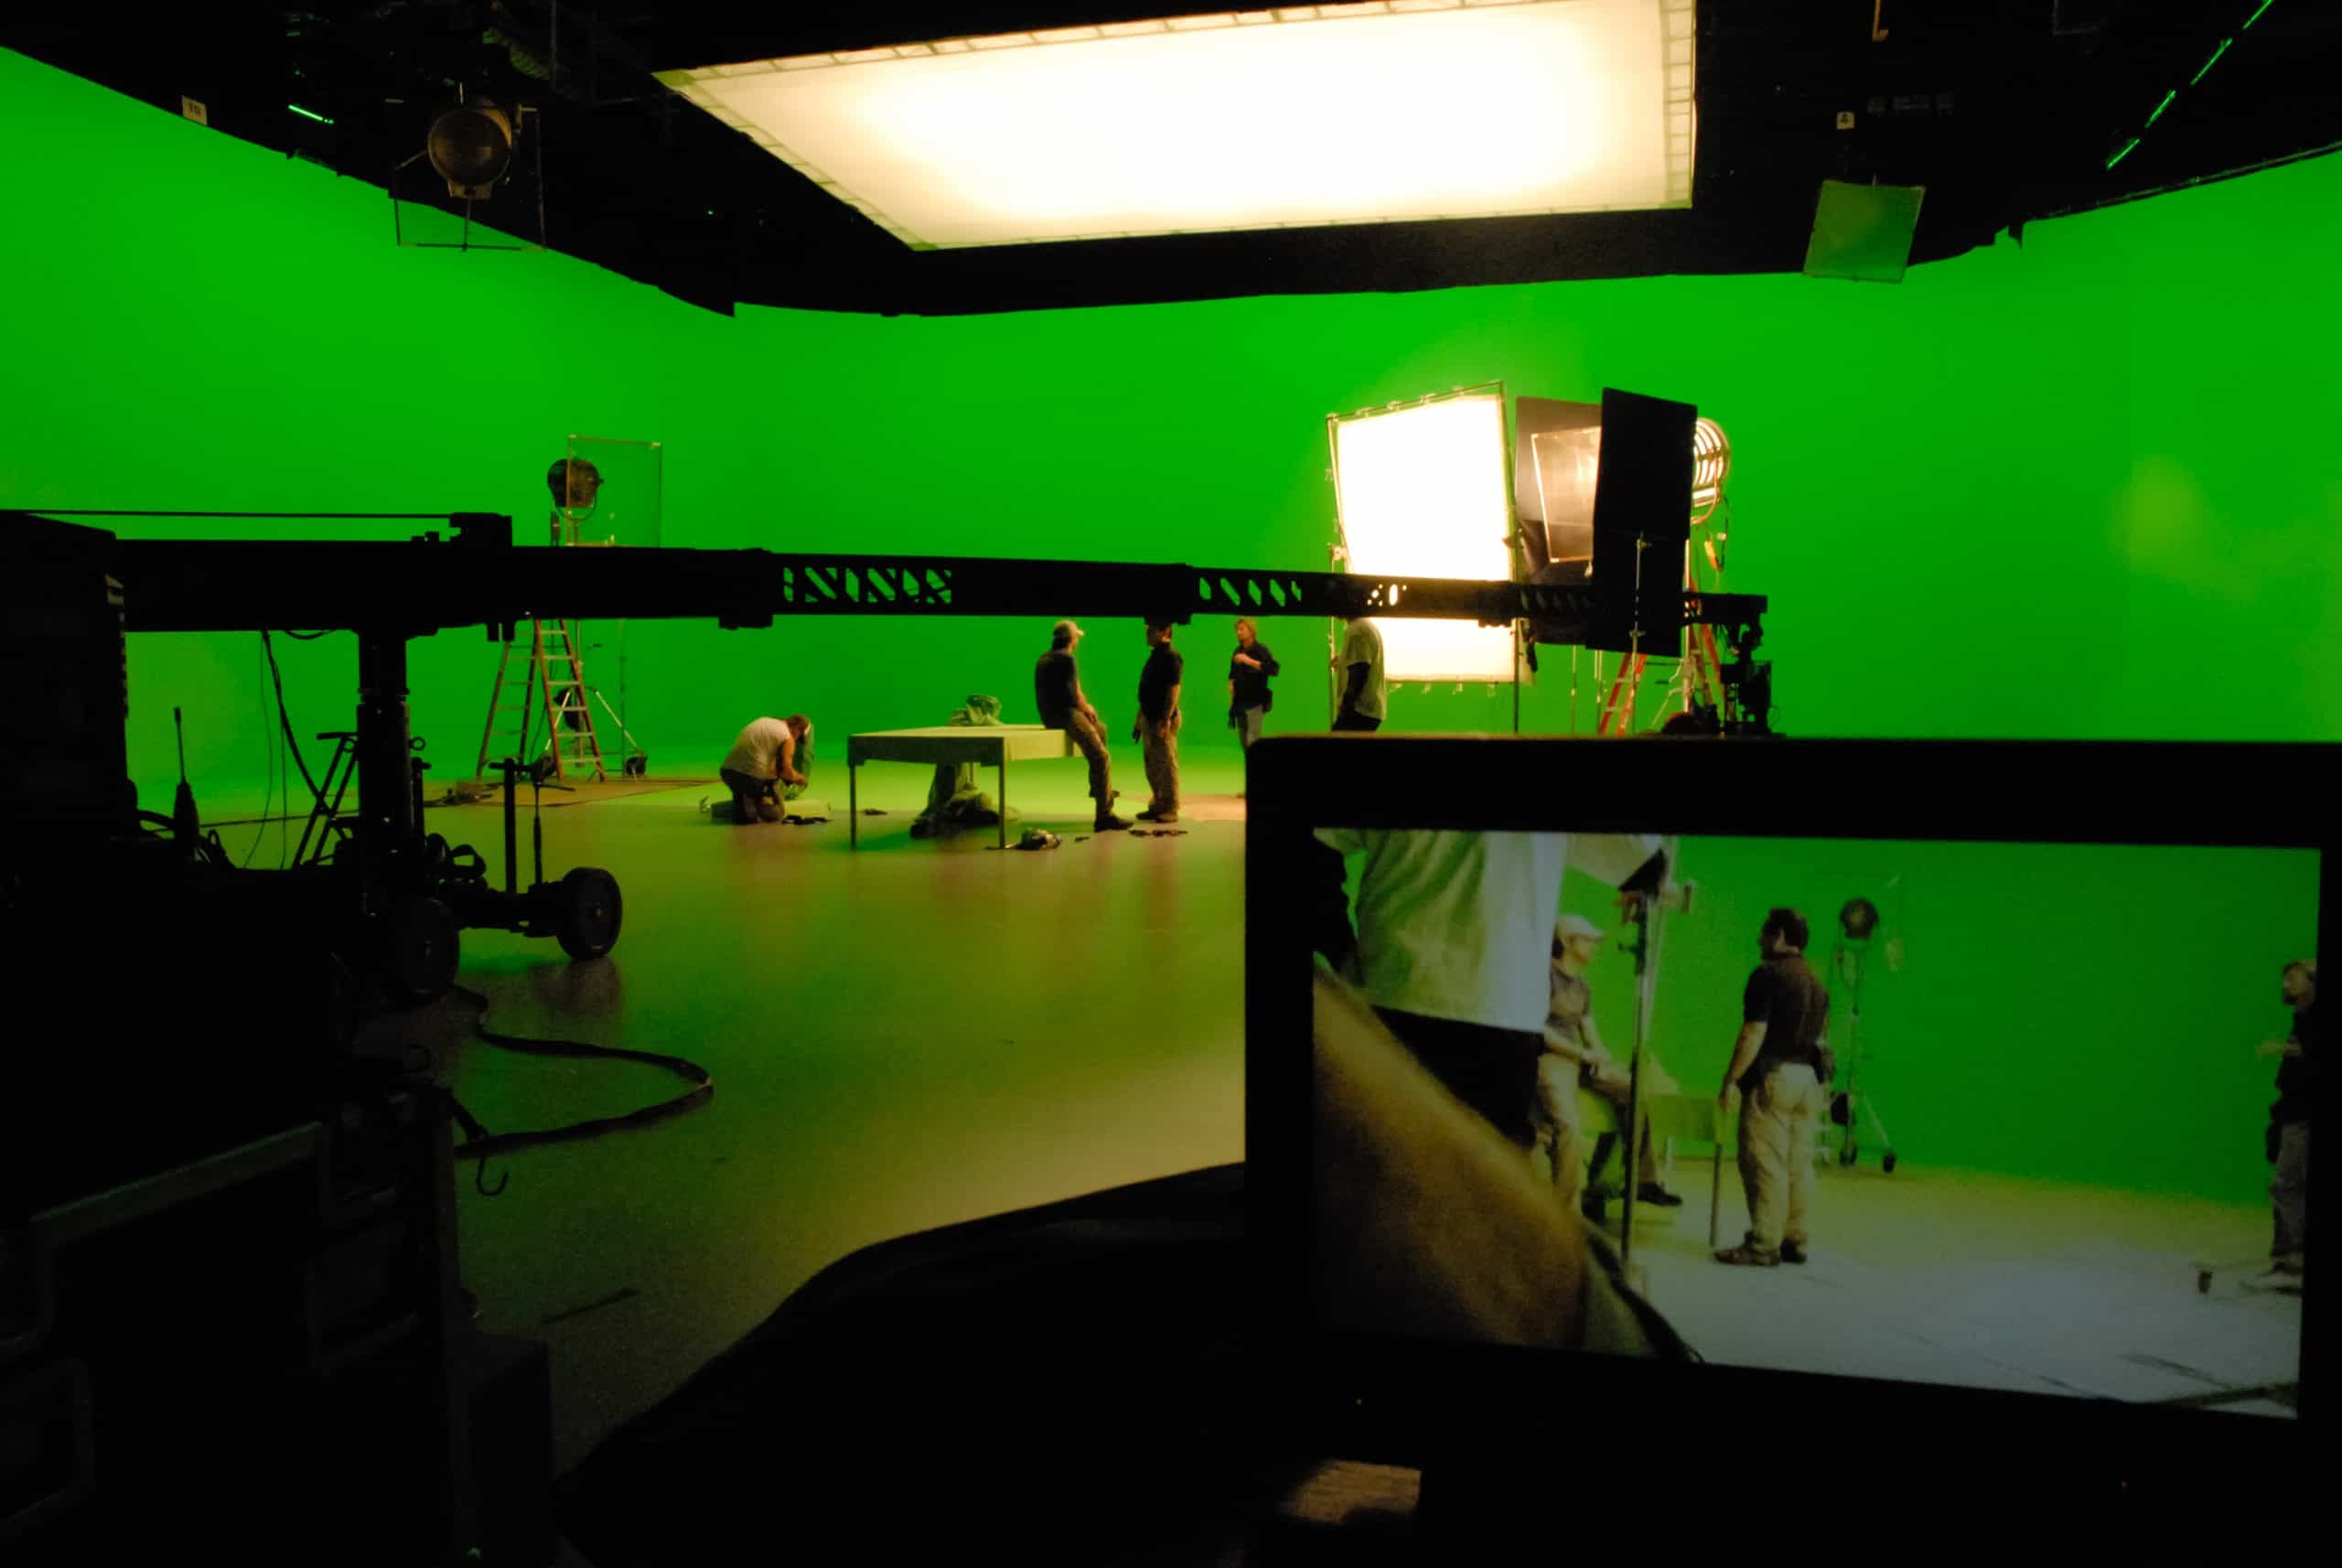
Production Tips
Production Tips:
Implementing effective strategies during the production of your indie film can greatly enhance its quality and success. Here are key insights to consider:
Table:
| Tip | Description |
|---|---|
| Pre-production | Thoroughly plan and organize all aspects of your film |
| Casting | Select talented actors who align with your vision |
| Location scouting | Find suitable and visually appealing locations |
| Equipment | Choose the right equipment for filming and audio recording |
| Lighting | Create visually appealing scenes with proper lighting |
Additionally, pay attention to unique details such as sound design and costuming to further elevate your film.
True Story:
For instance, while shooting an indie thriller, meticulous attention was given to selecting haunting locations and utilizing innovative lighting techniques. These deliberate choices contributed significantly to the atmosphere and overall impact of the film.
Finding the perfect camera settings is like finding a needle in a haystack, except the haystack is on fire and the needle is invisible.
Choose the right equipment and camera settings
To shoot high-quality content, you need the right equipment and camera settings. Here’s a 3-step guide to make sure you capture the perfect shot.
- Evaluate: Know the purpose of your project – documentary, commercial, or film. Think about the lighting, location, and visual style.
- Research & Test: Research cameras and equipment that meet your needs – resolution, frame rate, lens, and image stabilization. Test them for expectations.
- Budget: Set a budget and explore options. Quality doesn’t depend only on equipment – technique and creativity are important too.
Also focus on details like aperture, white balance, ISO, shutter speed, and focus modes. They impact the look and feel of your footage.
Pro Tip: Quality lenses can improve sharpness, depth of field control, and reduce distortions.
With this 3-step guide, you can confidently choose the right equipment and camera settings for your next production!
Set up proper lighting and sound
It is essential to have proper lighting and sound to create a professional and immersive experience. Here’s a 4-step guide:
- Assess the space. Evaluate the area where you will shoot. Factors such as natural light, room size, and background noise should be taken into account. This will help you decide the best spot for lights and speakers.
- Lighting setup. Start with the key light. Place it at an angle that flatters the subjects while avoiding harsh shadows. Then add fill lights to reduce shadows and backlighting for added depth.
- Sound setup. Choose quality microphones that fit your recording needs. Place them close enough to capture clear sound without interfering with the visuals. Use soundproofing material like foam panels or blankets to reduce echoes or ambient noise.
- Test and adjust. Before starting, conduct tests to make sure everything is working. Check audio levels, and lighting balance, and adjust accordingly.
You can add creative touches like colored gels on lights or use specialized audio equipment for quality sound. A true story – during a film shoot in a dimly lit place with challenging acoustics, our team set up lights and microphones. The result? Vibrant colors and clear sound, immerse the audience in the narrative.
Proper lighting and sound are essential elements that make the production impactful. Follow these steps and be creative – you’ll be on your way to achieving a captivating visual and auditory experience.
Direct your actors effectively
For a successful production, skilfully directing actors is essential. Here’s a 5-step guide to help you bring out the best from your cast:
- Communicate openly: Make a welcoming environment where actors feel free to share their thoughts and concerns. Support dialogue for collaboration and trust-building.
- Know each actor’s process: Take the time to get to know each actor individually. Learn how they uniquely develop characters and connect with emotions.
- Give clear objectives: Clearly communicate the goals of each scene or moment. Highlight the desired emotion and overall tone. This assists actors to stay motivated and focused.
- Provide constructive feedback: Give precise, actionable feedback to guide actors towards better performances. Concentrate on what worked well and give ideas for improvement without criticism.
- Adapt to individual needs: Acknowledge that each actor has different strengths, weaknesses, and learning styles. Provide personalized guidance to maximize their potential.
Besides these steps, it’s important to remember that collaboration is indispensable for great performance. By fostering a supportive atmosphere, promoting creativity, and giving clear direction, you can unlock your cast’s full potential.
To achieve great direction:
- Analyse scripts together: Have script analysis sessions with your actors to gain an understanding of character motivations and intentions.
- Use improvisation: Promote spontaneous exploration of scenes through improvisation techniques. Help actors uncover new depths in their characters.
- Try blocking: Team up with actors on blocking choices to boost visual storytelling and performance dynamics.
- Foster self-reflection: Let actors reflect on their performances by providing access to playback footage or rehearsals.
- Respect individual processes: Understand some actors may prefer private and quiet preparation, while others enjoy a more interactive rehearsal setting. Adjust your work environment to suit each actor’s needs.
By employing these suggestions, you not only create a platform for great performances but also a place where actors feel supported and brave enough to take risks. Remember, effective directing is about guiding and nurturing talent to achieve the best possible outcome.
Post-production Tips
Post-production is a crucial phase in the filmmaking process that involves editing, sound design, visual effects, and color grading. It is essential to follow specific tips to achieve a polished and professional result. Here are five key points to consider:
- Organization: Ensure all the footage, sound files, and visual assets are well-organized. This includes creating a clear folder structure and naming convention for easy navigation and retrieval of files during the editing process.
- Editing Workflow: Develop a systematic workflow for the editing process. Start by creating a rough cut and gradually refine it to achieve the desired pacing and storytelling. Take advantage of modern editing software features, such as non-destructive editing and timeline markers, to streamline the process.
- Sound Design: Pay attention to the sound design elements in your film. Enhance dialogue clarity, add ambient sounds, and incorporate a balanced mix of music and sound effects. Use audio editing tools to remove background noise and ensure a clean and professional audio track.
- Color Grading: Color grading plays a significant role in setting the mood and tone of your film. Experiment with various color grading techniques to create a consistent and visually appealing aesthetic. Use color grading software and tools to adjust contrast, saturation, and overall color balance.
- Quality Control: Before finalizing your film, conduct thorough quality control checks. Ensure there are no technical glitches, such as continuity errors, audio sync issues, or visual artifacts. Test the film on different screens and audio systems to ensure compatibility and optimal viewing experiences.
Additionally, paying attention to small details like proper file formats, metadata tagging, and exporting settings will help maintain the quality of your final film.
It is important to remember that these post-production tips are just a starting point, and the creative choices you make will ultimately shape the final product. By investing time and effort into the post-production process, you can elevate your indie film to a professional level.
True Story: During the post-production of an indie film, the editor discovered a continuity error in a crucial scene. Instead of reshooting the entire sequence, they creatively used visual effects and editing techniques to seamlessly fix the mistake. This incident highlighted the importance of problem-solving skills and resourcefulness in the post-production stage.
Don’t let your footage become a hot mess, unless you’re going for a documentary about chaos theory.
Organize and manage your footage
Organize and manage your footage for an efficient post-production process. Follow these steps:
- Label and categorize files: Assign descriptive names, and create folders for categories like interviews, b-roll, and graphics.
- Create a logical file structure: Arrange footage in a way that makes sense to you. Use subfolders for specific projects or scenes.
- Add metadata and keywords: Tag files with info like location, date, and keywords. Makes searching for shots easier during editing.
- Backup footage: Have multiple copies of raw footage on hard drives or cloud storage. Backup files to prevent data loss.
Attention to detail is key! Save time and frustration by organizing footage. Use software tools to tag and sort files based on content analysis. Utilize color-coding systems to differentiate between footage types. And use consistent naming conventions to identify shots across projects.
Organize today! Don’t let disorganized footage hinder your creative flow and productivity. Implement these tips now!
Edit your film using professional software
Pro film editing software is a must for a professional-looking end product. With the right tools, you can turn your footage into a stunning movie. Consider these when editing:
- Import your shots.
- Create folders and bins.
- Trim and arrange clips.
- Add transitions.
- Enhance with effects.
- Export and save.
To make your editing even better, use color grading, audio mixing, and special effects. You can up the quality of your movie with these tools.
Fun fact: Before digital editing, films were cut manually with celluloid tapes. Editors had to splice together segments for a smooth flow. Digital software changed this process and gave more flexibility and precision.
Add music, sound effects, and visual effects
Incorporating music, sound effects, and visual effects is essential in post-production. It boosts the final product’s quality and impact. To do this, follow these 6 steps:
- Choose the right music: Pick music that matches the video’s tone and mood. If using copyrighted songs, remember licensing and copyright restrictions.
- Add sound effects: Include relevant sound effects to give depth and realism. Use them strategically to emphasize specific scenes or actions.
- Visual effects: Include visual effects to increase the visual appeal and storytelling. This could include transitions, color grading, or CGI elements if needed.
- Timing and synchronization: Make sure the music, sound effects, and visuals work together smoothly. Focus on timing and synchronization for a polished end result.
- Audio levels: Balance the audio levels between dialogues, music, and sound effects to make sure nothing overpowers the others.
- Test playback: After adding all elements, play back the video multiple times to ensure everything fits together.
Remember to consider audience preferences, branding guidelines (if applicable), and the message you want to send through your video.
Plus, use this opportunity to leave a lasting impression! With captivating music, immersive sound effects, and stunning visuals, you can create an unforgettable experience that speaks to your audience emotionally. So go ahead and let your creativity shine!
Distribution and Promotion Tips
Distribution and Promotion Tips are key strategies for ensuring the success of your indie film. By effectively reaching your target audience, you can maximize exposure and increase the chances of your film being seen by a wider audience. Here are some practical and proven tips that can help you distribute and promote your indie film:
In order to effectively distribute and promote your indie film, it is important to leverage various channels and mediums. Here are some practical techniques that can help you achieve this:
| Techniques for Distribution and Promotion Tips |
|---|
| Utilize social media platforms effectively |
| Engage with influencers or bloggers in your niche |
| Submit your film to film festivals and competitions |
| Host special screenings or premiere events |
| Create a website or landing page for your film |
| Collaborate with other filmmakers or artists |
| Implement targeted online advertising campaigns |
| Build a strong email list for marketing purposes |
| Engage with your audience through Q&A sessions or live events |
By utilizing social media platforms effectively, you can reach a larger audience and generate buzz around your indie film. Engaging with influencers or bloggers in your niche can help you tap into their existing audience and gain more exposure. Submitting your film to film festivals and competitions can create opportunities for your film to be seen by industry professionals and potential distributors. Hosting special screenings or premiere events can help generate excitement and word-of-mouth promotion. Creating a website or landing page for your film allows you to provide information and updates to your audience. Collaborating with other filmmakers or artists can help cross-promote your work to their existing fan base. Implementing targeted online advertising campaigns can help you reach your target audience more effectively. Building a strong email list allows you to directly communicate with your audience and keep them updated on your film’s progress. Engaging with your audience through Q&A sessions or live events can help create a personal connection and build a loyal fan base.
To further enhance your distribution and promotion efforts, here are some additional tips:
- Utilize organic reach: Engaging with your audience organically through social media posts, blog articles, or guest appearances on podcasts can help you create a genuine connection and generate organic interest in your film.
- Leverage partnerships: Collaborating with other filmmakers or organizations that share a similar target audience can help amplify your reach and create mutually beneficial partnerships.
- Implement cross-platform marketing: By utilizing multiple platforms and mediums such as social media, email marketing, and traditional advertising, you can reach a wider audience and increase the chances of your indie film being seen.
- Utilize data analytics: Tracking and analyzing data on audience engagement, website traffic, and social media interactions can provide valuable insights that can inform your distribution and promotion strategies.
By following these tips and techniques, you can enhance the distribution and promotion of your indie film and increase your chances of success. Remember to constantly evaluate and adapt your strategies based on audience feedback and market trends for maximum impact.
Ready to face rejection? Submit your film to festivals and screenings, because nothing builds character like a queue of rejection emails and empty screening rooms.
Submit your film to festivals and screenings
Submit your film to festivals and screenings to promote it! Here’s a step-by-step guide:
- Research events similar to your genre and theme.
- Look at the submission guidelines.
- Get the materials needed.
- Fill out the online form, upload your materials, and pay any fees.
- Follow-up with organizers.
- Attend the festival or screening to network.
- Consider submitting for awards.
Pro Tip: Use online platforms to streamline the submission process and increase visibility.
Create a marketing plan and build an online presence
Want to create a marketing plan and build an online presence? Strategic thinking and creativity are key. Here are 6 steps to help you get started:
- Set goals. Be clear on what you want to achieve; increasing brand awareness, leads, or sales.
- Identify your target audience. Who are they? What do they want?
- Research competitors. See what they’re doing to attract customers online.
- Choose the right channels. E.g.. Social media, email marketing, content marketing.
- Create compelling content. E.g.. Blog posts, images, videos, quizzes.
- Measure & adjust. Monitor performance & use analytics to track metrics like website traffic & ROI.
Keep in mind: that consistent effort is needed to build an online presence. That includes valuable content creation, customer interaction, SEO optimization & digital advertising strategies. Fun Fact: As of October 2020, there were 4.66 billion active internet users worldwide!
Utilize social media and online platforms for promotion
Social media and online platforms are great for boosting your brand! They can help you reach potential customers in no time. Here are some of the best ways to do it:
- Generate content that appeals to your target audience. It could be videos, images, or blog posts.
- Make use of hashtags to increase your post’s visibility. Look for top hashtags related to your industry and use them.
- Interact with people who comment, message, or review you. This will help create trust and loyalty.
- Join forces with influencers who have loads of followers on social media. Their endorsement can really help your brand.
It’s also important to measure the performance of your campaigns. Check analytics such as engagement, click-through, and conversion rates to improve your promotion.
Lastly, consider using paid advertising on social media. It can help you target demographic groups and get more visibility.
By using social media and online platforms, you can effectively market your brand and draw in more customers. So be imaginative and make the most of these digital opportunities!
Conclusion
As we end our discussion on indie movie shooting, it’s good to remember these key tips for a successful film:
- Plan & organize to be efficient on set.
- Invest in good equipment and have a skilled team.
- Take risks and use unique storytelling.
- It’s also crucial to pay attention to post-production details like sound design and color grading – these elements can make your film look professional.
Overall, perseverance is key in the independent filmmaking world.
Ava DuVernay’s 2010 film “Middle of Nowhere” is a true example. She shot her indie film on a tight budget with a small crew. Nevertheless, she prepared each scene carefully and made use of her team’s talents to make her vision come true. Her hard work paid off! The film achieved critical acclaim and won awards at famous film festivals.
Frequently Asked Questions
Q: What type of camera should I use for shooting my indie film?
A: The type of camera you use depends on your budget and desired level of quality. Popular choices for indie filmmakers are DSLRs like the Canon EOS 5D Mark III or mirrorless cameras like the Sony A7S II. These cameras offer excellent image quality and versatility at an affordable price.
Q: How can I achieve professional-looking cinematography on a limited budget?
A: To achieve professional-looking cinematography on a limited budget, focus on proper lighting and composition. Utilize natural light whenever possible and experiment with different angles and framing techniques. Also, consider investing in a good tripod to ensure steady shots.
Q: What are some tips for capturing good audio during indie film shoots?
A: Good audio is crucial for a successful indie film. Invest in a quality external microphone for your camera or consider recording audio separately with a dedicated recorder and syncing it during post-production. Also, be mindful of ambient noise and use soundproofing techniques when necessary.
Q: How can I make the most of a small crew on set?
A: When working with a small crew, effective communication and proper planning are key. Clearly define roles and tasks for each crew member, and prioritize tasks based on importance. Additionally, consider utilizing multi-functional crew members who can handle multiple aspects of the production process.
Q: What are some tips for shooting on location with limited resources?
A: Shooting on location with limited resources requires resourcefulness and creativity. Scout the location beforehand and plan shots that make the most of the available resources. Use practical props and costumes that can be obtained inexpensively or borrowed. Also, be prepared to adapt to unexpected challenges and make the most of what you have.
Q: How important is post-processing in indie filmmaking?
A: Post-processing plays a significant role in indie filmmaking. Use editing software like Adobe Premiere Pro or Final Cut Pro to refine your footage, adjust colors, and add visual effects if necessary. Additionally, invest time in sound mixing and mastering to enhance the overall audio experience for your audience.
Subject: Tips for shooting your indie film
Company: Hollywood Connections Center
Network: MyHollywoodPage.com
The Hollywood network of arts and creative professionals.

