


Tips for painting on canvas
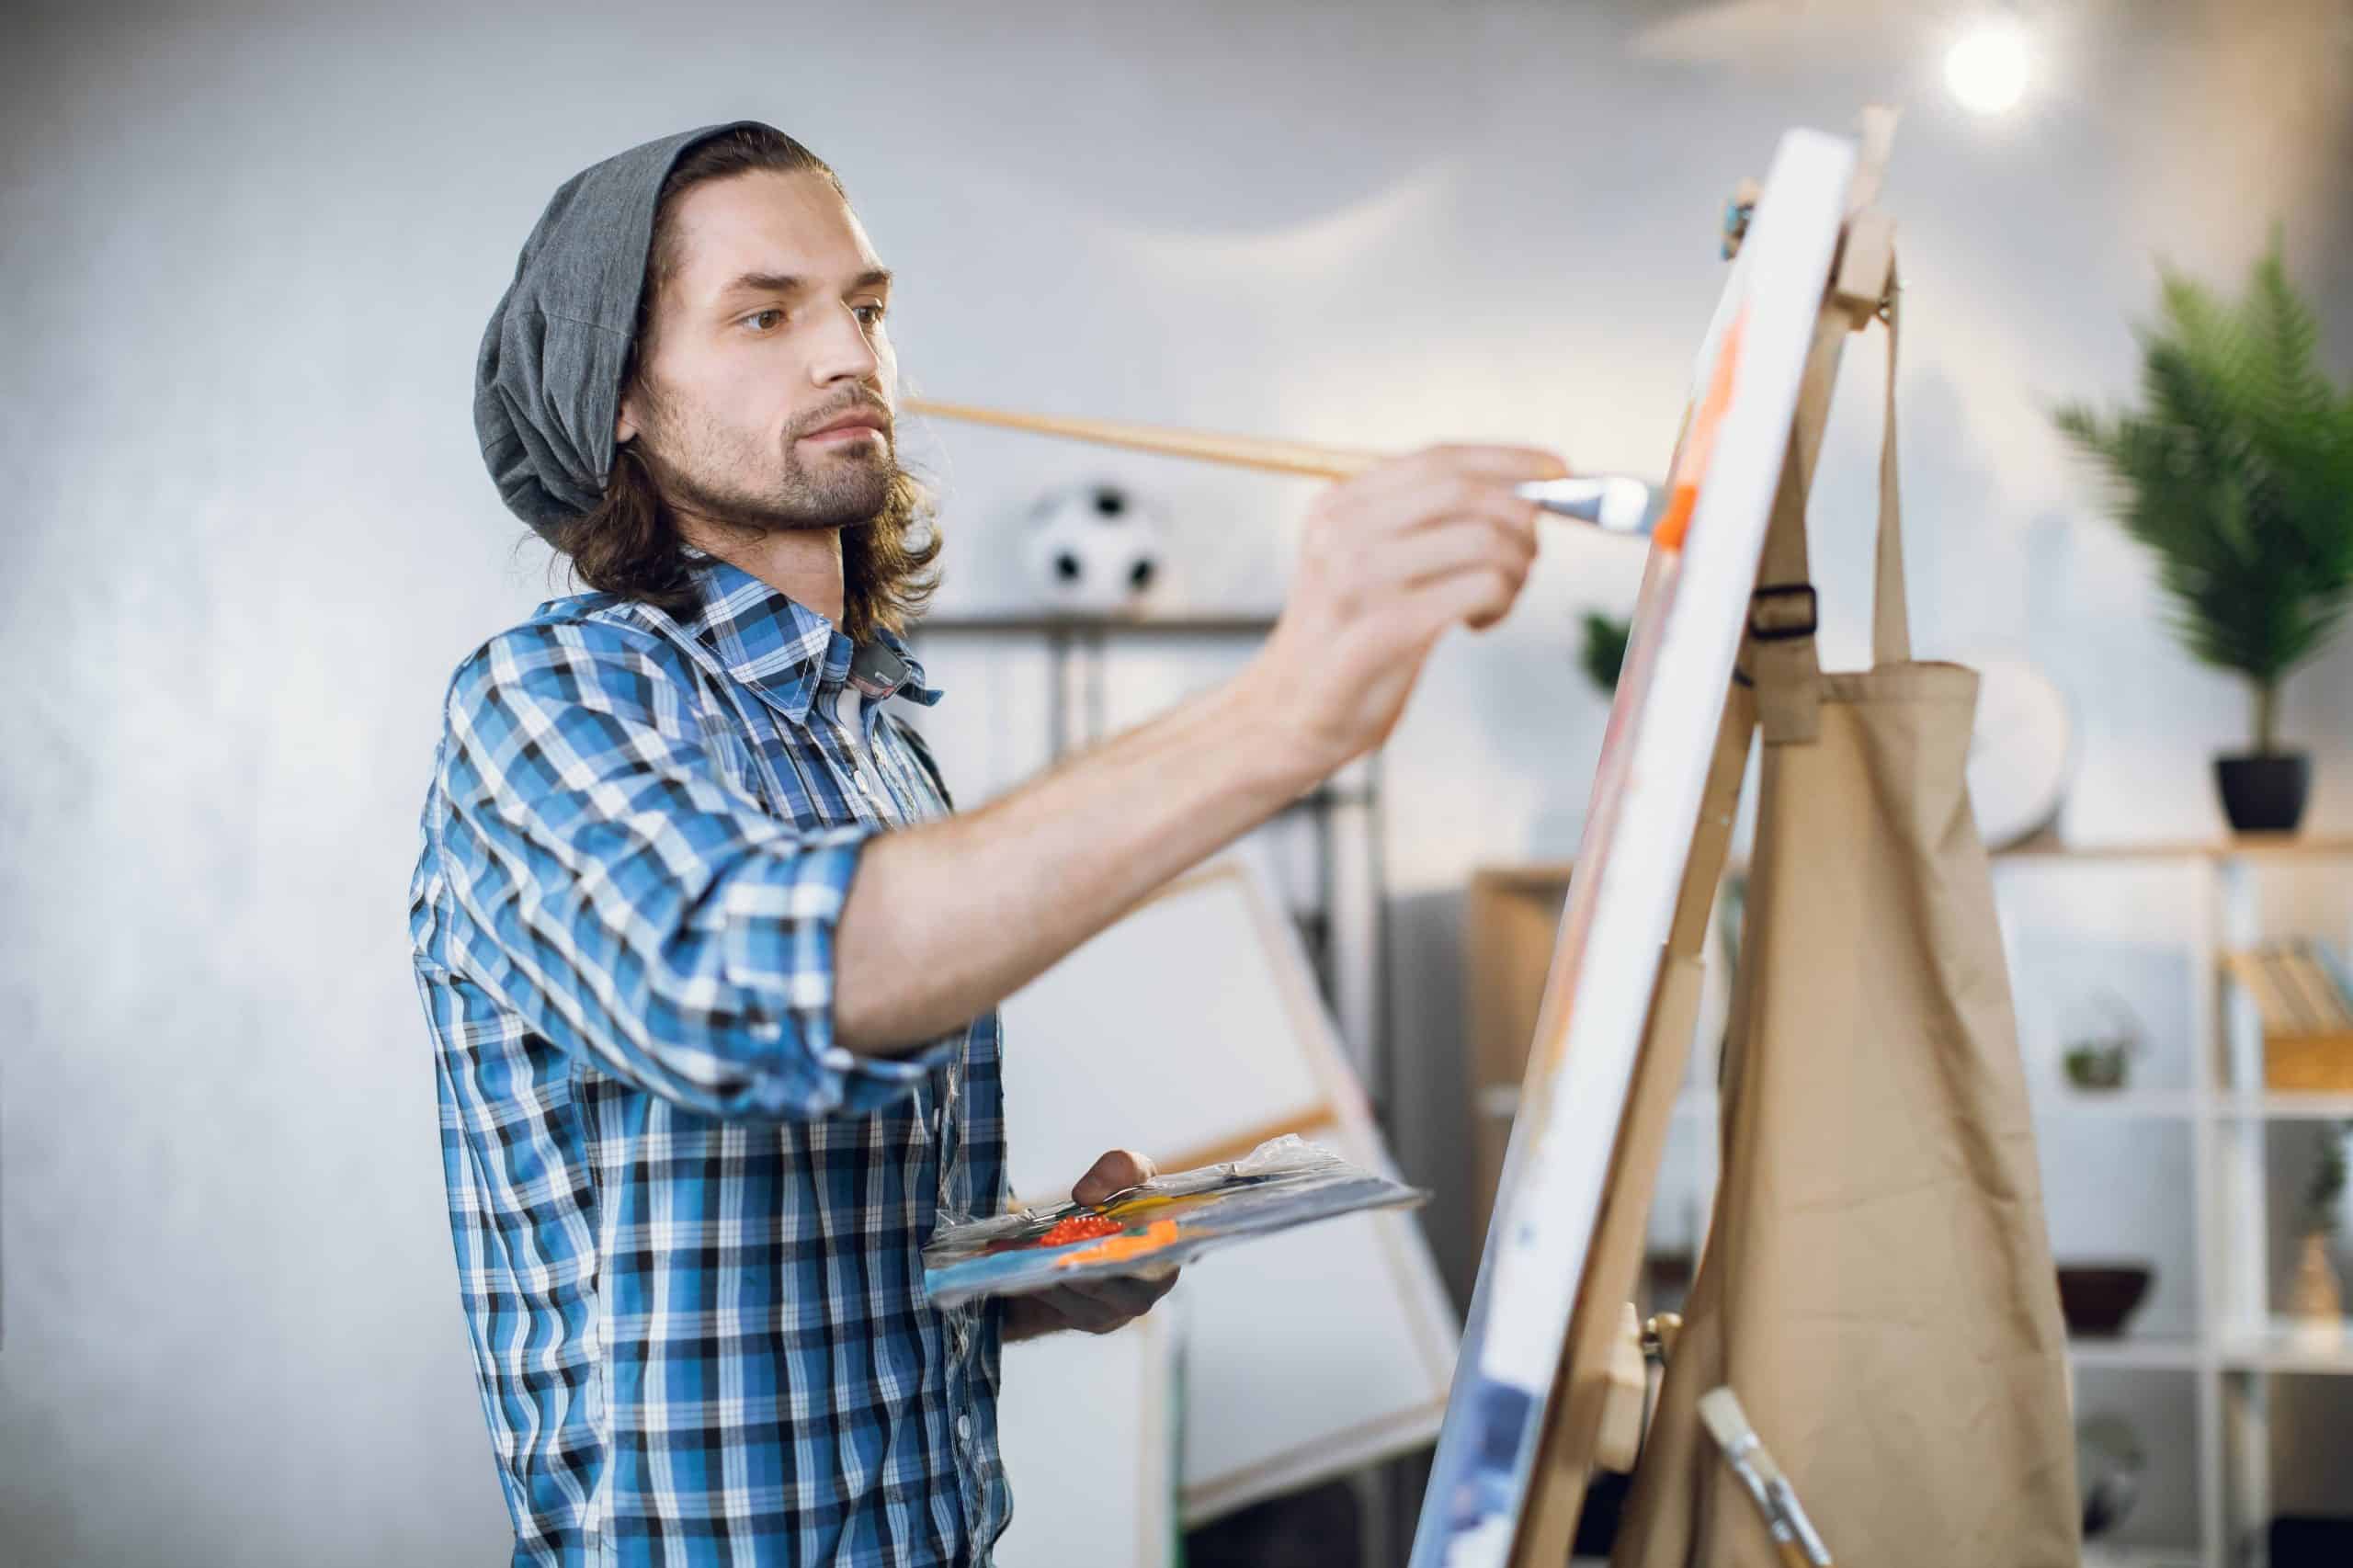
Canvas painting is a fab form of art! It allows artists to express their creativity on a sturdy and versatile surface. From landscapes to abstract masterpieces, the possibilities are endless. Here are some tips and techniques that can help you create stunning works of art on canvas.
- Priming the canvas with gesso is key. This white paint-like substance seals the surface and provides an ideal texture for painting.
- Select a canvas size and shape that will suit your vision.
- Choose your paints. Acrylics, oils, and watercolors have different effects. Experiment to find the one that suits your style best.
- Plan out your composition and sketch a rough outline with charcoal or pencil. Mistakes can be corrected or turned into happy accidents!
- Add depth and dimensionality with layering, glazing, or dry brushing. Layering uses multiple translucent layers of paint. Glazing involves applying thin transparent washes over dried paint. Dry brushing uses a small amount of paint on bristle brushes for textured effects.
Painting on canvas offers freedom! Follow these tips and explore different techniques. Elevate your artwork and create captivating pieces! Grab your brushes, mix your colors, and let your imagination run wild on the canvas!
Choosing the Right Canvas
To ensure you make the best choice when it comes to your canvas, delve into the section on “Choosing the Right Canvas” in “Tips for painting on canvas.” This section covers important aspects such as canvas size and shape considerations and the various types of canvas materials available.
Canvas size and shape considerations
Choosing the right canvas size and shape is a must for every artist. It can change the look of the artwork, the composition, and the aesthetics.
Smaller canvases are perfect for more detailed pieces, allowing for finer details and intricate brushwork. While larger canvases are best for grandiose artwork and bold strokes.
Rectangular shapes are the standard choice, providing a balanced composition. But other shapes like squares or circles add an interesting touch to the artwork.
It’s important to consider the space where the artwork will be displayed. Smaller canvases work well in limited wall space, while large walls can hold oversized statement pieces.
The canvas material and techniques should also be taken into account. Some paints and mediums may need priming or special treatment for the best results.
Find the canvas that reflects your style and vision. Experiment with different sizes and shapes. Step out of traditional boundaries and explore new possibilities. Don’t let fear stop you from creating incredible artwork! Choose your canvas wisely and unleash your creativity. Endless possibilities await!
Different types of canvas materials
Canvas is key for every artist. Let’s dive into the different types and how they can benefit your art.
- Cotton Canvas: Smooth surface, lightweight, and great color saturation.
- Linen Canvas: Powerful and long-lasting. Perfect for oil painters who use heavy brush strokes.
- Polyester Canvas: Durable, moisture-resistant, and UV-resistant. Great for outdoor artwork.
Other unique materials worth considering are blends like cotton-polyester and synthetic options like nylon.
It’s important to select a canvas that supports your vision. Check out the various options and understand which best suits different techniques and settings. Get creative on a canvas that works for you!
Selecting the Right Paint
To ensure successful painting on canvas, tackle the section “Selecting the Right Paint” with sub-sections “Acrylic vs. oil paints” and “Choosing the right color palette.” Explore the differences between acrylic and oil paints, and discover tips for selecting a harmonious color palette that enhances your artwork.
Acrylic vs. oil paints
Choosing between acrylic and oil paints? Consider these factors.
Acrylics dry quickly, are easy to clean with water, and are great for beginners.
Oils take longer to dry and need solvents to clean up but offer richness and depth of color.
The texture and finish of the paint also matter. Acrylics have a smoother finish, and oils offer thicker textures.
Tools needed also differ. Acrylics need regular brushes, while oils may need specific brushes and mediums.
Oil paintings must be varnished after drying.
Pro Tip: Experiment with both on small canvases or paper to understand their unique properties and decide which one works best for your art.
Choosing the right color palette
Before you start, grasp the goal of the room. For example, if you’re painting a bedroom, opt for calming colors such as pastel blues or lavender to create a tranquil vibe and help with sleep. On the contrary, bright colors like yellows or oranges in a workspace or office can invigorate creativity and productivity.
Natural light has a huge impact on your choice of colors. In a room with plenty of brightness, pale shades won’t look too washed out whereas darker shades can add depth in dimmer rooms.
Your personal style matters too. Ultimately, it should guide your color choices. Try different schemes that match your vision and make the space unique!
When selecting your palette, consider how the colors go together. One tip is to use contrasting colors from the color wheel for an eye-catching and well-balanced look. Also, analogous colors – neighboring on the wheel – can produce a harmonious atmosphere between sections.
Don’t forget the psychological effects of colors. Warmer hues like reds and oranges bring coziness, whereas cool tones like blues and greens deliver peace.
Preparing the Canvas
To ensure a well-prepared canvas for your painting endeavors, prime the canvas and stretch it properly. Priming the canvas creates a suitable surface for paint application while stretching the canvas ensures a taut and smooth working area. These two sub-sections offer effective solutions for achieving a quality canvas foundation.
Priming the canvas
“Priming the canvas” is key to making it ready for painting. Stick a layer of primer to make a nice, even surface that allows the paint to stick and prevents it from sinking into the canvas. Here’s a basic 6-step guide!
- Gather canvas, primer, brush/roller, palette knife, and drop cloth.
- Put the drop cloth on your workspace to avoid any mess.
- Place the canvas on the drop cloth; make sure it’s clean.
- Start applying the primer with a brush/roller; use smooth strokes in one corner and go across the whole surface.
- Use a palette knife to spread the primer in thin layers; level out any uneven parts.
- Let the primer dry before you start painting.
Remember, different canvases may need different priming techniques. Read manufacturer instructions.
Pro Tip: To improve durability, apply multiple coats of primer. Let each coat dry before adding the next one. This will make your canvas sturdier and a good base for your artwork.
Stretching the canvas properly
- Choose a high-quality canvas, tightly woven to prevent sagging.
- Put the canvas on a flat surface and mark where you want to place the stretcher bars. Make sure your marks are symmetrical.
- Fit the stretcher bars snugly into the marked positions and softly clamp them together.
- Attach one corner of the canvas to the stretcher bar, pulling it taut but not too tight. Move around each side, making sure you have even tension all over.
- Don’t rush and don’t force the canvas too tight, or you’ll damage it. Be patient and take care of a professional finish.
- Remember to leave enough time for each layer of primer or paint to dry, so that it sticks properly. This will prevent peeling or cracking in the future.
- Now that you know how important proper canvas stretching is, don’t make mistakes! Follow these steps and watch your artwork thrive on a perfectly stretched canvas.
Essential Painting Techniques
To master essential painting techniques like brush techniques, layering and blending techniques, and texturing techniques as solutions, delve into this section. You’ll discover the key approaches to perfecting each technique, enabling you to unleash your creativity on canvas with confidence and skill.
Brush techniques
Brush control is key for precise lines and details in artwork. By changing the pressure and angle, thin or bold strokes are possible.
Load the brush with paint to add depth and dimension. To get smooth and seamless strokes, practice blending colors and using soft brushstrokes.
Textures? Experimenting with different brushes opens up endless possibilities. Flat brushes are great for wide areas, while round brushes are ideal for details.
John Smith revealed his secret for stunning brushwork: practicing every day with different kinds of brushes. His dedication earned him captivating art that showcased his painting skills.
Through brush techniques, you can bring your artistic vision to life. Get your brushes ready – it’s time to dive into painting and let creativity flow!
Layering and blending techniques
When it comes to creating unique paintings, layering and blending are essential. This involves applying paint layers strategically and combining colors for added depth. Layering builds up multiple paint layers on top of each other, creating color intensity variations and a sense of depth. Blending merges colors together, making smooth transitions possible. It can be done with tools like brushes, sponges, or even your fingers!
To perfect these methods, experimenting with different paint types and understanding their drying times is key. Plus, painters may discover their own unique approaches along the way, such as using unconventional materials for layering or alternative blending methods like glazing.
To unleash your creativity through painting, mastering layering, and blending is a must. Dive into the world of vibrant colors and dynamic compositions!
Texturing techniques
Impasto: Artists apply paint with a palette knife or brush, making thick strokes. This technique allows the paint to pop out from the canvas and give a 3D effect. Impasto is often used in still-life paintings to bring out textures of objects like fruit or flowers.
Scumbling: A thin layer of semi-transparent paint is applied over a dry layer. With a dry brush or cloth, subtle textures are added, giving depth and complexity. It’s often used in landscapes to show clouds or distant mountains.
Sgraffito: Wet paint layers are scratched into, revealing underlying colors or creating intricate patterns. Artists use knives or brushes to etch into the surface, adding texture and detail. It can be used to show fur, feathers, or intricate designs on ceramics.
Pro Tip: Layer all these techniques in your artwork. Combining impasto, scumbled areas, and sgraffito details can create a captivating painting with different textures, that engage the senses.
Use these techniques to elevate your paintings and make them alive with eye-catching textures!
Tips for Creating Depth and Dimension
To create depth and dimension in your paintings on canvas, delve into the world of light and shadows and explore techniques for bringing a sense of perspective to your artwork. Understanding light and shadows, along with creating a sense of perspective, are essential sub-sections that will enhance the visual impact of your paintings.
Understanding light and shadows
Light has many sources, angles, and intensities. Natural light is different from artificial light. It can change the atmosphere of a scene. Shadows make the lit areas more interesting.
Materials also affect light and shadows. They can reflect or absorb the light. Trying different surfaces can show us more about depth.
A famous artist once shared an interesting story. She was having trouble painting a portrait in flat light. She decided to try natural sunlight. This changed her work and made it much better.
Creating a sense of perspective
Create a sense of perspective by using overlapping. Place objects or elements in front of each other to show depth and distance. This helps the viewer understand the relative size and position of each element.
Atmospheric perspective is another helpful technique. Reduce details, contrast, and saturation as objects recede into the distance. This mimics how our eyes perceive the world.
Utilize linear perspective for added depth. Draw lines that converge at a vanishing point on the horizon. This simulates how objects look smaller as they move away.
Understand the principles of light and shadow to create 3D forms. Study how light interacts with different surfaces and casts realistic shadows. Use techniques like hatching or cross-hatching to create texture and depth.
Adding Details and Finishing Touches
To achieve a polished look in your artwork, dive into the section of adding details and finishing touches in “Tips for painting on canvas.” Utilize various brush sizes for intricate details while introducing highlights and accents for added dimension. Safeguard and maintain your masterpiece by implementing techniques for protecting and preserving the painting.
Using different brush sizes for details
- Start small! Use a fine liner or detail brush to outline and define the areas you want to emphasize.
- Gradually increase brush size for broader strokes and filling in larger spaces. A medium-sized brush works well for adding texture and depth, like foliage or fabric.
- Switch to a bigger brush size for highlights and shadows. This will create contrast and add dimension to your artwork.
- Think about the bristles too! Synthetic bristles give smooth and consistent lines, while natural bristles give texture and variation.
- Experimenting with different brush sizes enhances painting skills and gives life and personality to your artwork.
- Famous artists like Leonardo da Vinci and Vincent Van Gogh used various brush sizes to achieve detailed masterpieces. Who knew? According to ‘Artsheaven’!
Adding highlights and accents
Consider utilizing color contrasts for emphasis. Bright, bold colors against muted tones will draw the eye to the desired elements. Strategically place pops of color to guide the viewer’s gaze and emphasize important features.
Textures and patterns can add interest. Incorporate different materials or create intricate patterns to provide depth and dimension. Embossing, engraving, or textured backgrounds can make an impact.
Don’t forget the power of typography! Unique fonts or playing with styles like bold, italic, or underline can emphasize words or phrases. The right typographic treatment adds personality and enhances readability.
Subtlety is essential when adding highlights and accents. Overuse may be overwhelming and distracting. Opt for strategic placements that enhance the overall composition without overpowering it.
Pro Tip: When deciding on your highlights and accents, always keep in mind the intended message or purpose of your design. Choose elements that enhance aesthetics while aligning with the concept.
Protecting and preserving the painting
Ensure proper storage conditions for paintings. Keep a consistent temperature and humidity level to prevent damage due to fluctuations. Use UV-filtering glass or LED lights, but avoid direct sunlight. Wear gloves to prevent oils from your skin from transferring onto the painting. Support it from underneath when moving. Check for mold, pests, or cracks regularly and address any issues immediately. Use acid-free and archival-quality materials. If in need of restoration, consult a professional conservator.
Plus, label and document the painting’s origin, restorations, and handling instructions. For better longevity, install air purifiers and dehumidifiers in the storage area. Educate others on handling procedures. Lastly, apply a varnish layer to shield the paint surface from outside elements without altering its appearance.
Conclusion
We’ve explored tips and tricks for painting on canvas. From picking the right materials to preparing the canvas, we’ve got it covered. But the secret to making a masterpiece is your unique expression.
Painting isn’t just about following instructions. It’s an art form that lets you show your creativity. Every brushstroke tells a story and catches a moment. So, when you paint, let your imagination run wild, and don’t be afraid to take risks.
We discussed different painting techniques and color combinations. But there are other factors that make your artwork successful. Lighting, composition, and perspective create depth and draw viewers in.
Did you know? A study from the Arts Education Partnership found that students who do visual arts activities such as painting on canvas do better in school than those who don’t. Painting is not only a great way to express yourself creatively, but it also has cognitive benefits.
Frequently Asked Questions
FAQ: Tips for Painting on Canvas
Q1: What are some essential tips for painting on canvas?
A1: Here are a few important tips to keep in mind when painting on canvas:
- Prepare the canvas by priming it with a layer of gesso.
- Use high-quality paints and brushes for better results.
- Start with an outline or sketch before applying colors.
- Layer your paint to add depth and texture to your artwork.
- Experiment with different techniques and styles to find your own unique approach.
Q2: How should I clean and maintain my canvas paintings?
A2: To keep your canvas paintings looking their best, follow these cleaning and maintenance tips:
- Dust your paintings regularly with a clean, soft brush.
- Avoid hanging them in direct sunlight or humid areas.
- If necessary, gently wipe the surface with a damp cloth. Use a mild soap solution for stubborn stains, but test it on a small, inconspicuous area first.
- Store your paintings in a cool, dry place when not displayed.
- If framed, ensure the frame is in good condition to prevent damage.
Q3: How can I achieve vibrant colors in my canvas paintings?
A3: Here are a few tips to make your canvas paintings more vibrant:
- Use high-quality, professional-grade paints that offer a wide range of colors.
- Apply multiple layers of paint, allowing each layer to dry before adding the next.
- Experiment with different color combinations and contrasts to create a dynamic effect.
- Consider using a white or light-toned background to make the colors pop.
- Use a variety of brush techniques such as stippling or glazing to enhance color intensity.
Q4: What is the recommended drying time for canvas paintings?
A4: The drying time for canvas paintings can vary depending on factors like the type of paint used, the thickness of the layers, and environmental conditions. As a general guideline, acrylic paints may dry within a few hours to a couple of days, while oil paints can take several days to weeks to fully dry. It is advisable to wait at least 24 hours before applying additional layers or varnish.
Q5: How can I fix mistakes or make corrections on a canvas painting?
A5: If you make a mistake or need to make corrections on a canvas painting, here are a couple of approaches you can try:
- For acrylic paints: Allow the mistake to dry completely, then gently sand the area with a fine-grit sandpaper. Apply a layer of gesso or paint over the corrected area.
- For oil paints: Wait for the mistake to dry, then carefully scrape off the paint using a palette knife. Repaint the area as needed.
- Remember, mistakes are often opportunities for creative problem-solving and can lead to unexpected artistic discoveries.
Q6: How can I protect my canvas paintings for long-term durability?
A6: To ensure the longevity of your canvas paintings, consider the following protective measures:
- Apply a varnish layer once the painting is completely dry to protect it from dust, UV rays, and other environmental factors. Choose a varnish specifically designed for the type of paint you’ve used.
- If framing your painting, use archival-quality materials to prevent damage from moisture, insects, or acid deterioration.
- Avoid leaning or stacking paintings on top of each other to prevent scratches or paint transfer.
Subject: Tips for painting on canvas
Company: Hollywood Connections Center
Network: MyHollywoodPage.com
The Hollywood network of arts and creative professionals.

