


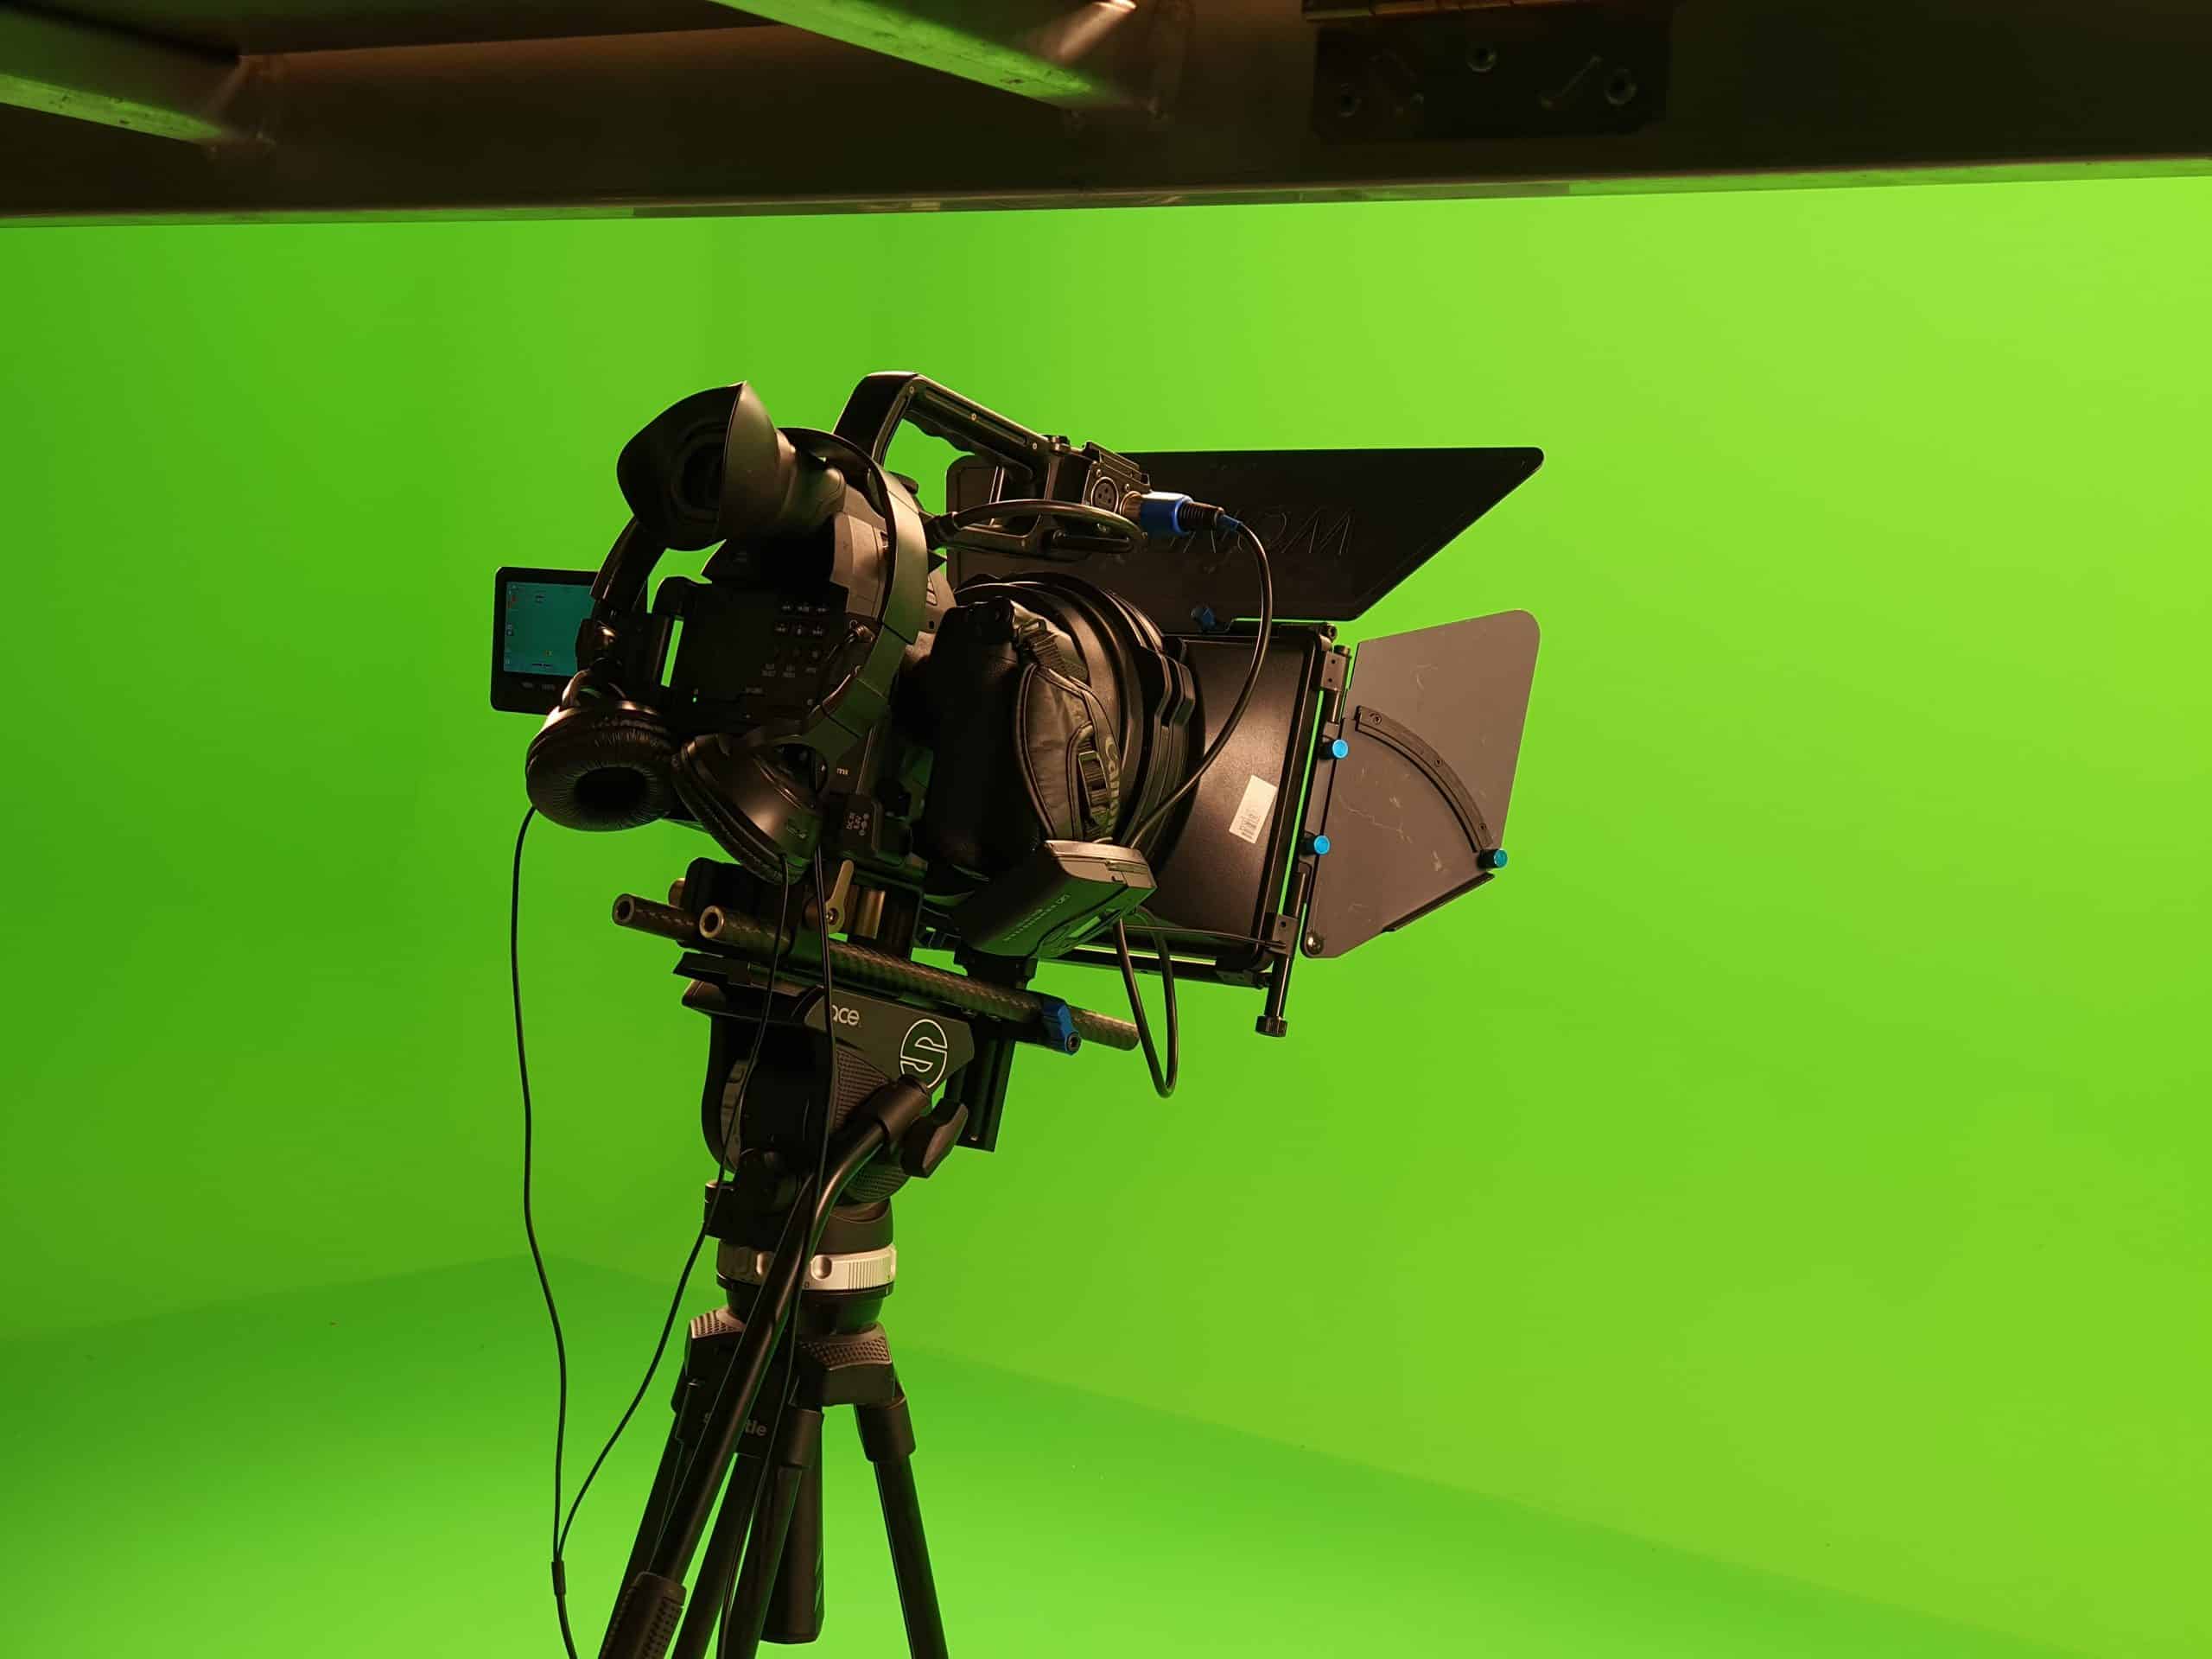
Tips for using a green screen studio
Mastering the art of green screen studios is essential to becoming a creative wizard in the digital world. These tools have completely revolutionized visual storytelling. Here are some tips that will help you make the most of them!
Proper lighting is key. You must make sure that light is consistent across your subject and the green background. You can do this by placing lights at different angles, using diffusers/reflectors, and adjusting their intensity. This eliminates shadows and creates a professional-looking composite image.
You should also choose the right shade of green for your background. It might not seem important, but selecting a vibrant green that complements your subject’s color palette can enhance the effect. Test different shades to find the one that works best.
Distance is also essential. Make sure there’s enough space between your subject and the screen so that shadows and spillage don’t ruin the quality. This also gives your subject room to move comfortably in the frame.
You should also brush up on post-production techniques. Use software like Adobe After Effects or Final Cut Pro X to tweak details such as edge feathering and color correction. These tools offer customizable options for creating seamless visual effects that blend reality and imagination.
Christopher Nolan has used green screen technology to great success in films like “Inception.” His dream sequences captivated audiences worldwide.
Now, with these tips, you can unlock the full potential of green screen studios! Create epic adventures, historical reenactments, or anything else your imagination can conjure up. Get ready to transport your viewers into awe-inspiring worlds beyond their wildest dreams!
Understanding the basics of a green screen studio
To better understand the basics of a green screen studio, dive into what a green screen is and the reasons behind utilizing a green screen studio. Discover the advantages and applications of this technology, as well as the creative possibilities it offers for various visual productions.
What is a green screen?
A green screen is a special effects tool used in film and TV. It’s a large, green backdrop for actors to perform in front of. Technology can then replace the green background with any chosen image or video during post-production. This unlocks amazing potential for filmmakers to take characters to new worlds or situations that would otherwise be impossible to shoot.
When using a green screen, there are key factors to consider:
- Lighting – High-quality lighting equipment will give an even, shadow-free backdrop.
- Chroma key software – Professional software like Adobe After Effects or Final Cut Pro offers more control.
- Wardrobe – Avoid clothing that matches the green tone, as it can make parts of the actors disappear.
- Props & Set Design – Adding physical elements that interact with the virtual environment can make it look more realistic.
By following these tips, you’ll get great results. With a green screen, the possibilities are endless for creating immersive worlds and captivating visuals.
Why use a green screen studio?
Using a green screen studio is beneficial in many ways. It gives you the ability to make incredible visual effects and backgrounds. You can bring your audience anywhere you choose; from a different location to outer space.
Plus, it provides flexibility and versatility for your projects. Chroma key technology lets you blend actors or objects into any setting you want. This unlocks lots of creative options for storytelling and allows you to make your visuals stand out.
Moreover, green screen studios are great for saving time and money. You don’t need to visit multiple places for filming. It all takes place in one environment, which makes it easier to organize and ensures the lighting is consistent.
Here is an example of how powerful green screen studios are. A small, independent film crew needed to create an epic battle scene set in medieval times. They had a limited budget, and thanks to the green screen studio, they were able to put their actors in the middle of a virtual battlefield without spending too much. The backgrounds looked so real that viewers were amazed at what was made with editing and imagination.
Setting up a green screen studio
To set up a green screen studio effectively for optimal results, you need to carefully consider the right location, lighting setup, and green screen backdrop. Choosing the right location ensures a suitable space for filming. Lighting setup is crucial for achieving professional-looking shots. Selecting the right green screen backdrop enhances the quality and overall appearance of your shots.
Choosing the right location
When selecting a location, consider natural lighting. Choose a space with big windows. This will create a realistic backdrop for the green screen.
Also, check the size. Ensure there’s enough room for setting up the green screen and other equipment. A spacious area allows you to experiment with angles and camera positions.
In addition, look at the accessibility. Is there nearby parking? Is it easy to reach? Pick a convenient location for a smoother production process.
Pro Tip: Do a test shoot before finalizing the location. This will help prevent any surprises during production.
Lighting setup for optimal results
Setting up a green screen studio can be a challenge. But, with the right lighting, you’ll get great results. Here’s a guide:
- Position lights strategically: Put three lights around the screen. One on each side pointing inwards and one above, pointing downwards. This gives even lighting across the whole background.
- Adjust light intensity: Try different intensities to find the right balance. Avoid harsh lighting that makes shadows or highlights on the green screen. Aim for uniform lighting for effective keying.
- Use the same color temperature: Make sure all lights have the same color temperature. Unequal temperatures can cause color-casting inconsistencies and make it harder to blend your subject with the background.
To soften harsh light, use diffusers or reflective umbrellas. This creates a more flattering effect on your subject.
Position your subject at least 6 feet away from the green screen to avoid shadows or spillage. A well-lit subject looks better against another background during post-production. So, spend time perfecting your lighting.
Did you know? According to FilmmakersWeb.com, even lighting is key to successful green screen compositing.
Now that you know how to light a green screen studio, go ahead and get creative!
Selecting the right green screen backdrop
Choosing the right green screen backdrop is key for setting up a successful production. It must be made of high-quality, wrinkle-free fabric, with excellent light resistance. It should also be large enough to cover the whole background.
The shade of green should contrast well with the subjects in front of it and be easy to separate during post-production. A vibrant shade of green usually works best.
A chroma key software or plugin can help with real-time feedback on how well the backdrop works with the lighting setup.
Did you know that blue screens were more commonly used than green screens? This was due to technical limitations. However, directors soon realized green screens provided better results. As technology progressed, so did green screens – they became the go-to choice for creating stunning visual effects.
By selecting the right green screen backdrop and taking all its technical specifications into account, you can improve your production quality and achieve seamless integration between your subjects and virtual backgrounds.
Tips for using a green screen studio
To achieve optimal results when using a green screen studio for your projects, follow these tips. Use proper lighting techniques, position your subject correctly, and avoid common green screen mistakes. These solutions will help you create seamless and professional-looking videos or images with a green screen setup.
Using proper lighting techniques
Position your lights at a 45-degree angle to the screen, aiming them towards the center – this will help remove shadows and make the lighting even.
Three-point lighting – key, fill, and backlight – is a great technique for better green screen footage.
Adjust light intensity – too bright or too harsh lighting can cause color spillage and hot spots.
Diffusers and softboxes are great for softening the light.
Keep distance between your subject and the backdrop – this stops color contamination.
Test your setup – look at the test shots on a monitor. Look for any inconsistencies. Adjust if needed.
Consider other factors too – like camera settings and white balance.
In the past, filmmakers struggled with lighting a green screen. But, with today’s technology, proper lighting techniques can help you achieve perfect results.
Positioning the subject correctly
Positioning your subject correctly is key for a successful green screen studio. Keep the subject far enough away to avoid shadows and reflections on the backdrop. Lighting should be even for a seamless blend with the background.
Think from the camera’s perspective when positioning your subject. Try out different poses and angles to add depth to the composition.
Be careful with color choices for your wardrobe. Matching too closely with the green screen can cause parts of the subject to blend into the background. So, use contrasting colors or neutral tones that stand out against the green.
Use markers or props to accurately position your subject in the scene. These references help you and your talent to place them properly in the virtual world.
Correctly positioning your subject is essential for realistic and visually striking results in a green screen studio. Consider factors such as distance, lighting, perspective, wardrobe, and props to enhance production value and captivate your audience.
Avoiding common green screen mistakes
Now that you’ve set up your own green screen studio, to create a professional-looking final product, it’s important to avoid common mistakes. Here are some tips to keep in mind:
- Lighting: Illuminate your green screen background evenly so no shadows or hotspots appear.
- Wrinkles: Iron or steam your green screen before shooting, to prevent uneven color saturation.
- Camera settings: Adjust your camera settings to match the lighting conditions of the studio.
- Clothing choices: Don’t wear clothes or accessories similar in color to the background, as they may become transparent or partially invisible.
- Distance: Maintain a distance between your subjects and the green screen backdrop to avoid spills of light onto the foreground.
- Environment: Minimize external factors like winds which might disrupt the setup.
For optimum results, invest in good quality equipment and remember to use chroma key software and color correction tools in post-production. Following these suggestions will help ensure your footage looks professional and seamless, captivating your audience with stunning visual effects.
Editing and post-production
To enhance your editing and post-production workflow for using a green screen studio, explore techniques for removing the green screen background and adding your desired background or effects. This section dives into these solutions, allowing you to polish your video project with precision and creativity.
Removing the green screen background
Removing green screens is a key part of video editing and post-production. It creates the perfect integration of subjects into different backgrounds, giving visuals a professional look. Here’s how to do it:
- Prepare: Bring your green screen footage into a video editing software. Keep the lighting and color grading consistent.
- Key: Use an eyedropper tool to select the green range. Adjust the settings until the background disappears.
- Refine: Use matte chokers or feathering to make edges clean.
- Overlay: Import or create the new background and drop it on a layer below the subject.
- Match colors: Tweak contrast, saturation, or temperature to blend in the new background.
- Finalize: Preview and make any necessary adjustments. Export with alpha channels.
Remember, practice makes perfect!
Pro Tip: To avoid spill from the green screen, use backlighting or place reflective materials around the subject.
Adding desired background or effects
Want to add backgrounds and effects to your footage? Here’s how:
- Pick the software: Choose video editing software with a wide variety of effects and background options. Examples include Adobe Premiere Pro, Final Cut Pro, and Davinci Resolve.
- Import files: Drag and drop your footage into the software or use the import feature.
- Apply effects and backgrounds: Navigate to the effects library. Select the desired effect or background, drag it onto the timeline or clip, change parameters if needed, and preview the result.
You can create something amazing with the right tools and techniques. By adding visuals, you can boost storytelling and evoke emotions in viewers.
Fun fact: According to HubSpot Research (2018), videos with high-quality visuals capture viewers’ attention better than those without visuals.
Troubleshooting common issues
To troubleshoot common issues by using a green screen studio, tackle shadows and reflections, and avoid color spillage. Illuminate how to overcome these challenges in order to achieve optimal results with your green screen setup.
Dealing with shadows and reflections
Position your subject and lighting thoughtfully. Adjust the angle and distance of the light source to manipulate the shadows and reflections. Use diffusers or softboxes for softer lighting and to reduce shadows. Polarizing filters reduce glare and reflections from reflective surfaces. Opt for matte finishes instead of glossy ones to minimize shadows and reflections. Choose a background that complements the subject and minimizes distractions. Utilize post-processing software to remove or minimize shadows and reflections. Practice and experiment with different techniques to find what works best.
Avoiding color spillage
Color spillage is a common issue. Here’s how to prevent it:
- Put masking tape around the area to be painted.
- Use controlled brush strokes and not too much paint.
- Clean up spills immediately with a damp cloth.
- Work in layers and let each dry before the next.
- Practice proper techniques and use quality materials.
Attention to detail is key. To avoid color spillage, you must prepare and employ the right techniques.
Throughout time, artists have strived to contain colors. Cave paintings with exacting detail, to modern artists pushing the boundaries of creativity, have all faced the challenge of color spillage. Artists learn from each other and find new ways to combat this issue.
Conclusion
It’s time to get creative! Using a green screen studio to make stunning visuals is a powerful tool. Here are some tips to help you take your videos to the next level.
- Lighting is key. Make sure your green screen is evenly lit and free of shadows or hot spots.
- Invest in good equipment. A good backdrop, camera, and lighting will help you get better results.
- Pay attention to detail. Ensure there are no wrinkles or creases on the background. Also, make sure your subject is perfectly positioned within the frame.
- Don’t miss out on the opportunity to use a green screen studio! It can help you create captivating content that engages viewers like never before!
Frequently Asked Questions
FAQs about Tips for Using a Green Screen Studio
1. How do I light a green screen properly?
Proper lighting is crucial for a successful green screen shoot. Ensure even lighting by setting up at least three lights: two key lights illuminating the screen and one backlight to separate the subject from the background. Use soft lighting to prevent shadows and avoid any direct lighting on the green screen.
2. What color should the screen be?
The screen should be a bright, pure green color, commonly known as chroma key green. This color allows for easy removal and replacement in post-production. Avoid using shades of green that may match objects or clothing in the scene to prevent unintended transparency.
3. How far should the subject be placed from the green screen?
The subject should be positioned at a sufficient distance from the green screen to prevent shadows and color spills. It is generally recommended to have the subject at least six feet away from the screen. Be mindful of reflections and ensure there is enough distance to avoid any unwanted interactions between the subject and the screen.
4. Why is it important to light the green screen?
Even lighting is crucial because it helps the software easily distinguish between the subject and the green screen background during post-production. Uneven lighting can result in a poorly keyed final product with visible artifacts and edges. Spend time adjusting the lighting setup to achieve a smooth and consistent green background.
5. How do I avoid shadows on the green screen?
To avoid shadows on the green screen, use soft lighting techniques like diffusing or bouncing the lights off reflective surfaces. Position the subject and lights in a way that minimizes the chances of casting shadows on the screen. Regularly check the lighting setup and make adjustments as needed during the shoot.
6. Do I need specialized software to use a green screen studio?
While specialized software can enhance the post-production process, it is not always necessary. Basic video editing software like Adobe Premiere Pro and Final Cut Pro have built-in chroma key tools that can be used to remove the green screen. Specialized software may offer more advanced features, but for simple green screen effects, basic software should suffice.
Subject: Tips for using a green screen studio
Company: Hollywood Connections Center
Network: MyHollywoodPage.com
The Hollywood network of arts and creative professionals.

