

Post-production tips for location shoots
When it comes to post-production on-location shoots, organization is a must. Take some time to organize files and create a folder structure. Label each file with descriptive names to save time searching later.
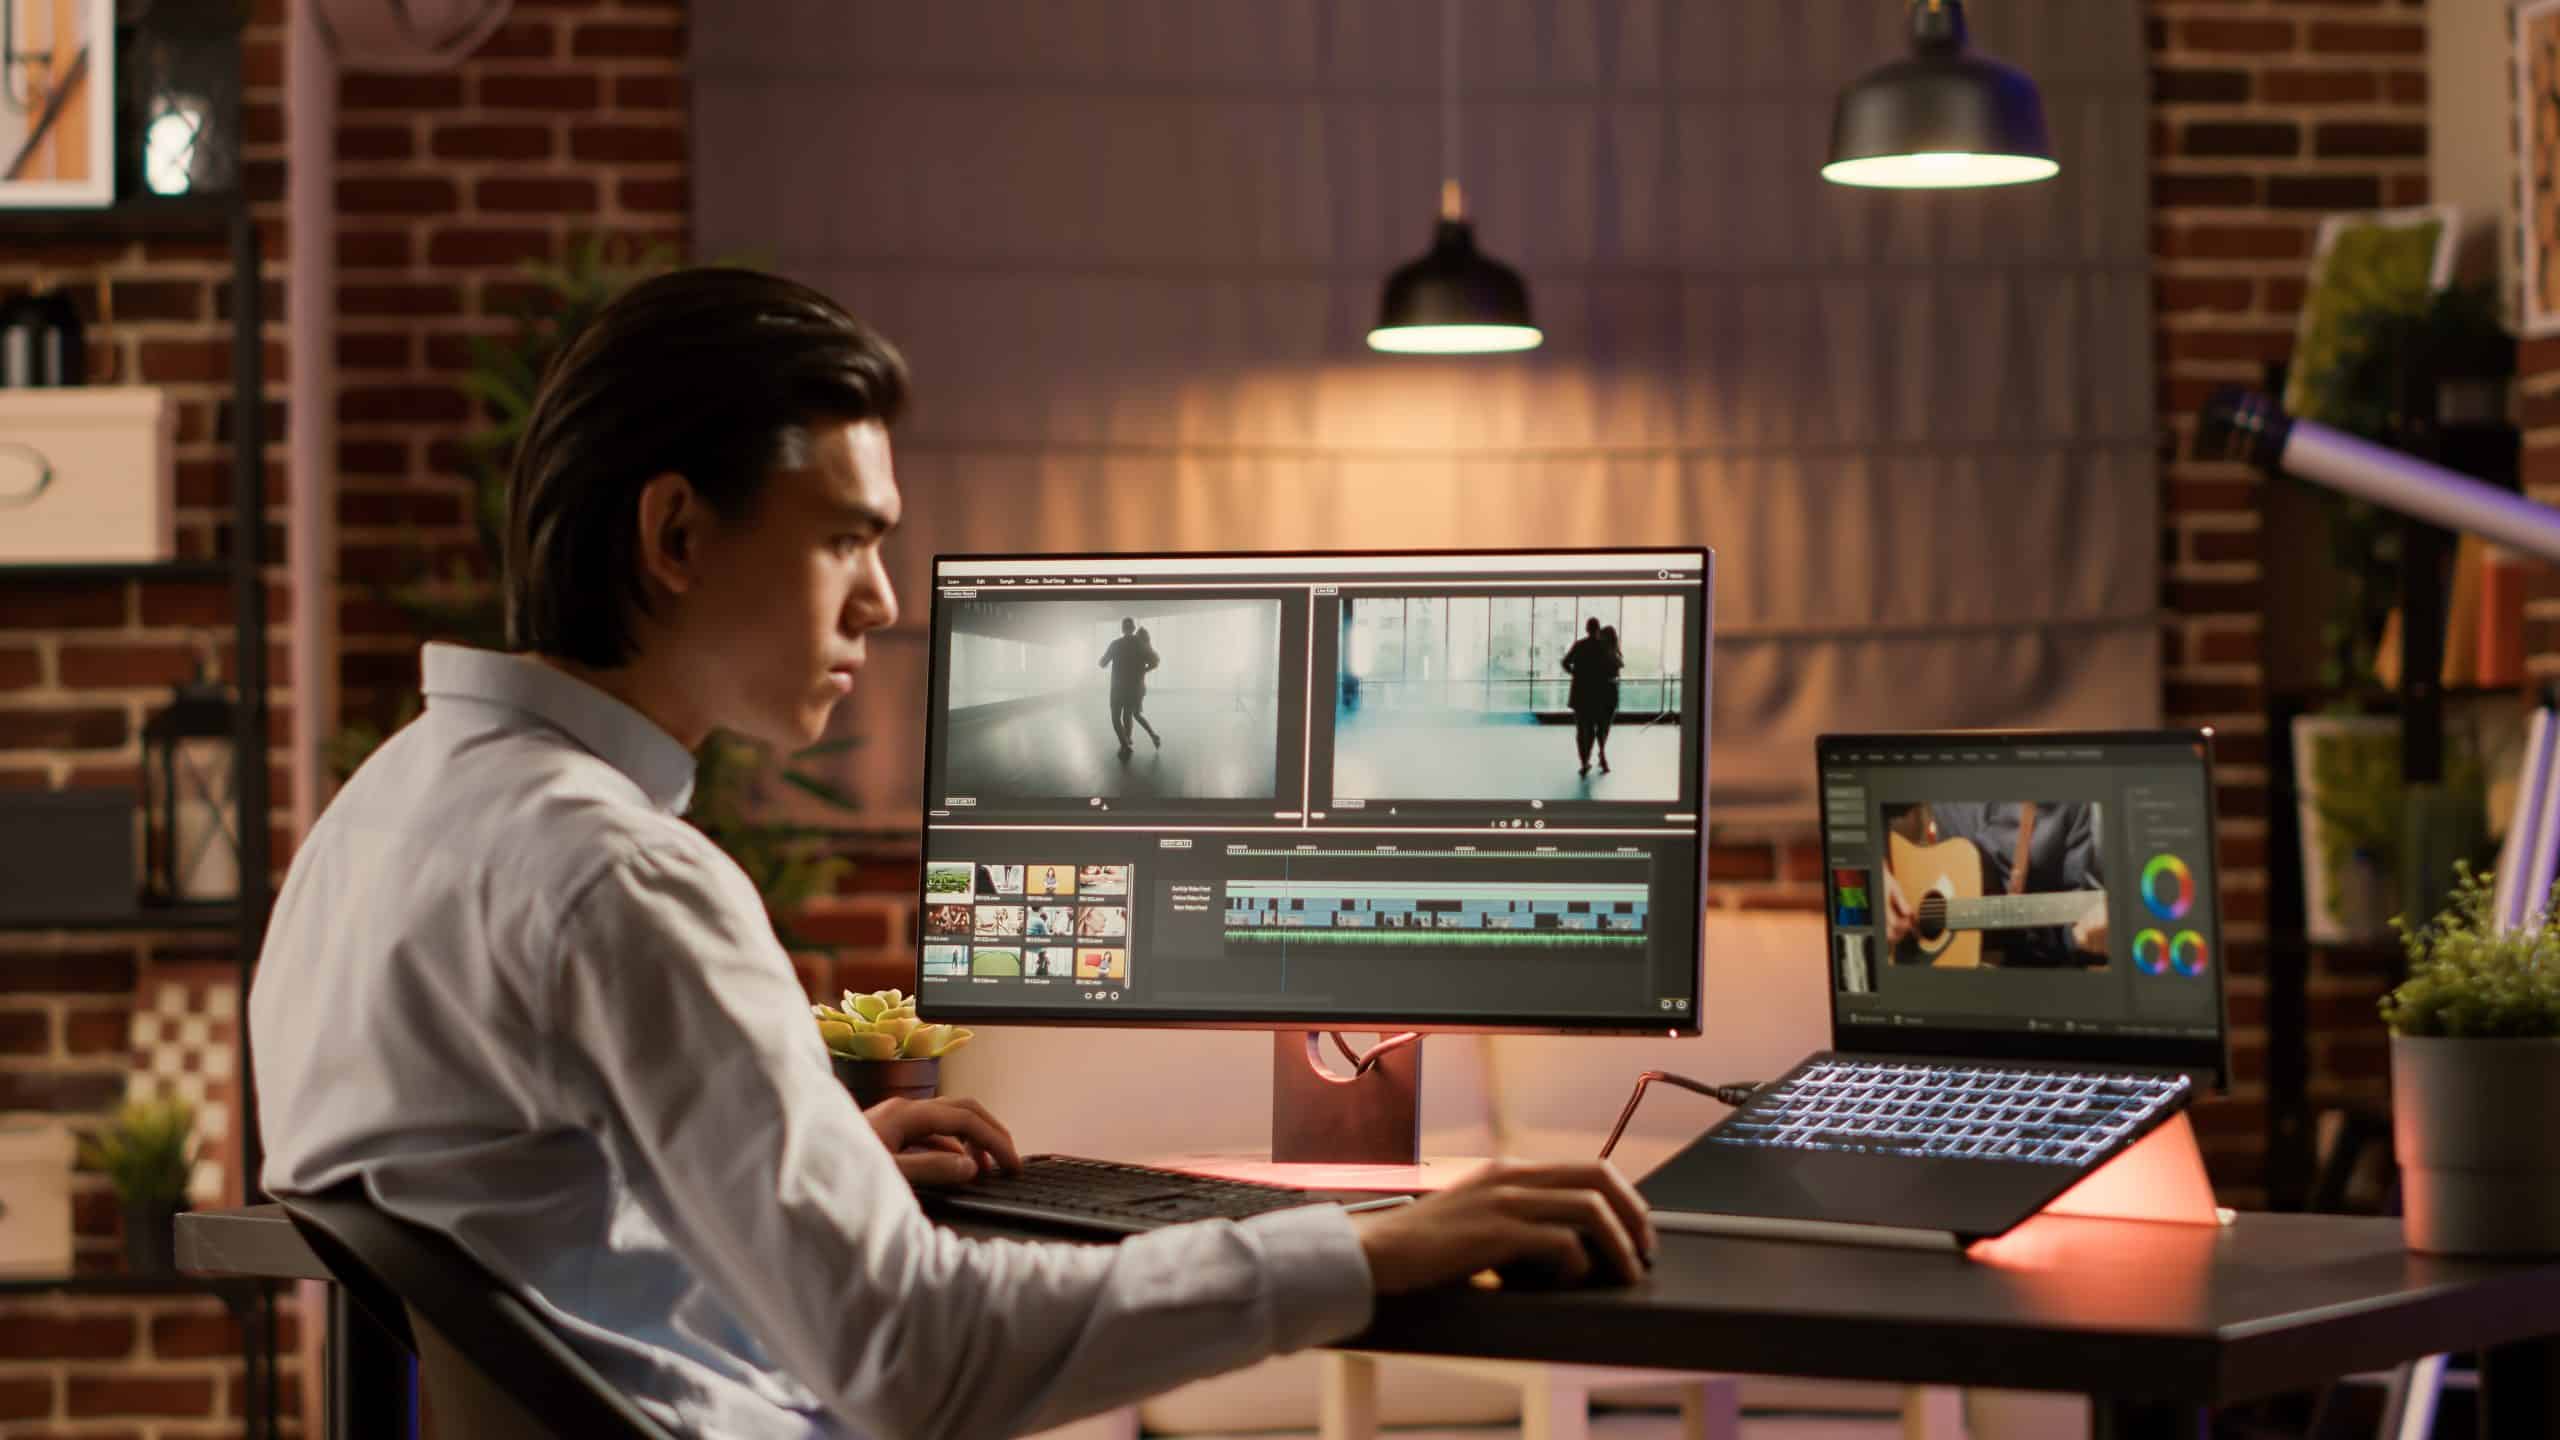
Color grading is also important. Use the unique lighting to experiment and enhance visuals. Sound design is equally vital; use audio software to clean up noise and audio levels.
An iconic example of post-production magic is “Lawrence of Arabia.” The 1962 epic was filmed in Jordan and Spain, but it was during post-production that the true wonders of the landscapes were brought to life. Real footage, miniatures, and matte paintings were blended together for captivating visuals!
Importance of post-production in location shoots
Post-production is key for location shoots. It helps to reach the filmmakers’ creative vision, with processes like editing, color grading, VFX, and sound design.
Editing trims unnecessary scenes, arranges sequences, and adds effects. This brings a clear and entertaining narrative. Color grading also adds depth and atmosphere, by adjusting tones and hues. Visual effects can be used to make visuals attractive or to show what was impossible to capture during the shoot.
Sound design creates an immersive experience for viewers. It adds or removes sounds, balances audio levels, and adds music or background scores. This ensures that each sound element works with the story and evokes the desired emotions.
Post-production can also fix technical flaws from the shoot. These include adjusting exposure levels, removing distractions, and repairing errors in performance.
Post-production is essential for creating a captivating and memorable location shoot. Pay attention to the details and elements added. This can make your project stand out. Embrace post-production as an integral part of your creative process and bring your vision to life.
Preparing for post-production
- Create a system for storing and naming your media. This will make it simpler to locate stuff during the edit.
- Backup all footage and project files. You don’t want to lose data!
- Transcode if needed. This will help with compatibility and performance.
- Select the best takes. You don’t want to waste time on less-than-perfect shots.
- Put it together in a rough sequence. This will give you an idea of what the final video will be like.
- Log important details. Timestamps, shot descriptions, and director/client instructions – are all invaluable for later.
- Get the post-production tools and software ready. According to Filmmaker IQ, this will streamline the filmmaking process.
Editing tips for location shoots
Organization is key! Label and organize footage by location and scene. This will give you quick access to the editing process. Choose software that serves your location shoot needs. Look for features like multi-camera support and file management tools to make your workflow easier.
Pay attention to details like lighting, camera angles, and actor movements to create a seamless flow between shots. Get creative with visuals and sound. Try out innovative effects and ambient sound recordings for a greater impact on the final product.
Remember: organization helps you search quickly, the right software ensures smooth workflow, continuity brings a better viewing experience, and visuals and sound add artistic value. By following these tips, you can turn any location shoot into an amazing video production that viewers will remember!
Color grading for location shoots
Color grading is key for making location shoots look amazing. To begin, establish a look and feel with a preset or LUT. Apply this to all clips to stay consistent. Then, adjust the white balance settings to make skin tones natural. Be creative – play with color palettes to evoke emotions and experiment with secondary color correction techniques for depth. Lastly, don’t be afraid to think outside the box with unconventional colors and gradients. This will help make your project stand out!
Sound design and mixing
When it comes to post-production for location shoots, sound design and mixing are essential. Here’s what to consider:
- Choose the right equipment. Invest in high-quality microphones, recorders, and headphones to capture professional-grade audio.
- Use proper techniques. Position microphones well, reduce background noise, and maintain levels during recording.
- Enhance ambiance. Add depth, atmosphere, and mood to scenes with ambient sounds.
- Balance audio elements. Achieve harmony between dialogue, music, and sound effects. Adjust volumes, EQs, and panning.
- Pay attention to detail. Fix issues like distortion, clipping, or imbalances.
To improve sound design and mixing, explore software tools for post-production audio work. Also, stay up-to-date with trends and techniques. Start using these tips today to elevate your work and captivate audiences with amazing audio quality. Embrace the power of soundscapes and make your productions unforgettable!
Adding titles, graphics, and captions
Choose a font that matches your project’s style. Think readability and style. Place titles, graphics, and captions strategically. Find a balance between visibility and subtlety. Use colors that fit with the overall footage. Contrasting colors for better legibility. Color psychology to evoke emotions. Sync titles, graphics, and captions with relevant moments in footage. Allow viewers to see them long enough, but not too long. Avoid excess text and cluttering. Consider adding animations and transitions to titles, graphics, and captions. Enhance content, don’t overshadow it. Maximize the potential of post-production. Now go create visuals that leave a lasting impression!
Exporting and finalizing the project
Pick the correct file format. MP4 for online viewing, ProRes for high-quality.
Set the resolution and frame rate.
Balance the audio. Volume, background noise, and sound quality.
Apply color grading and corrections.
Watch through the project. Check for mistakes.
Save multiple copies of project files in case of misfortune.
A director was hoping for the completion of their movie to meet a fast deadline. During the export, a technical problem caused delays. This showed them the significance of having backup plans and double-checking all settings before exporting.
Conclusion
To finish, perfecting post-production for location shoots needs careful organizing and concentration. By following the tips in this article, you can ensure a smooth transition from recording footage to delivering a finished product.
Throughout this article, we looked at several techniques to boost the post-production workflow at locations. From managing your footage properly to using color grading and audio editing tools, each step is significant for achieving professional results.
Moreover, think of some one-of-a-kind details not mentioned yet. For example, close cooperation with the production team during pre-production helps foresee possible difficulties and streamline post-production more. Plus, cloud-based storage solutions provide easy access to files from different places, making collaborative editing simpler and reducing turnaround times.
We can use many recommendations to perfect post-production for location shoots.
- Keeping communication clear between you and the editor throughout the shoot helps make a shared vision for the final product.
- Moreover, adding metadata and keyword tagging into your workflow allows efficient sorting and retrieval of particular shots or scenes.
- Lastly, backing up your project files constantly makes sure data security and reduces the risk of losing footage.
By applying these recommendations correctly, you can save time and effort during post-production while increasing the overall quality of your work. Every suggestion serves a purpose: encouraging collaboration, improving organization, and protecting data integrity.
Frequently Asked Questions
FAQ 1:
Q: What are some post-production tips for location shoots?
A: Here are a few essential post-production tips for location shoots:
1. Organize your footage: Create a well-structured folder system and label your files clearly to easily navigate through the footage during editing.
2. Select the best takes: Review all the footage and choose the best takes that align with your vision for the final product.
3. Maintain consistency: Ensure consistency in color grading, sound levels, and overall style throughout the video to create a cohesive narrative.
4. Enhance audio quality: Clean up audio tracks, remove background noise, and add appropriate sound effects or music to enhance the viewing experience.
5. Optimize visuals: Adjust brightness, contrast, and saturation levels, as well as apply any necessary visual effects or corrections to improve the overall visual quality.
6. Pay attention to pacing: Cut unnecessary footage, maintain a good flow, and focus on maintaining an engaging pace to keep the viewers hooked.
FAQ 2:
Q: How can I make my location footage look more professional during post-production?
A: To make your location footage look more professional during post-production:
1. Color correct and grade: Adjust the color balance, contrast, and saturation levels to achieve a more polished and professional look that suits your video’s mood.
2. Stabilize shaky footage: Use stabilization tools or software to remove unwanted camera shake and ensure smooth and steady visuals.
3. Apply unique transitions: Experiment with different transitions, such as fades, dissolves, or swipes, to add a professional touch and improve the overall visual flow.
4. Enhance sound quality: Invest time in cleaning up audio tracks, ensuring clear dialogues, and adding high-quality sound effects or music that complements the visuals.
5. Use graphics and text overlays: Incorporate professional-looking graphics, lower thirds, and text overlays to provide important information or enhance storytelling.
6. Pay attention to detail: Scrutinize every frame for any imperfections or distractions, such as lens flares or unwanted objects, and remove or fix them to maintain a professional appearance.
FAQ 3:
Q: Is it necessary to have dedicated software for post-production on location shoots?
A: While it is not mandatory to have dedicated software for post-production on-location shoots, it is highly recommended. Dedicated software, such as Adobe Premiere Pro, Final Cut Pro, or DaVinci Resolve, provides a comprehensive range of tools specifically designed for professional video editing, color grading, and sound enhancement. These software offer greater flexibility, advanced features, and better workflow integration compared to basic or free editing tools. Investing in professional software can significantly improve the overall quality and efficiency of your post-production process.
FAQ 4:
Q: How long does post-production for location shoots generally take?
A: The duration of post-production for location shoots depends on various factors, including the length and complexity of the footage, the desired end product, the proficiency of the editor, and the resources available. A simple video with minimal editing requirements might take a few hours to a day, while a more elaborate project with intricate editing, color grading, and sound design can take several days or even weeks. It is essential to allocate sufficient time for post-production to ensure a high-quality final output.
FAQ 5:
Q: Should I consider outsourcing post-production for location shoots?
A: Outsourcing post-production for location shoots can be a beneficial option, especially if you lack the necessary expertise, resources, or time to handle it in-house. Professional post-production houses or freelance editors possess the skills, experience, and access to advanced software and equipment that can greatly enhance the overall quality of your video. However, the decision to outsource should be based on your budget, project requirements, and the level of control you want to maintain. It is essential to carefully evaluate potential candidates or companies before outsourcing to ensure a successful collaboration.
FAQ 6:
Q: How can I effectively collaborate with a post-production team on location shoots?
A: To effectively collaborate with a post-production team on location shoots:
1. Define clear objectives: Clearly communicate your vision and expectations for the final product to ensure everyone is on the same page.
2. Provide detailed briefs: Provide comprehensive instructions, shot lists, and any specific requirements to guide the post-production team.
3. Maintain good communication: Establish frequent and open communication channels, providing regular updates, clarifying queries, and addressing any concerns in a prompt manner.
4. Give constructive feedback: Review drafts and edits attentively, providing specific and actionable feedback to help the team make necessary revisions.
5. Trust the professionals: While it is important to communicate your ideas, trust the expertise and creative input of the post-production team. Collaboration and mutual trust often yield the best results.
6. Respect deadlines: Adhere to agreed-upon timelines and deliverables, ensuring that you provide all required assets or feedback within the specified timeframes to maintain a smooth workflow.
Subject: Post-production tips for location shoots
Company: Hollywood Connections Center
Network: MyHollywoodPage.com
The Hollywood network of arts and artists.