Tips for using a tripod

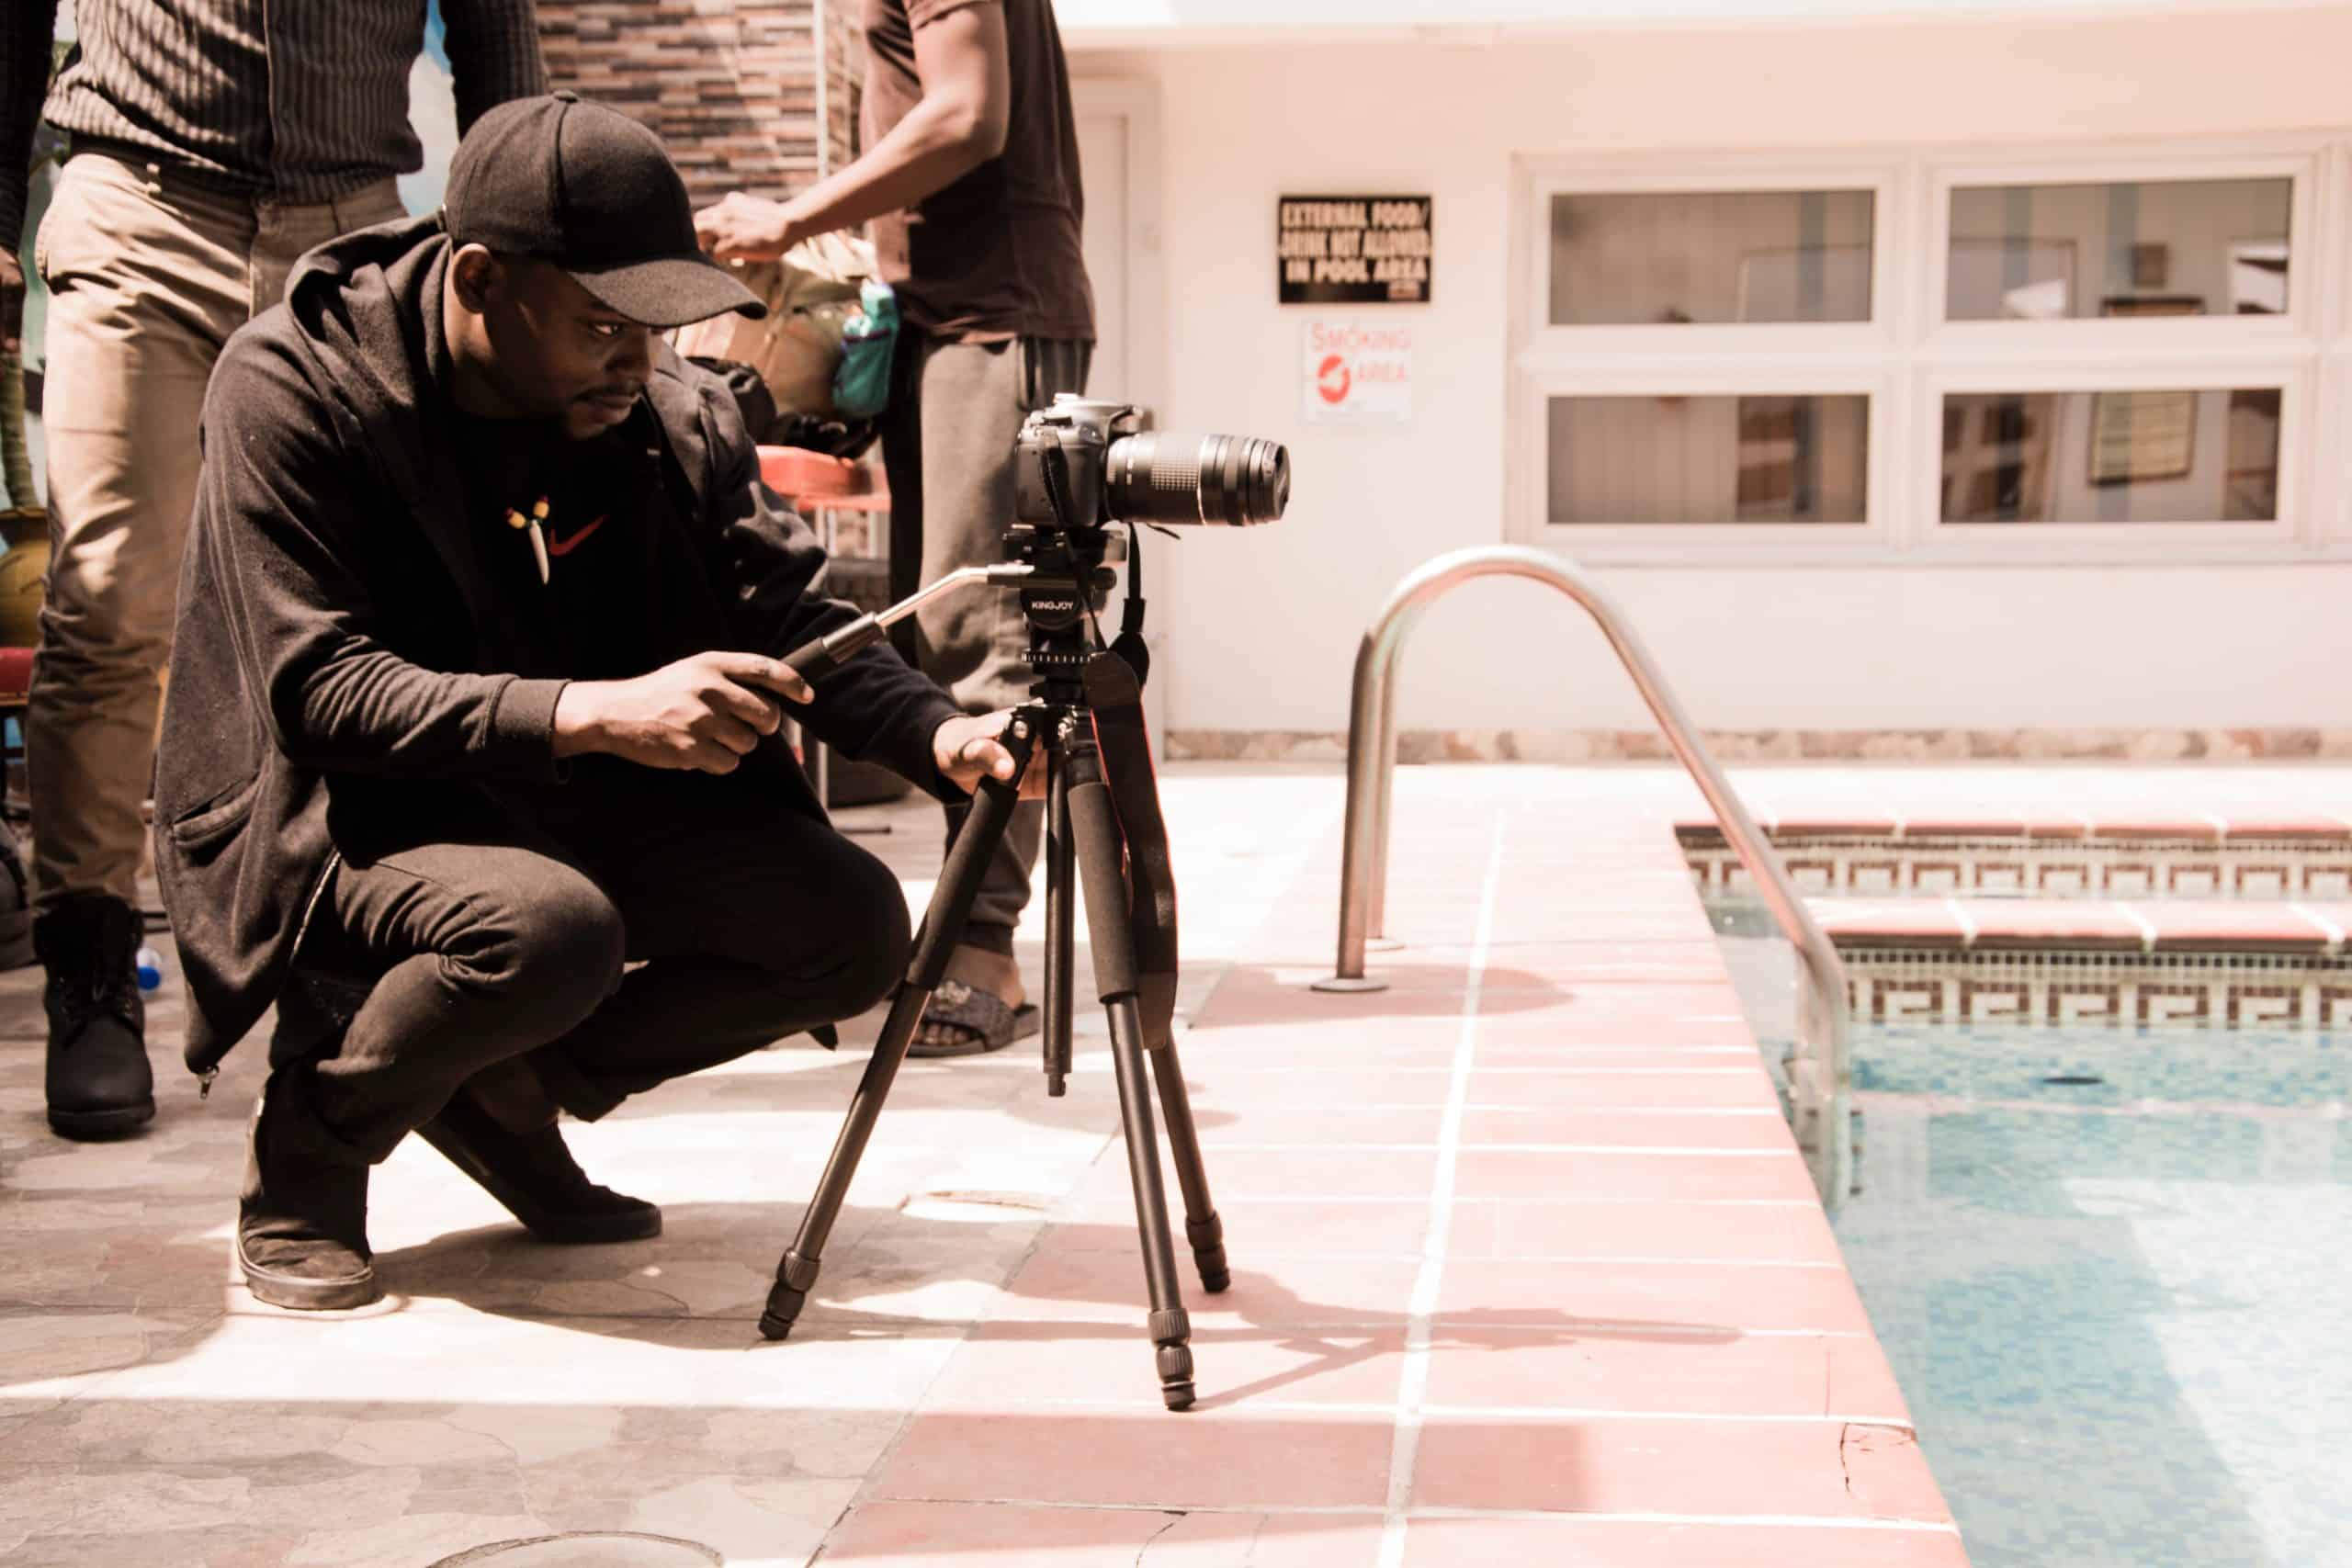
A tripod is a must-have for photographers and videographers who want steady, clear shots. Tripods provide stability, allowing longer exposures and precise framing. Plus, they enable you to include yourself in the frame with a remote or timer. Here are some tips to make the most of your tripod and up your photography or videography game.
Choose the right tripod for your needs. Think about weight capacity, height range, stability, and portability. A strong, reliable tripod will keep your gear safe even in rough weather and terrain. Also, note the type of head. Is it a ball head or a three-way pan-and-tilt head? This can affect how easy it is to move and position your camera.
Now that you have your tripod, get to know it. Don’t extend the center column too much. While it may seem like an easy way to increase height, it can cause instability and blur your images. Use the legs to adjust the height while keeping the center column retracted for more stability.
Use a remote shutter release or set a timer on your camera to avoid any camera shake when you press the shutter button. This will ensure sharp shots and give you more freedom to compose your images without worrying about blur.
Choosing the Right Tripod
Wanna upgrade the quality of your photography? Get yourself the right tripod! Here’s what to look out for:
- Weight & Portability: Get one that’s light and easy to transport. Carbon fiber tripods are great for their sturdiness and lightweight nature.
- Height & Stability: Check the max. height of the tripod and make sure it fits your needs. Plus, opt for one with sturdy legs and a stable base for sharp images.
- Load Capacity: Make sure the tripod can handle the weight of your camera gear. Best to go for one with a higher load capacity than your actual gear weight.
- Leg Locking Mechanism: Test both twist and flip lock mechanisms before deciding which one you prefer. Make sure they’re secure and easy to use.
- Head Type: This is where you mount your camera. Ball heads provide more flexibility in positioning, while pan-tilt heads are better for precise control.
- Budget: Set a budget you can stick to. High-end tripods have extra features, but there are also budget-friendly options for beginners.
Don’t miss this chance to take your photography to the next level. Get the tripod that fits YOUR needs and watch your pics shine!
Setting Up the Tripod
Setting up a tripod needs carefulness and accuracy. To make your camera steady, follow these steps:
- Change the height. Extend the tripod legs to what you want, and lock them in place. This will give you a great shooting position and no unwanted motion.
- Connect the camera. Use a quick-release plate or mounting screw to attach the camera firmly to the tripod. This will make sure your camera stays still during the shoot.
- Level the tripod. Check if it has an integrated bubble level, or use a separate one. This step is key to avoiding any tilted or crooked photos.
- Stabilize with weights. If you’re shooting outdoors or on an unsteady surface, hang sandbags or weights on the middle column of the tripod for extra stability.
Don’t forget to properly tighten all knobs and locks after each adjustment, so nothing moves by accident during the shoot. After you do this, you can get clear and sharp pictures, and rest assured that your camera is firmly attached.
Tips for Stability and Balance
A tripod is vital for steadiness and balance in your photography. These tips will help you get the perfect, still shots for sharp, clear images.
- Pick a tough tripod that can bear the weight of your camera and lens. A lightweight or flimsy one can easily sway in the wind or be bumped, causing blurry photos. Look for one made from tough stuff like carbon fiber or aluminum.
- Extend the legs fully and lock them firmly. This will give maximum stability and prevent wobbling or tilting in your shoot. Check that the leg locks are tight before shooting to avoid any problems.
- Utilize a remote shutter release or self-timer to reduce the camera shake from pressing the shutter button. Even a slight movement can lead to blur, so keep away from touching the camera while the exposure is happening.
To increase stability further, put extra weights on the tripod’s center column or hang a bag from it. This will keep it down and reduce any vibrations from external factors.
Also, always make sure your tripod is set up on even ground for balance. Adjust the legs if you’re shooting on a rough surface.
Remember, using a tripod is not only about stability but also about precision in your composition. Don’t miss out on amazing sharp images by disregarding this essential tool.
So grab your tripod, try these tips, and upgrade your photography game with unbeatable stability and balance!
Adjusting the Tripod Position
Tripod adjusting is key for the perfect shot! Here’s a simple guide to get the most out of your tripod:
- Find a stable surface: Look for a level and flat ground to place your tripod. This will avoid wobbling or shaking whilst you take photos.
- Extend the legs: Change the length of each leg to the height you want. Make sure all three legs are even for balance.
- Level the tripod: Use the bubble level or another device to make sure it’s perfectly level. This is important when shooting landscapes or buildings to keep lines straight.
- Position the tripod head: Adjust the head up, down, left, or right, and pan for the best framing and composition.
- Lock the adjustments: Securely lock everything in place with the tightening mechanisms. This will stop any accidental movement.
- Test stability: Before taking shots, move the tripod slightly to check its stability. If it moves, re-adjust until there’s no possibility of a camera shake.
Plus, keep in mind:
- Carry a rubber mat or spike feet for extra stability on uneven terrain.
- Beware of windy conditions that can cause vibrations and blur images.
- Lower one leg of the tripod for better support when photographing at low angles.
- Clean and maintain your tripod regularly for smooth adjustments and longer life.
Pro Tip: Spend a bit of time properly adjusting your tripod for better-quality photographs.
Using Additional Tripod Features
Easily Adjustable Legs: Tripods come with adjustable legs. With a few tweaks, you can set the height to suit your needs. Low angle or bird’s eye view? Adjusting the legs gives you more flexibility and creativity.
Pan and Tilt Head: This mechanism lets you move the camera side to side or up and down. You get precise control over your composition – be it sweeping landscapes or tracking fast subjects.
Quick Release Plate: This small but essential accessory allows you to attach and detach the camera from the tripod with the press of a button. Quick and secure mounting, no drops!
Plus, some tripods offer extra features like level indicators, telescopic columns, and smartphone mounts.
Pro Tip: Keep moving parts clean and lubricated for peak performance.
Maintenance and Care Tips
Caring for your tripod is key to making it last and work well. To keep it in tip-top condition, here are some tips:
- Clean the tripod often – wipe away dust and debris with a lint-free cloth.
- Check the joints and fastenings – make sure they are tight. Loose ones can lead to shaky shots.
- Think about the environment – too much heat or moisture can damage its materials. Store it somewhere dry.
Plus, remember these extra points:
- Don’t put loads heavier than its recommended capacity on the tripod – it could break or collapse.
- If adding accessories like a ball head or quick-release plate – attach them securely before shooting.
A photographer shared an example of why maintenance is so important. He was doing a photo shoot in a rough environment when his tripod fell into a puddle. But, since he had kept it clean and all parts were tightened, it was fine, and he continued shooting without a problem.
Conclusion
Having a tripod is essential for great photos. To get the most out of it, here are some tips:
- Invest in a stable and reliable tripod. This ensures sharp and clear photos.
- Properly adjust the legs. This allows stability on any terrain. Lock them too.
- Utilize a remote shutter or timer function to prevent camera shake.
- Add weight to the center column hook of the tripod. This counteracts vibrations.
- Practice proper technique when operating the tripod. No jerks! Smooth motions ensure crisp images.
Follow these guidelines to unlock the full potential of your tripod. Capture breathtaking moments with precision and finesse.
Frequently Asked Questions
Q: How do I choose the right tripod for my camera?
A: When choosing a tripod, consider the weight and size of your camera. Ensure that the tripod can support the weight of your equipment and is compatible with your camera’s mounting system.
Q: What are the benefits of using a tripod?
A: Using a tripod can help eliminate camera shake and produce sharper, more professional-looking images. It also allows for longer exposures, better composition, and easier framing.
Q: How do I set up a tripod properly?
A: To set up a tripod, extend the legs to the desired height and lock them securely. Avoid uneven or unstable ground. Attach your camera securely to the tripod head using the mounting plate.
Q: How can I prevent my tripod from tipping over?
A: To prevent your tripod from tipping over, ensure that the tripod legs are fully extended and locked in place. Hang a weight, such as your camera bag, from the center column hook for additional stability. Avoid attaching heavy accessories to your camera if they increase the risk of tipping.
Q: Are there any tips for using a tripod in windy conditions?
A: In windy conditions, consider using a tripod with a hook on the central column to hang a bag filled with sand or rocks to provide extra stability. You can also position yourself or any other object as a windbreak between the tripod and the wind direction.
Q: How can I transport a tripod conveniently?
A: Tripods usually come with bags or cases for easy transportation. Fold the legs and center column, and make sure to lock them in place. Place the tripod in its bag or case to protect it from scratches or damage during transport.
Subject: Tips for using a tripod
Company: Hollywood Connections Center
Network: MyHollywoodPage.com
The Hollywood network of arts and artists.


